Changing hydraulic shear blades requires clear steps and strict safety measures. Always use lockout/tagout procedures and wear the appropriate PPE to ensure your safety. Both new and experienced operators should follow a solid plan. Studies show that step-by-step maintenance improves machine performance, extends its lifespan, and maintains a safe workplace. Regularly inspect your machine and install hydraulic shear blades correctly, making sure they align properly for optimal results.
चाबी छीनना
- Always follow safety rules. Turn off the power first. Use lockout/tagout devices every time. Wear the right protective gear before changing blades.
- Check the blades often for dullness or chips. Look for rough edges too. This helps you know when to replace or flip them. Sharp blades cut better.
- Get ready by turning off the power. Take off the covers. Use tools or machines to move heavy blades. This keeps you safe and prevents injuries.
- Set the blade gap to match the material thickness. Use feeler gauges for this step. This helps make clean cuts. It also protects your machine from harm.
- Test the machine after putting in new blades. Run a dry cycle first. Then do a test cut. This checks if the blades are lined up right and safe to use.
Safety for Hydraulic Shear Blades
You must follow safety rules when changing a hydraulic shear blade. Many people get hurt when they do not follow safety steps or use the wrong tools. You can stay safe by getting ready and using the right equipment.
PPE and Lockout Procedures
Turn off the machine before you touch any hydraulic shear blade. Use lockout/tagout devices so no one can start the machine while you work. This keeps you safe from the machine turning on by accident.
बख्शीश: Do not just flip the switch off. Always unplug the main power and check that the machine has no energy left.
Wear the right personal protective equipment (PPE) every time you work with a hydraulic shear blade. You need:
- Cut-resistant gloves
- Safety glasses or face shields
- Steel-toed boots
- Long sleeves and pants
These items protect your hands, eyes, and feet from sharp edges and falling parts. Wearing PPE is an important part of staying safe.
Tools and Equipment
You need the right tools to take out and put in a hydraulic shear blade. Get these things before you begin:
- Wrenches or socket sets for blade screws
- Feeler gauges for setting the blade gap
- Mechanical aids like a scissor lift table or crane arm
Mechanical aids are very helpful. Hydraulic shear blades are heavy and hard to move. Lifting them by hand can make you drop the blade or hurt your back. Always use a lift or crane to move blades safely.
Checking your machine often and doing regular maintenance helps stop accidents. OSHA says most injuries happen when machines do not have guards or when workers do not get enough training. You can lower these risks by following all safety rules, keeping guards on, and making sure everyone gets the right training.
Common safety incidents in hydraulic shear blade operations include:
- Not following steps or skipping oiling schedules
- Not checking blades and hydraulic systems often
- Ignoring regular maintenance plans
- Not giving enough training to workers
- Taking off or skipping safety guards
- Not fixing electrical problems or strange machine sounds
If you follow these steps, you help make the workplace safer and keep your hydraulic shear blade working well.
When to Replace Hydraulic Shear ब्लेड
Changing blades at the right time keeps your hydraulic shearing machine running smoothly. You need to know when to replace blades to avoid problems with your equipment and finished products. This section shows you how to spot worn blades and explains the risks of waiting too long.
Signs of Wear or Damage
You must check your hydraulic shear blades often. Look for these signs to decide when to replace blades.
Visual Inspection for Dullness
Start by looking at the blade edges. A sharp blade has a clean, straight edge. If you see a rounded or shiny edge, the blade is dull. Dull blades make it hard for your hydraulic shearing machine to cut cleanly. You may also notice the blade edge reflecting light. This means you need to replace blades soon.
Checking for Chipping or Burrs
Next, check for chips or burrs along the blade. Chips look like small missing pieces. Burrs feel rough or jagged. Run your finger (with gloves on) along the edge. If you feel bumps or see cracks, the blade is damaged. Damaged blades can break during use. You should replace blades right away if you find chips or burrs.
Monitoring Cutting Performance
Watch how your hydraulic shearing machine cuts material. If you see rough edges, uneven cuts, or extra force needed, the blades may be worn. You might also notice more scrap or rejected parts. These are signs you need to replace blades. Good cutting performance means clean, straight cuts with little effort.
बख्शीश: Keep a log of each maintenance task. Write down when you inspect and replace blades. This helps you track blade life and plan for new blades before problems start.
Risks of Delayed Replacement
Waiting too long to replace blades can cause serious trouble. You risk poor product quality, machine damage, and safety issues.
Poor Cut Quality and Increased Scrap
Worn blades make rough, jagged cuts. You may see burrs or deformed edges on your material. This leads to more scrap and wasted material. You spend more time fixing mistakes. Your customers may complain about poor quality.
Potential Machine Damage
If you keep using dull or damaged blades, your hydraulic shearing machine works harder. The motor and hydraulic system face more stress. Over time, this can break parts inside the machine. Repairs cost more than regular blade changes. You protect your machine when you replace blades on time.
Safety Hazards for Operators
Old blades can slip or break during use. This puts you and your team at risk. Sharp chips may fly off and cause injuries. The machine may jam or stop suddenly. You keep everyone safe when you replace blades before they fail.
टिप्पणी: Always follow the manufacturer’s schedule for blade checks. Regular inspections and timely blade changes keep your hydraulic shearing machine safe and productive.
Preparation Steps
Getting ready to change a hydraulic shear blade takes careful planning. You need to follow each step in the right order. This keeps you and your machine safe. Good preparation helps stop accidents and keeps things working well.
Power Down and Lockout
You must make sure the hydraulic shearing machine cannot start by mistake. This keeps you safe from moving parts or shocks.
Turn Off Oil Pump Motor
Find the oil pump motor switch first. Turn it off to stop the hydraulic system. This stops pressure from building up. Always check the control panel to make sure the motor is off.
Disconnect Main Power Supply
Next, unplug the machine or turn off the main breaker. This takes away all electrical power from the hydraulic shearing machine. Do not just turn off the control panel.
लॉकआउट/टैगआउट डिवाइस लागू करें
After you turn off the power, put on lockout/tagout devices. Put a lock and tag on the power switch or breaker. Write your name and the date on the tag. This tells others not to turn on the machine. Only you should take off the lock when you finish.
Verify Zero Energy State
Check that the machine has no leftover energy. Press the start button to see if it stays off. Look at the hydraulic lines for any pressure. Make sure all moving parts have stopped. This makes sure there is no energy left.
बख्शीश: Always use your company’s lockout/tagout rules. These steps help stop the machine from turning on and keep you safe.
Remove Covers and Supports
When you know the machine is safe, you can take off the covers and supports. These parts protect you during normal use but must come off for blade changes.
Remove Front Worktable Plate
Take off the front worktable plate first. Use the right tool to loosen the bolts. Lift the plate and put it somewhere safe. Now you can see the hydraulic shear blade area.
Detach Support Arm
Next, take off the support arm. The support arm holds material steady. Remove any pins or fasteners. Move the arm out of the way. Put it on a flat surface so it does not get damaged.
Take Off Protective Cover
Now, take off the protective cover over the blade. This cover keeps you safe from moving parts and flying pieces. Unscrew or unlatch it. Put the cover somewhere safe so you do not lose it.
टिप्पणी: Clean around the blade before you go on. Remove dust, metal bits, and other debris. Cleaning every day helps you find problems early and keeps things working well.
Why Preparation Matters
Doing these steps makes things safer and helps your machine last longer. Cleaning, oiling, and checking every day lowers accident risks. Checking hydraulic oil, hoses, and bearings each week helps you find problems early. Set the blade clearance to the biggest gap before you remove it. Only trained people should do these steps to stop injuries and damage.
Preparation Checklist:
- Turn off the oil pump motor.
- Disconnect the main power supply.
- Apply lockout/tagout devices.
- Verify zero energy state.
- Remove the front worktable plate.
- Detach the support arm.
- Take off the protective cover.
- Clean the blade area.
Following this checklist helps you change a hydraulic shear blade safely. Each step keeps you and your hydraulic shearing machine safe from harm.
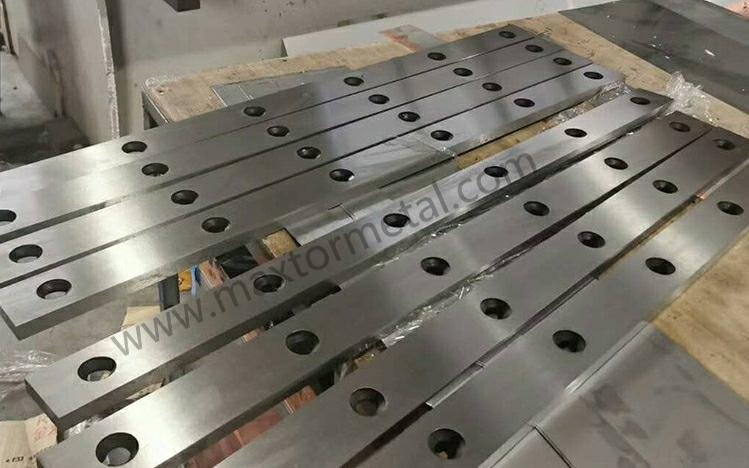
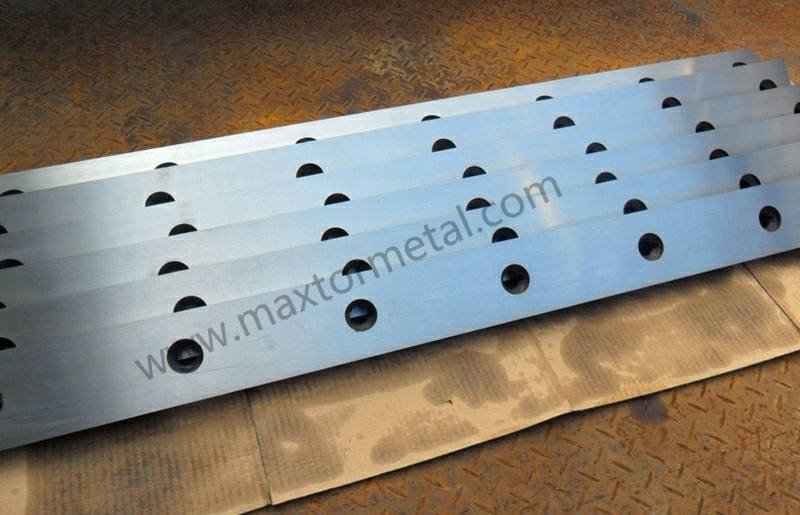
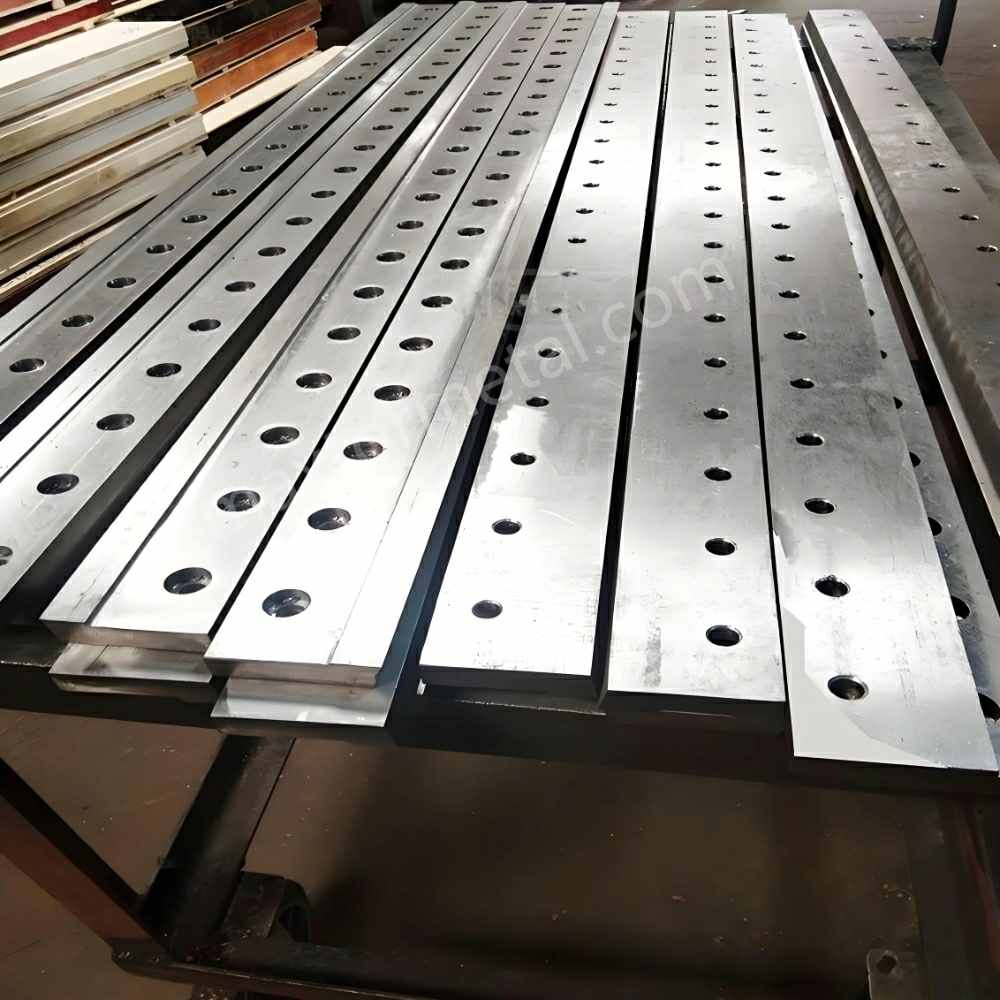
Steps for Blades Replacement
Changing hydraulic shear blade parts needs careful work. You must do each step in the right order. This keeps you safe and helps your hydraulic shearing machine work well. This section shows how to take off the blade, from loosening screws to flipping or changing blades.
Loosen and Remove Screws
Identify and Prepare Screws
First, find all the screws that hold the hydraulic shear blade. Get the right wrenches or socket sets for these screws. Look at the blade area and clear away any trash or leftover pieces. This helps stop accidents and makes things easier.
Loosen Screws in Sequence
Loosen the screws in a certain order. Start in the middle and move out to the ends. This way, the blade does not bend or twist. Set the blade gap to 0.48mm before you start. This gap helps the blade come out easily.
बख्शीश: Put a wooden block under the blade as you loosen screws. This keeps the blade from slipping or falling.
Leave One Screw at Each End for Stability
After you loosen all the screws, leave one screw at each end. These screws keep the blade in place while you get ready to take it off. Never take out all the screws at once. The end screws help the blade stay steady and keep you safe.
Remove Remaining Screws Carefully
Use a lift or crane to hold the blade before you take out the last screws. Hold the blade still as you remove the end screws. Move slowly and keep your hands away from sharp edges. Always wear gloves to protect your hands.
Safe Blade Removal
Position Mechanical Aids (Scissor Table, Crane Arm)
Put a scissor table or crane arm under the blade. These tools help hold the heavy hydraulic shear blade. Make sure the table or crane is at the right height.
Support Blade Weight Before Full Removal
Before you take out the last screws, check that the table or crane holds the blade. Use wooden blocks or soft pads between the blade and table. This stops the blade from getting scratched or damaged. Make sure the blade cannot move or fall.
Remove End Screws While Supporting Blade
With the blade held up, take out the end screws. Hold the blade steady as you do this. If the blade is stuck, wiggle it gently. Never force the blade out, or you might break something.
Lower Blade Safely to Work Surface
Lower the blade slowly onto a work table. Keep your hands away from the sharp edge. Use both hands or ask someone to help if the blade is heavy. Put the blade on a clean, flat spot so you can check it.
टिप्पणी: Always follow your company’s safety rules when taking off the blade. Using lifts or cranes helps stop back injuries and accidents.
Flip or Replace Blades
Inspect Blade Edges for Wear
Look at the blade edges for dull spots, chips, or rough places. Run your gloved finger along the edge to feel for bumps. If you see shiny, round, or broken spots, the blade needs fixing.
Flip Blade to Unused Edge if Possible
Many hydraulic shear blades have more than one cutting edge. If only one edge is worn, flip the blade to use a new edge. This helps the blade last longer and saves money. Make sure the new edge faces the right way.
Replace with New Blade if All Edges Are Worn
If all the edges are dull or broken, put in a new blade. Pick a blade that fits your hydraulic shearing machine. Always check the maker’s rules for blade type and size.
Install New Bolts for New Blades
When you put in a new blade, use new bolts. Most machines use M1240 and M1245 bolts. Tighten each bolt to 35N/M as needed. New bolts help the blade stay tight and safe.
Ensure Proper Orientation and Alignment
Line up the blade before you tighten the bolts. Leave the end screws a little loose at first. This lets you move the blade to get it straight. When the blade is in the right spot, tighten all the screws in order. This helps the machine cut straight and keeps it safe.
पुकारें: Always put the blade back on by doing the steps in reverse. Wear gloves the whole time to keep your hands safe.
Summary Table: Steps for Blades Replacement
| कदम | कार्रवाई |
|---|---|
| 1. Prepare Screws | Find tools, clear the area |
| 2. Loosen Screws | Loosen in order, leave end screws |
| 3. Support Blade | Use lifts or blocks |
| 4. Remove Blade | Take out end screws, lower blade safely |
| 5. Inspect/Flip/Replace Blade | Check edges, flip if you can, replace if worn |
| 6. Install New Blade | Use new bolts, line up blade, tighten bolts |
| 7. Final Alignment | Set blade gap, check blade, tighten all screws |
If you follow these steps for blades replacement, you keep yourself and your machine safe. You also help your hydraulic shear blade make clean, straight cuts every time. Taking care of your machine and being careful helps it work well for a long time.
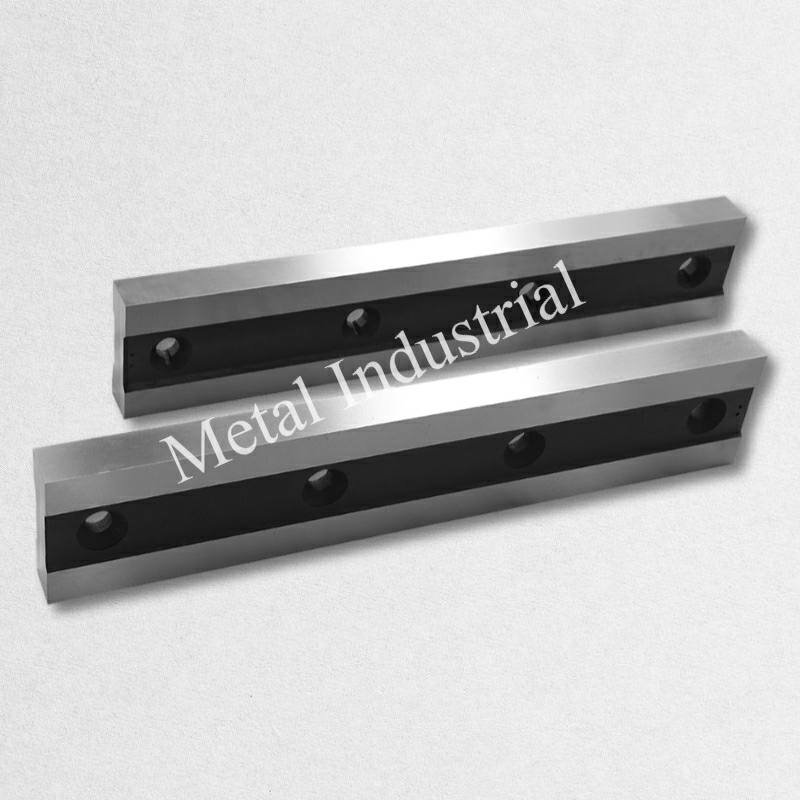
Install Hydraulic Shear Blade
Align and Secure Blades
It is important to be careful when you install hydraulic shear blade parts. First, look at the blade and make sure it faces the right way. The sharp edge should point where it will cut. Put the blade flat against the mounting spot on your hydraulic shearing machine. Check that the bolt holes line up with the blade.
Use your hands to move the blade into place. If the blade is too heavy, ask someone to help or use a lifting tool. The blade should sit flat and even on the mounting area. This helps you avoid crooked cuts and machine trouble later.
बख्शीश: Always check the blade’s position before you go on. Even a small mistake can cause big problems when you use the machine.
Start putting in the bolts for the upper and lower blades, but do not tighten them all the way. This lets you move the blade to get it lined up just right. Slide the blade gently until the edges match the marks or the old blade’s spot. Do this for both the upper and lower blades. Putting the blade in the right way helps your hydraulic shearing machine work well.
Tighten Screws to Spec
After you line up the blade, you need to tighten the screws. Use a torque wrench for this job. The maker’s manual tells you how tight the bolts should be. Most hydraulic shear blade bolts need a certain force to stay safe.
Follow these steps to tighten the bolts:
- Start with the bolts in the middle and move out to the ends. This keeps the blade flat on the mounting spot.
- Tighten each bolt a little at a time. Do not make one bolt super tight before you move to the next.
- Use the torque wrench to reach the right setting. Check each bolt twice so you do not miss any.
टिप्पणी: If you make the bolts too tight, you can break the blade or the machine. If you do not make them tight enough, the blade can move when you use it.
Tightening the upper and lower blades with the right force keeps the blade steady. This stops the blade from moving or shaking when you cut. It also helps protect your hydraulic shearing machine from wearing out too soon.
Here is a simple table for the steps to install a hydraulic shear blade:
| कदम | कार्रवाई |
|---|---|
| 1. Align Blade | Put blade in place and check direction |
| 2. Insert Bolts | Put bolts in loosely so you can adjust |
| 3. Adjust Blade | Move blade to line up the edges |
| 4. Tighten Screws | Use torque wrench to make bolts tight |
| 5. Final Check | Look at blade and bolts to make sure they are right |
When you follow these steps, your hydraulic shear blade will make clean, straight cuts. You also help your hydraulic shearing machine last longer and keep everyone safe at work.
Adjust Blade Gap
Setting the correct blade gap is a key step when you change or install a hydraulic shear blade. If you set the gap too wide or too narrow, you risk poor cuts, faster blade wear, or even machine damage. You need to follow each step carefully to make sure your hydraulic shearing machine works safely and gives you the best results.
Set Proper Clearance
Refer to Manufacturer’s Specifications
Start by checking your machine’s manual. The manufacturer gives you the best advice for your specific hydraulic shearing machine. You will find recommended blade gap ranges for different materials and thicknesses. These numbers help you avoid mistakes that can lead to poor performance or damage.
बख्शीश: Always keep the manual nearby. If you lose it, ask your supplier for a new copy.
Measure Material Thickness
Next, measure the thickness of the material you plan to cut. Use a caliper or a micrometer for accuracy. Write down the measurement. The blade gap depends on this number, so you need to be exact.
Use Feeler Gauges to Set Gap
Now, use feeler gauges to set the blade gap. Slide the gauge between the upper and lower blades. Adjust the gap until the gauge fits snugly but can still move. Most experts recommend a gap that is 5% to 10% of your material’s thickness. For example, if you cut 10mm steel, set the gap between 0.5mm and 1mm.
- Too large a gap causes rough edges, burrs, and even rolling of the material.
- Too small a gap increases resistance, which wears out your hydraulic shear blade faster.
Adjust Upper and Lower Blades Evenly
Make sure you adjust both the upper and lower blades at the same time. Turn the adjustment screws or knobs in small steps. Keep checking with your feeler gauge as you go. Uneven gaps can cause the hydraulic shearing machine to cut crooked or jam.
Double-Check Gap Along Blade Length
After you set the gap, check it along the entire blade. Move your feeler gauge from one end to the other. The gap should stay the same all the way. If you find a spot that is too tight or too loose, adjust it again. Consistent clearance helps you get clean, straight cuts every time.
टिप्पणी: Studies show that even small changes in clearance can affect machine performance. Gaps that are too wide create turbulence and reduce efficiency. Gaps that are too tight increase wear and risk cavitation. Always aim for the recommended range.
Test Alignment
Insert Sample Material for Test Cut
After you set the blade gap, run a test cut. Place a piece of your actual material into the hydraulic shearing machine. Make sure it matches the thickness you measured earlier.
Observe Cut Edge for Burrs or Deformation
Look closely at the cut edge. A good cut will look smooth and straight. If you see burrs, rough spots, or the edge rolls, the gap may be wrong. You might also notice the machine working harder than usual.
Adjust Blade Gap or Alignment as Needed
If the cut is not perfect, adjust the blade gap or alignment. Open or close the gap in small steps. Check both ends of the hydraulic shear blade. Sometimes, you need to move the blade slightly to get the best result.
Repeat Test Until Satisfactory Results
Keep testing and adjusting until you get a clean, burr-free cut. This process may take a few tries, but it helps you avoid scrap and keeps your hydraulic shearing machine in top shape.
पुकारें: Common blade gap tolerances are 5%-10% of the material thickness. Too large a gap leads to burrs and poor cuts. Too small a gap causes extra wear and can damage the blade. Always adjust the gap based on your material and check your results.
Blade Gap Adjustment Table
| Material Thickness (mm) | Recommended Blade Gap (mm) | Notes |
|---|---|---|
| 3 | 0.15 – 0.3 | Use 5%-10% of thickness |
| 6 | 0.3 – 0.6 | Adjust for harder materials |
| 10 | 0.5 – 1.0 | Check both ends for even gap |
| 16 | 0.8 – 1.6 | Use feeler gauges for accuracy |
Setting the right blade gap protects your hydraulic shear blade and helps your hydraulic shearing machine deliver high-quality cuts. You also extend the life of your equipment and reduce the risk of accidents.
Reassemble and Test
When you finish putting in and setting the hydraulic shear blade, you need to put your hydraulic shearing machine back together. You also need to test it. This step keeps everyone safe and makes sure your machine works right. If you put the machine together and test it carefully, you can stop accidents and keep your equipment safe.
Replace Covers
Start by putting all the safety covers and guards back on your hydraulic shearing machine. These covers keep you and your team safe from moving parts and sharp edges. Use the right screws or fasteners for each cover. Make them tight, but do not make them too tight. Check that every cover is flat and does not block anything that moves.
You also need to put the front worktable plate and support arm back on. Make sure each part goes in the same spot as before. If you see broken or missing parts, fix or replace them before you go on. Clean around the hydraulic shear blade to get rid of metal shavings or trash. A clean area helps you find problems early and keeps your machine working well.
बख्शीश: Always check that every guard and cover is on before you turn on the machine. If a cover is missing, someone could get hurt badly.
Run Test Cycle
Now you need to test your hydraulic shearing machine. Take away all tools and loose things from the work area. Stand away from moving parts. Turn on the main power and start the oil pump motor. Look at the control panel for warning lights or error messages.
Run the machine without any material first. Listen for strange sounds. Watch to see if the blade and support arms move smoothly. If you see or hear anything odd, stop the machine and check your work.
Next, put a small piece of scrap material on the worktable. Use the controls to make a test cut. Look at the cut edge for burrs, rough spots, or bent places. If the cut is clean and straight, you put in the hydraulic shear blade the right way. If you see problems, fix the blade gap or alignment and try again.
✅ चेतावनी: Never skip the test cycle. Testing helps you find mistakes before they cause harm or break something.
After the test, check the hydraulic shearing machine for leaks, loose bolts, or other problems. Tighten anything that is loose and clean up any oil spills. Write down what you did and what you found in your logbook. Good records help you watch how your hydraulic shear blade works and plan for future fixes.
Test Cycle Checklist:
- All covers and guards put back on
- Work area is clean and clear
- Power turned on safely
- Dry run done with no material
- Test cut made with scrap material
- Cut checked for quality
- Machine checked for leaks or loose parts
- Maintenance log updated
Doing these steps helps your hydraulic shearing machine work safely and well. You keep your team safe and help your hydraulic shear blade last longer when you always put the machine back together and test it with care.
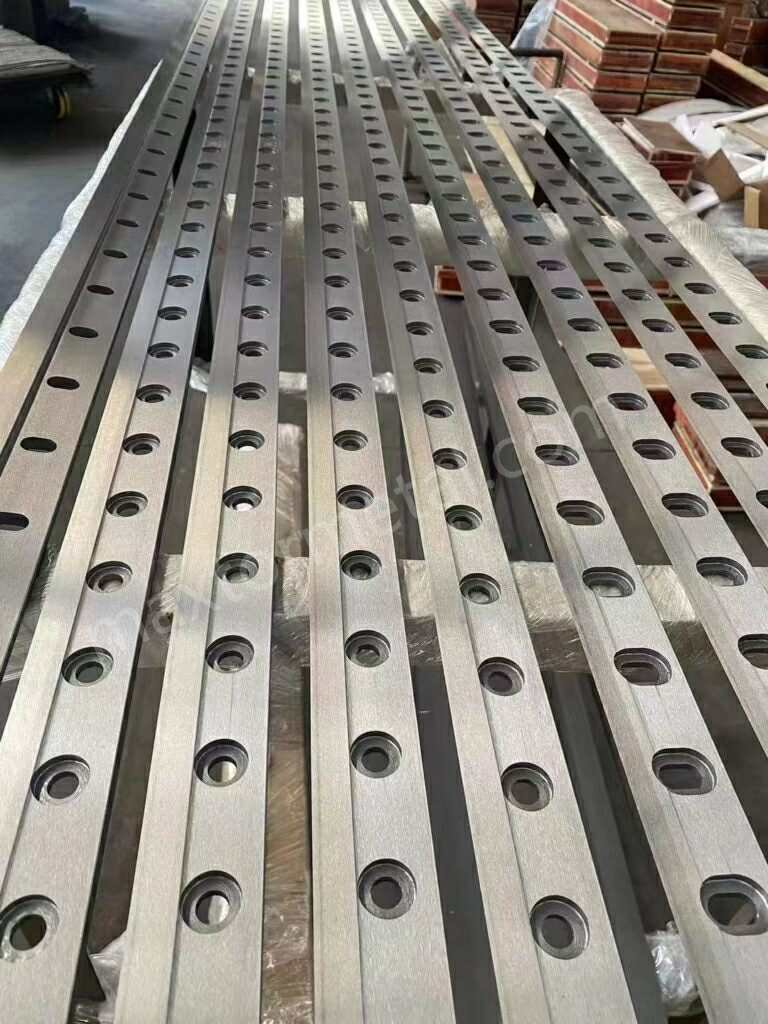
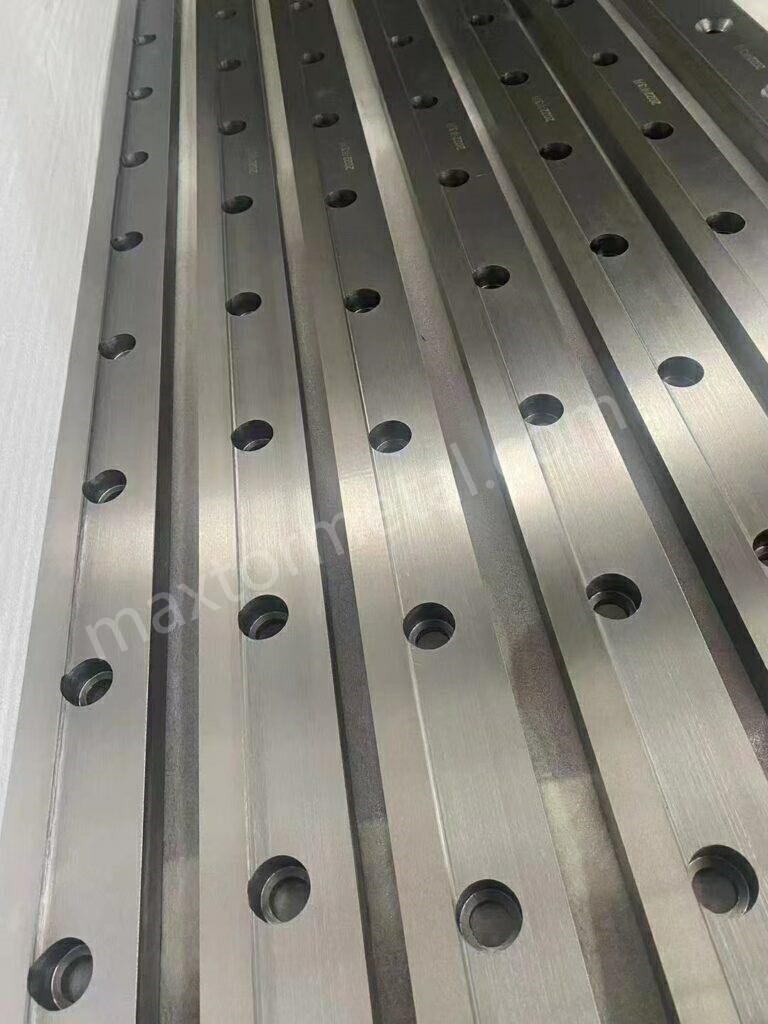
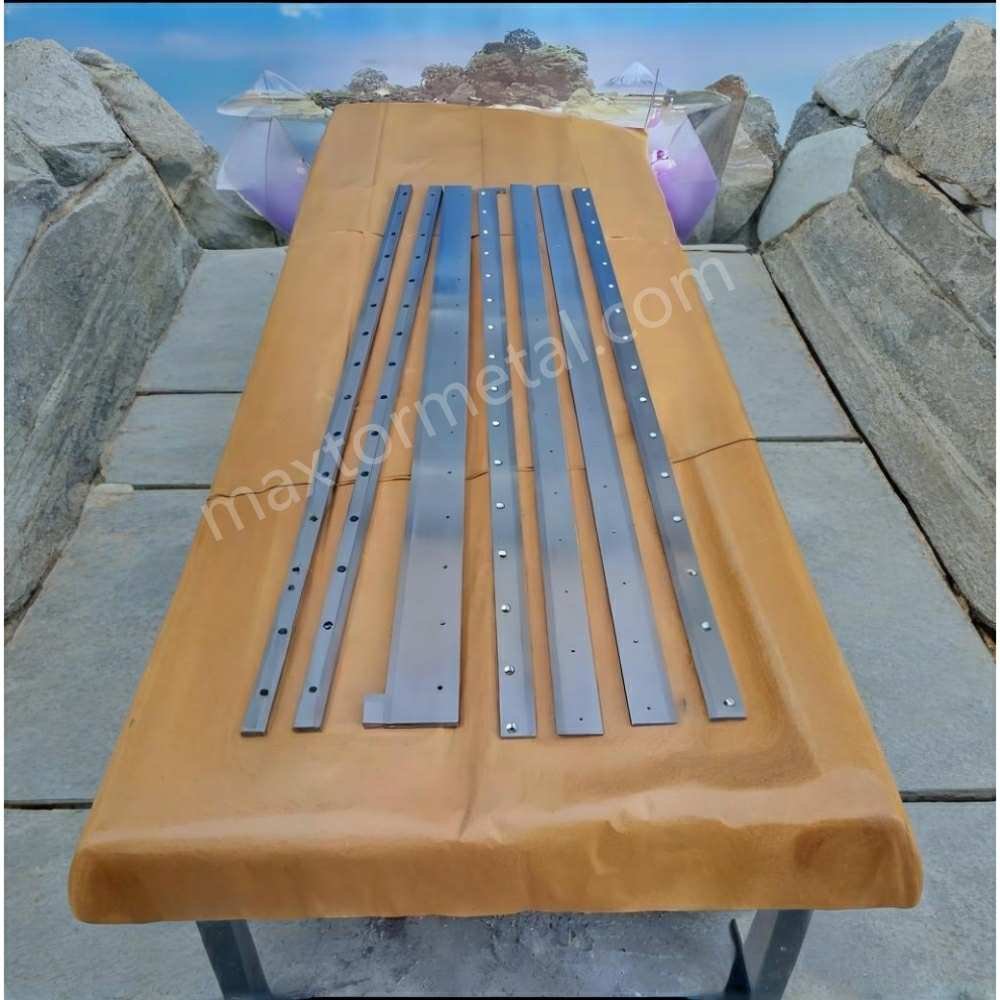
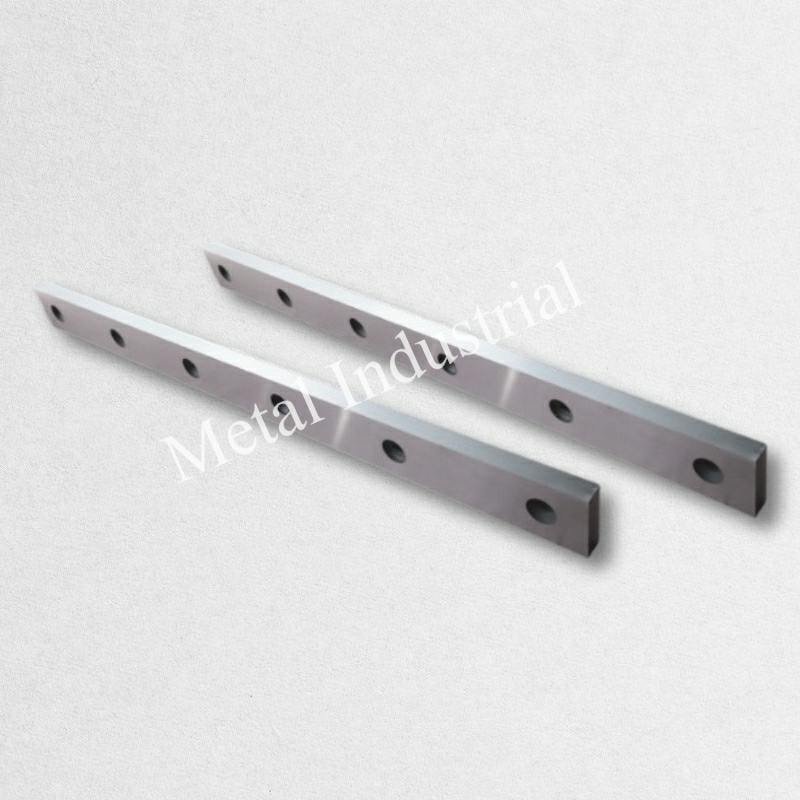
कस्टम ब्लेड
अनुकूलन के लाभ
Custom blades can help your hydraulic shearing equipment work better. These blades are made for your special cutting jobs. This helps you get cleaner cuts and makes the blades last longer. Many companies now pick custom blades because they work better with different materials and thicknesses.
- Custom blades can last twice as long as regular ones.
- You will see better cutting and fewer jams.
- You do not need to replace or fix them as often, so you save money.
- Stronger blades mean your machine works better and stops less.
- Fewer blade problems make your workplace safer for everyone.
Studies show that hydraulic shearing machines with custom blades can cut many types of metal and thicknesses very well. You can change the blade gap to get smooth edges, so you do not need to fix the cuts later. Fast and steady cutting helps you get more work done. Good cuts also mean you waste less material and use it better.
More people want custom hydraulic shear blades now. The world market for arm guillotine shears was about $750 million in 2023. It may grow to $1,250 million by 2032. This is because jobs like shipbuilding, heavy machines, and car making need strong and exact blades. New machines and computer controls also make people want special cutting tools.
Here is a simple table that shows how standard blades and custom blades compare:
| मुख्य निष्पादन संकेतक | मानक ब्लेड | Nanjing Metal Custom Blade |
|---|---|---|
| ब्लेड का जीवनकाल | 10 दिन | 40 दिन से अधिक |
| मासिक डाउनटाइम | 16 घंटे | 5 घंटे |
| वार्षिक प्रतिस्थापन लागत | $25,000 | $9,500 |
| डाउनटाइम में कमी | एन/ए | 65% less |
| Emergency Repairs Reduction | एन/ए | 70% less |
| Blade Failures per Year | 3 failures | 0 failures |
💡 बख्शीश: Custom blades help you save money, stop less, and keep workers safe.
Nanjing Metal Introduction
If you need a good hydraulic shear blade maker, नानजिंग Metal is a top choice. They have been making custom industrial blades for over 20 years. Their team uses new technology to make blades that fit your needs.
Nanjing Metal’s custom blades are known for being strong and working well. Customers get blades that last longer, break less, and cost less to fix. The company helps many businesses, like metal shops, shipbuilders, and heavy equipment makers. They care about quality and helping customers, so many people trust them for tough, accurate cutting tools.
If you want to know more or talk about your needs, you can संपर्क a Nanjing Metal sales engineer today.
You keep yourself and your machine safe by following these steps. Checking your machine often and changing blades on time helps it work well. This also stops long breaks that cost money. Custom blades from good companies give you more benefits:
- Special designs help you cut better and make fewer errors.
- Stronger materials last up to three times as long.
- Taking care of blades and flipping them can save up to 40% on new ones.
| Performance Aspect | लाभ विवरण |
|---|---|
| ब्लेड का जीवनकाल | Coatings and care make blades last 20-50% longer |
| लागत बचत | You spend 15-20% less on new blades each year |
| Productivity | You can make things up to 40% faster |
| Scrap Reduction | You throw away up to 50% less material |
सामान्य प्रश्न
How often should you inspect hydraulic shear blades?
You should check your blades before each shift. Look for dullness, chips, or burrs. Regular inspection helps you spot problems early and keeps your equipment running smoothly.
What tools do you need to change a shear blade safely?
You need a torque wrench, socket set, feeler gauges, and mechanical lifting aids. Always wear cut-resistant gloves and safety glasses. These tools help you remove and install blades without injury.
Can you flip a blade instead of replacing it?
Yes, you can flip the blade if it has unused edges. Always inspect each edge for wear. If all edges show damage, you must install a new blade.
What should you do if the machine makes unusual noises after blade replacement?
Stop the machine right away. Check for loose bolts, misalignment, or incorrect blade gap. Never ignore strange sounds. If you cannot fix the issue, contact a qualified technician.
यह भी देखें
मेटल शीयर ब्लेड संपूर्ण समस्या निवारण हैंडबुक
रोलिंग शीयर ब्लेड क्या हैं और वे कैसे काम करते हैं?
कटिंग परफॉरमेंस अनलीश्ड: सामान्य औद्योगिक चाकू सामग्री के लिए एक व्यापक गाइड
औद्योगिक ब्लेड प्रदर्शन को बढ़ाना: ब्लेड कोटिंग्स, अनुप्रयोगों और लाभों के लिए एक व्यापक गाइड
औद्योगिक चाकू और ब्लेड पर क्रायोजेनिक उपचार का प्रभाव: प्रदर्शन, स्थायित्व और दक्षता में वृद्धि