


चिपिंग के कारण होने वाला अनियोजित डाउनटाइम शायद ही कभी “दुर्भाग्य” होता है। अधिकांश सिंगल-शाफ्ट श्रेडर में, श्रेडर ब्लेड चिपिंग (shredder blade chipping) एक दोहराए जाने वाला विफलता मोड (failure mode) है जो कुछ नियंत्रणीय कारकों के कारण होता है: फीड संदूषण (feed contamination), गलत क्लीयरेंस, खराब सीटिंग/टॉर्क, मिसअलाइनमेंट, या ब्लेड सामग्री/हीट-ट्रीटमेंट का ऐसा चयन जो काम के अनुकूल न हो।.
यह गाइड रीसाइक्लिंग और ठोस-अपशिष्ट संचालन में सिंगल-शाफ्ट श्रेडर चलाने वाली रखरखाव, प्रक्रिया और खरीद टीमों के लिए लिखी गई है। लक्ष्य सरल है: अगली विफलता को होने से रोकने में आपकी मदद करना, न कि केवल नाइफ को बदलना।.
आखरी अपडेट: 2026-04-06
दायरा: यह गाइड रीसाइक्लिंग और ठोस-अपशिष्ट संचालन में उपयोग किए जाने वाले सिंगल-शाफ्ट श्रेडर के लिए है। मशीन मॉडल और गार्डिंग डिज़ाइन के आधार पर प्रक्रियाएं भिन्न हो सकती हैं।.
सुरक्षा अस्वीकरण: हमेशा अपनी साइट के सुरक्षा नियमों और मशीन OEM मैनुअल का पालन करें। यदि आप उपकरण की सर्विस करने के लिए प्रशिक्षित/अधिकृत नहीं हैं, तो रुकें और योग्य कर्मियों को सूचित करें।.
चाबी छीनना
- चिपिंग को एक system problemके रूप में देखें: फीडस्टॉक + मशीन ज्योमेट्री + इंस्टॉलेशन + सामग्री चयन।.
- सबसे पहले चिपिंग पैटर्न और ऑपरेटिंग स्थितियों को रिकॉर्ड करें; यह मूल-कारण (root-cause) का पता लगाने की प्रक्रिया को तेज करता है।.
- सत्यापित करें काउंटर नाइफ क्लीयरेंस (counter knife clearance) और सामग्री बदलने से पहले अपने OEM विनिर्देश (spec) के अनुसार बोल्ट प्रीलोड/टॉर्क की जांच करें।.
- अपस्ट्रीम में कठोर दूषित पदार्थों (धातु, खनिज, सघन WEEE टुकड़े) को नियंत्रित करें; प्रभाव घटनाएं (impact events) एक सामान्य ट्रिगर हैं।.
- यदि आप सामग्री बदल रहे हैं, तो ट्रैसेबिलिटी (traceability) की मांग करें: सामग्री प्रमाणपत्र (material certs) के साथ-साथ हीट-ट्रीट और निरीक्षण के प्रमाण।.
चरण 0: किसी भी चीज़ को छूने से पहले क्या रिकॉर्ड करें (10 मिनट जो घंटों बचाते हैं)
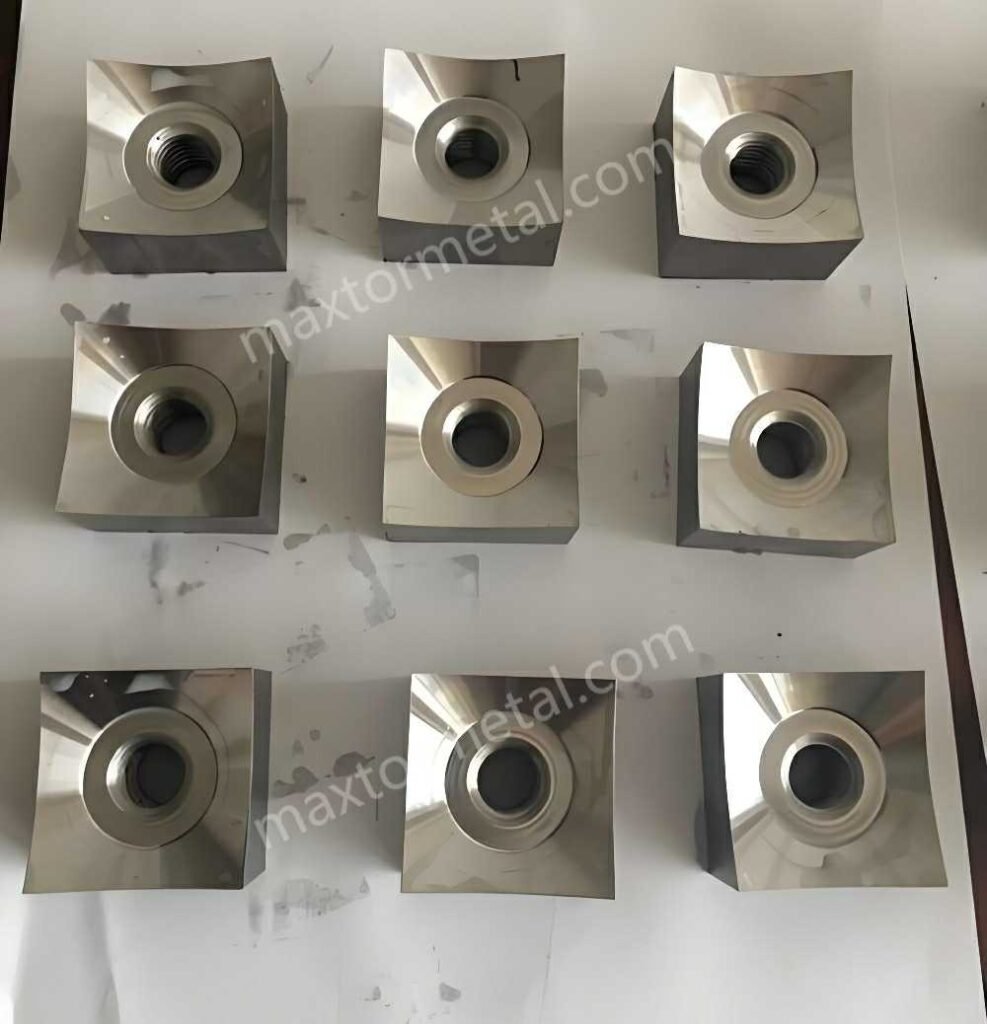
इनपुट: क्षतिग्रस्त नाइफ और रुकी हुई मशीन।.
कार्रवाई: नीचे दिए गए न्यूनतम साक्ष्य सेट को रिकॉर्ड करें।.
आउटपुट: एक संक्षिप्त “विफलता स्नैपशॉट” (failure snapshot) जिसकी आप समय के साथ तुलना कर सकते हैं।.
- चिप किए गए किनारों की तस्वीरें (क्लोज़-अप + पूरा नाइफ)
- कौन सी नाइफ स्थिति विफल हुई (रोटर स्थान, काउंटर/बेड नाइफ स्थान)
- पिछले 24-48 घंटों के लिए फीड सामग्री का मिश्रण (और कोई भी बदलाव)
- कोई भी उल्लेखनीय घटनाएं: जैम, ओवरलोड ट्रिप, असामान्य कंपन, अचानक आवाज में बदलाव
- थ्रूपुट, स्क्रीन का आकार, और लक्षित आउटपुट आकार (यदि लागू हो)
- अंतिम रखरखाव कार्य: नाइफ फ्लिप/रोटेशन, काउंटर नाइफ समायोजन, बेयरिंग का काम
यह कब पूरा हुआ: आप विफलता का वर्णन एक वाक्य में कर सकते हैं, जैसे, “मिश्रित WEEE + एल्युमिनियम पर जैम होने के बाद बाहरी रोटर नाइफ कोनों पर चिप हो गए।”
प्रो टिप: यदि चिपिंग बार-बार हो रही है, तो एक साधारण लॉग शीट बनाएं। एक बार की घटनाओं के बजाय ट्रेंड अधिक मायने रखता है।.
कॉपी/पेस्ट टेम्पलेट (पुनरावृत्ति और ट्रैसेबिलिटी के लिए)
विफलता स्नैपशॉट (प्रति घटना एक पंक्ति)
| दिनांक/समय | मशीन/लाइन | नाइफ की स्थिति | फीड मिश्रण (पिछले 24-48 घंटे) | Notable event (jam/overload/noise) | Pattern observed | Photos link | नोट्स |
|---|---|---|---|---|---|---|---|
Counter knife clearance record (one row per measurement point)
| तारीख | Counter knife ID | Point/location | Measured clearance | OEM spec | Pass/Fail | Adjusted? | तकनीशियन |
|---|---|---|---|---|---|---|---|
Bolt torque / clamp check (one row per fastener group)
| तारीख | Knife/clamp area | Bolt type/size | OEM torque spec | Applied torque | Sequence followed (Y/N) | Re-torque done (Y/N) | नोट्स |
|---|---|---|---|---|---|---|---|
चरण 1: मशीन को निरीक्षण के लिए सुरक्षित बनाएं (सामान्य सुरक्षा संदर्भ)
This post isn’t legal advice. Always follow your site safety procedures and the machine OEM’s safety instructions before any knife work.
इनपुट: machine ready for inspection.
कार्रवाई: isolate, lock out/tag out, and verify zero energy.
- Isolate electrical supply; lock off and tag
- Verify zero speed and no stored energy (run-down time is often longer than expected)
- Confirm hydraulic/pneumatic systems are de-energised and depressurised (if present)
- Use appropriate PPE for sharp edges and pinch points
Reference note (standards + OEM manuals): lockout/tagout (LOTO) practices are commonly governed by site procedures and applicable safety standards. For machine-specific steps, always refer to your OEM documentation. For brands such as VECOPLAN, WEIMA, और Forrec, look for sections titled:
- Safety instructions / General safety
- Lockout-Tagout (LOTO) / Energy isolation / Hazardous energy
- Servicing / रखरखाव / Knife change / Clearing jams
If you cannot access the manual, request the correct revision from the OEM using your machine model + serial number.
आउटपुट: safe access for measurement and inspection.
यह कब पूरा हुआ: you have a verified, documented safe state before any clearance checks.
⚠️ चेतावनी: “Stopped” isn’t the same as “safe.” Stored energy and unexpected movement are a common injury pathway during knife work.
Stop-and-escalate (do not proceed) if any of the following are true:
- You cannot verify zero energy (electrical, hydraulic, pneumatic, gravity, or spring-loaded)
- Guards/interlocks are missing, bypassed, or cannot be reinstalled correctly
- There is abnormal vibration/noise history suggesting a mechanical fault beyond normal wear
- You suspect structural damage (cracks, loose housings, deformed mounting faces) or severe bearing issues
In these cases, keep the machine isolated and escalate to a qualified maintenance lead or the OEM service team.
चरण 2: चिपिंग पैटर्न को विफलता कोड (failure code) की तरह पढ़ें
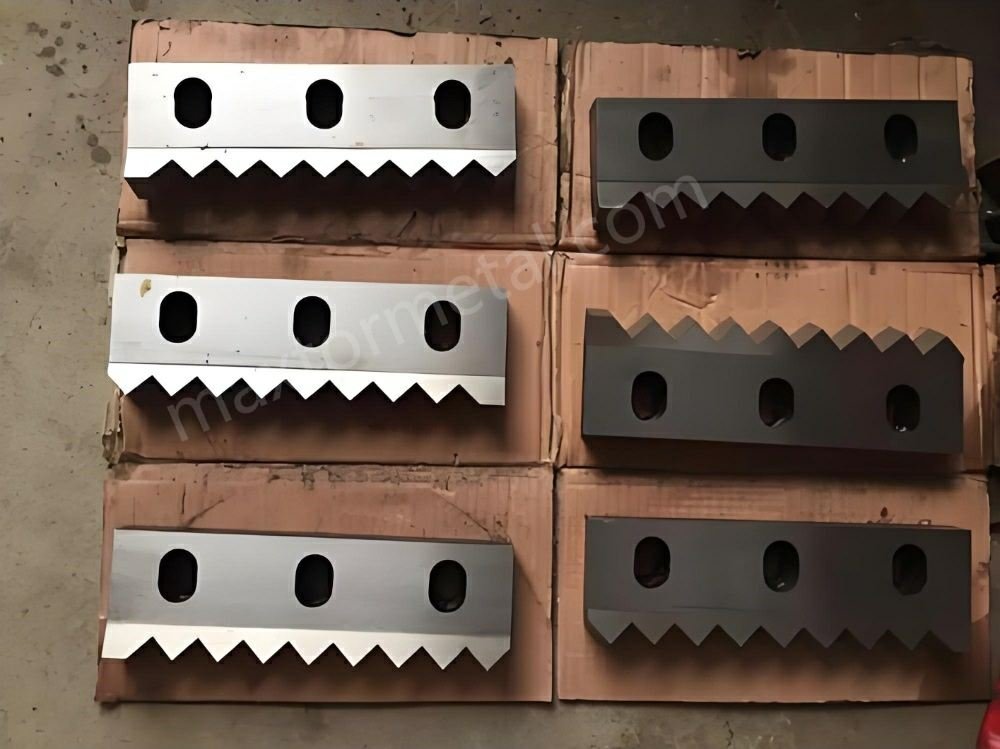
This is where most teams waste time. Instead of debating opinions, treat the damage as data and work through the most likely shredder knife chipping causes in a repeatable order.
Before you adjust anything, interpret the pattern. It helps you avoid “fixes” that just move the problem.
Chipping on knife corners (small chunks missing at the tip)
Common signals:
- Impact with hard contaminants
- Excessive local load due to incorrect clearance or a high spot
- Knife seating issues (debris behind knife, uneven clamp pressure)
Random chipping across multiple knives in one event
Common signals:
- A single severe impact/jam (metal block, thick WEEE cluster)
- Incorrect operating setup (screen/ram settings or too aggressive feed for the material)
Chipping concentrated near one side of the rotor
Common signals:
- Misalignment (rotor to counter knife)
- Bearing wear, rotor runout, or uneven housing wear
- Localised clearance deviation (one end tight)
चरण 3: काउंटर नाइफ क्लीयरेंस पर सिंगल शाफ्ट श्रेडर ब्लेड (Single Shaft Shredder Blade) के चिपिंग जोखिम को सत्यापित करें (अनुमान न लगाएं)
If you only do one thing after a chipping event, do this.
इनपुट: machine isolated and accessible.
कार्रवाई: measure and adjust काउंटर नाइफ क्लीयरेंस (counter knife clearance) to the OEM spec.
क्या जांचें:
- Clearance along the full knife length (not just one point)
- Parallelism: the rotor knife path should be consistent relative to the counter/bed knife
- Counter knife spacer condition (wear, deformation)
- Evidence of rubbing/contact marks (polishing, heat tint, smeared metal)
आउटपुट: clearance restored to spec and consistent end-to-end.
यह कब पूरा हुआ: you can document clearance readings and confirm there are no high spots.
कुंजी ले जाएं: A “slightly tight” setting can turn normal cutting loads into brittle edge failure. A “slightly wide” setting can increase tearing and impact loading. Both can contribute to shredder blade premature failure.
चरण 4: नाइफ सीटिंग, क्लैम्पिंग और श्रेडर नाइफ इंस्टॉलेशन टॉर्क की जांच करें
Chipping is often preceded by micro-movement: the knife shifts, the load becomes uneven, and the edge fails.
इनपुट: knives accessible.
कार्रवाई: inspect interfaces and confirm bolt torque per OEM.
Inspect:
- Debris, burrs, or dents behind knives and clamp bars
- Clamp bar flatness and contact pattern
- Bolt condition (stretching, thread damage, galling)
- Seating faces for fretting (fine black dust), which indicates movement
Torque discipline (installation torque):
- Use a calibrated torque wrench (not an impact gun)
- Follow the tightening sequence and re-torque protocol from the machine OEM
- If your site standard allows it, mark bolts after tightening so you can spot loosening at a glance
आउटपुट: knives are seated flat, clamping is even, and bolts are torqued correctly.
यह कब पूरा हुआ: contact faces are clean and uniform, and torque is verified—not estimated.
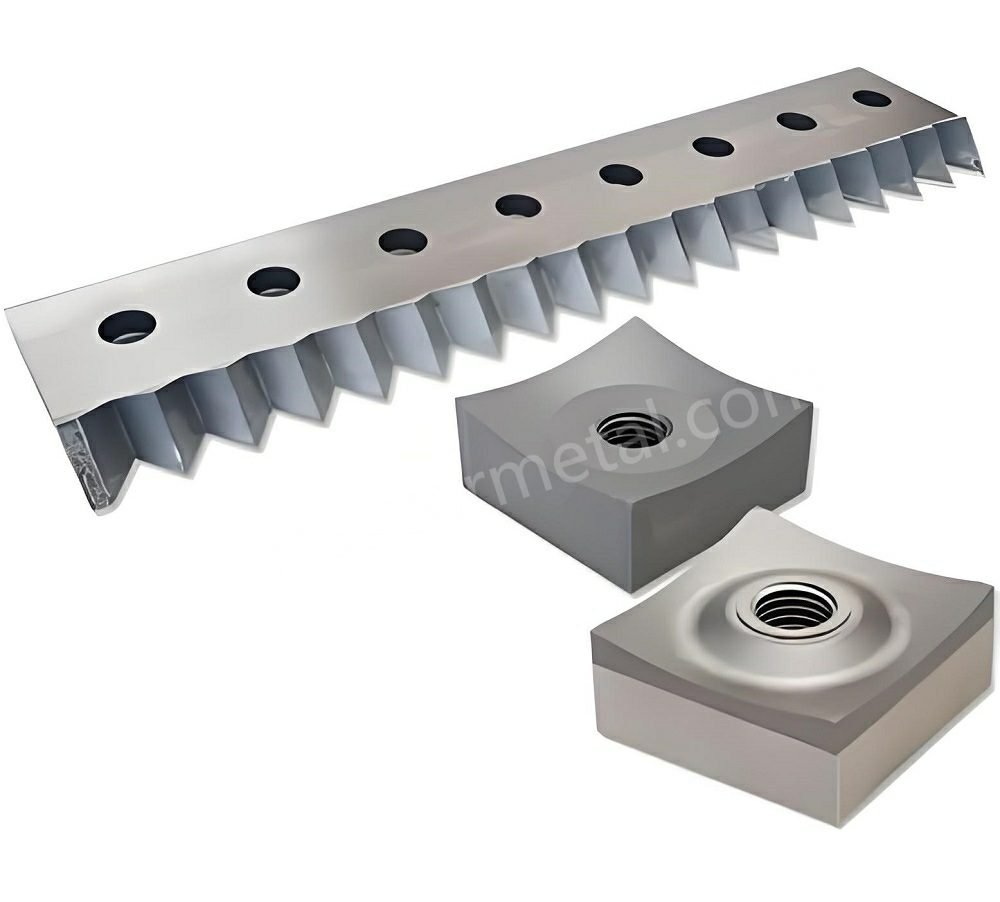
If chipping keeps returning on the same side/zone, stop treating it as a consumable issue.
इनपुट: repeated failures or side-biased chipping.
कार्रवाई: validate alignment and mechanical health.
Checklist:
- Bearing condition (play, noise history, temperature trend)
- Rotor runout (dial indicator if available)
- Counter knife mounting faces (wear steps, distortion)
- Rotor knife pocket wear (knife sits differently over time)
आउटपुट: a go/no-go decision: is the geometry stable enough to justify new knives?
यह कब पूरा हुआ: you’ve either confirmed geometry is within OEM tolerance or identified the mechanical repair required.
सामान्य गलतियाँ (और इसके बजाय क्या करें)
- Don’t set clearance “by feel.” Do measure at multiple points and record readings against the OEM spec.
- Don’t use an impact gun for final tightening. Do use a calibrated torque wrench and the OEM tightening sequence.
- Don’t reuse suspect bolts that show stretching/galling. Do replace fasteners per OEM guidance and track replacements.
- Don’t ignore repeat failures on one side of the rotor. Do check alignment, runout, and mounting-face wear before fitting new knives.
- Don’t keep running after a severe jam/impact event. Do stop, inspect, and re-verify seating/clearance before restart.
- Don’t copy torque/clearance/hardness numbers from another machine. Do use the correct OEM spec for your exact model/revision.
चरण 6: प्रक्रिया की समस्याओं को नाइफ की समस्याओं से अलग करें (फीड, सेटिंग्स और दूषित पदार्थ)
If the knives are failing early, ask: did the job change?
इनपुट: recent change in throughput, material mix, or output spec.
कार्रवाई: look for load spikes and impact events.
- Mixed feed with hard inclusions (metal, stone, dense WEEE fragments) increases impact risk
- Aggressive push ram settings can drive shock loads into the edge
- Pushing throughput beyond stable cutting increases heat and edge stress
आउटपुट: a practical process adjustment list.
यह कब पूरा हुआ: you can name the top 1–2 process variables likely driving shock load.
चरण 7: श्रेडर ब्लेड सामग्री का चयन—स्टील कब बदलें बनाम सिस्टम को कब ठीक करें
Material selection matters, but it’s rarely the first lever to pull. Change material only after geometry and installation checks are clean.
इनपुट: repeated chipping after clearance + installation verification.
कार्रवाई: match blade material/heat treatment to your feed risk profile.
A practical way to think about it:
- High impact / contamination risk → prioritise toughness and chipping resistance
- High abrasion (filled plastics, grit, fibre) → prioritise wear resistance, but don’t ignore brittleness risk
From the MAXTOR METAL shredder blade range, commonly specified materials include SKD-11/D2 and DC53 (selection should follow your application and OEM constraints).
If you’re switching materials, require:
- material certification for each batch
- heat-treatment traceability (process control evidence)
- incoming + in-process + final inspection records where available
To make material trials more reliable, align on what gets measured and which test methods are used (your OEM/spec may require different standards):
- Chemical composition / material certificate (heat number traceability)
- Hardness testing (e.g., Rockwell hardness testing per ISO 6508 series)
- Impact toughness when chipping is the dominant failure (e.g., Charpy impact testing per ISO 148-1)
- Microstructure/metallographic checks if heat-treatment consistency is in doubt
- Dimensional and edge-prep inspection (drawing revision + tolerance + edge prep definition)
महत्वपूर्ण: do not copy hardness/torque/clearance numbers from other machines. Use OEM specs and validate results in a controlled trial (hours to first chip, tonnes processed, changeover frequency).
आउटपुट: a controlled material trial plan.
यह कब पूरा हुआ: you can state what changed, why it should help, and what metric will prove success (hours to first chip, tonnes processed, changeover frequency).
चरण 8: एक रोकथाम योजना बनाएं जो अनियोजित डाउनटाइम (unplanned downtime) को कम करे
Use this as a weekly/monthly routine.
Operational controls
- Define “do not shred” contaminants and enforce upstream screening where possible
- Treat jam events as root-cause triggers, not normal production noise
Maintenance controls
- Standardise your clearance verification method and recording
- Standardise bolt replacement intervals if bolt stretch/fretting is observed
- Keep a set of known-good spacers/clamp components for quick swaps
Procurement controls (how to stop repeat failures from supplier variance)
- Lock the specification: drawing revision, tolerances, edge prep, and material standard
- Require traceability: material certs and inspection evidence
- Keep a safety stock sized to your real lead time and failure rate
जहां MAXTOR METAL फिट बैठता है (वैकल्पिक)
If your failure snapshot points to fit/compatibility issues, material mismatch, or inconsistent batch quality, it can help to work with a supplier that supports custom manufacturing from drawings/sketches/photos and provides documented QC checkpoints.
MAXTOR METAL provides custom industrial blades and shredder knife sets with OEM/ODM support and structured inspection steps (first-article, incoming material inspection, in-process, and final). See their product pages for:
- MAXTOR METAL shredder blades
- Single shaft shredder rotary/motorized blades
- Single shaft shredder fixed/counter/bed knives
सामान्य प्रश्न
What’s the fastest way to reduce single shaft shredder blade chipping?
Start with repeatable basics: document the failure pattern, then verify counter knife clearance and knife seating/torque to OEM spec. If those are inconsistent, changing material usually won’t fix the root cause.
Can incorrect counter knife clearance really cause chipping?
Yes. Clearance that’s too tight can create local overload and edge contact. Clearance that’s too wide can increase tearing and impact loading. In both cases, the edge sees abnormal stress that can trigger chipping.
Is chipping always caused by hard contaminants?
Not always. Contaminants are a common trigger, but repeated chipping on the same side/zone often points to misalignment, runout, or inconsistent seating/clamping.
Should we switch to a harder steel to stop chipping?
Hardness can improve wear resistance, but chipping is often a toughness problem—especially in mixed feed with impact events. Treat material changes as a controlled trial after mechanical checks are confirmed.
What should we ask a supplier for to avoid premature failure?
Ask for traceability and repeatability: material certification, heat-treatment evidence, inspection steps, and clear drawing/tolerance control. Procurement control is a downtime control.
अगले कदम
If you want a faster root-cause diagnosis, share (1) photos of the chipped edge, (2) your feedstock mix, and (3) the knife drawing or key dimensions. We can suggest a practical check sequence and a material option shortlist focused on reducing unplanned downtime.
संदर्भ (उल्लिखित मानक)
- ISO 6508-1 — Metallic materials — Rockwell hardness test — Part 1: Test method (ISO standard page): https://www.iso.org/standard/70460.html
- ISO 148-1 — Metallic materials — Charpy pendulum impact test — Part 1: Test method (ISO standard page): https://www.iso.org/standard/63802.html
Note: Your OEM specification or customer drawing may require additional parts (machine verification, reference blocks, specimen preparation) or alternative standards. Always align the acceptance criteria with the controlling specification.
लेखक
टॉमी टैंग — वरिष्ठ बिक्री अभियंता, नानजिंग मेटल इंडस्ट्रियल
- 12 years in industrial blade applications and sourcing support
- प्रमाणपत्र: सीएसई, सीएमई, सिक्स सिग्मा ग्रीन बेल्ट, पीएमपी
- Website: https://maxtormetal.com/

 English
  Spanish
  Italian
  French
  Portuguese
  Russian
  German
  Arabic
  Hindi
Hindi  Vietnamese
  Indonesian
  Japanese
  Korean
2 प्रतिक्रियाएं