

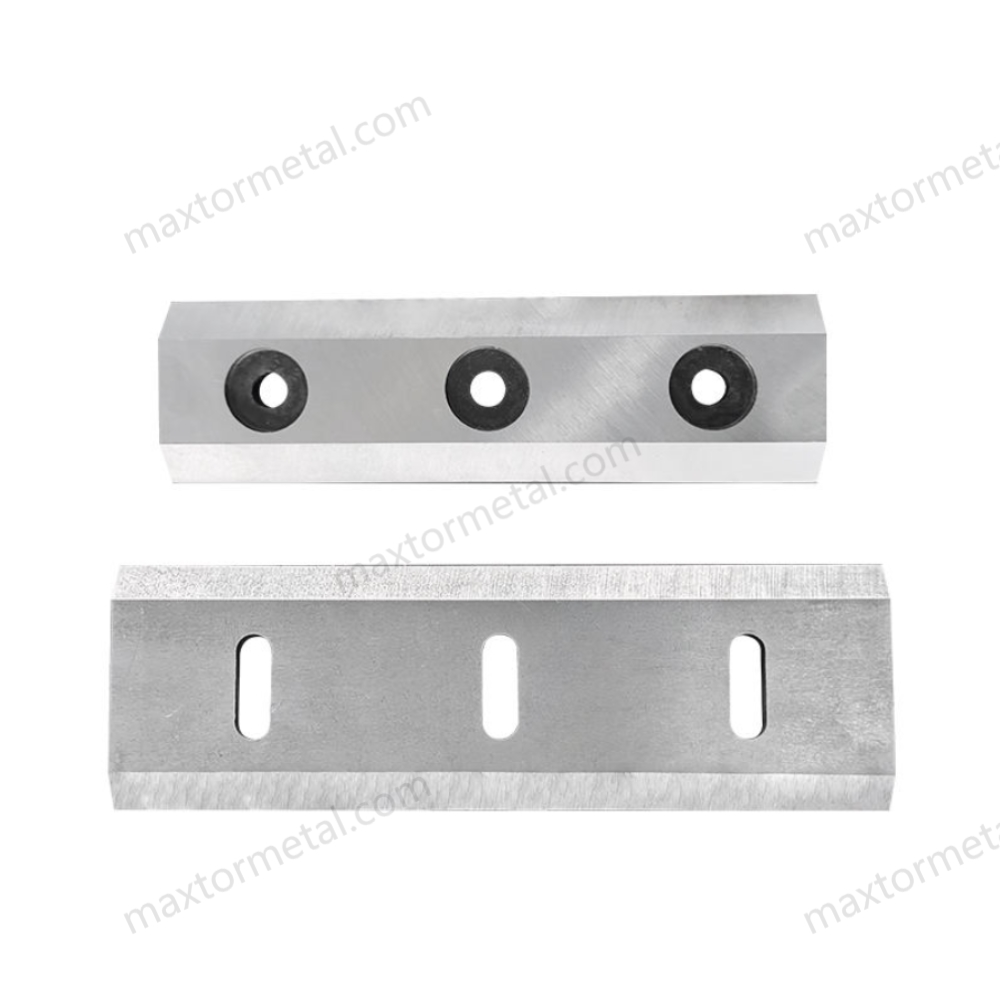
العناية بك شفرات مفرمة الخشب أسهل مما تعتقد. كل ما عليك فعله هو الحفاظ على نظافتها، وفحصها بحثًا عن أي تلف، وشحذها، واستبدالها في الوقت المناسب، وتخزينها بشكل جيد. عندما تفعل ذلك، فإنك تعزز سلامتها وأداءها وعمرها الافتراضي.
- يمكن أن تساعد العناية المنتظمة بالشفرات في إطالة عمر شفرات المفرمة بنسبة تصل إلى 50%.
- نظف الشفرات بعد كل استخدام لمنع الصدأ وتراكم الرواسب.
- تعمل الشفرات الحادة والمحاذية بشكل أفضل وتحافظ على سلامتك.
يمكن لهذه العادات البسيطة أن توفر لك المال وتساعدك على تجنب الحوادث.
النقاط الرئيسية
- تساعد العناية بشفرات مفرمة الخشب في إطالة عمرها الافتراضي.
- تنظيف الشفرات بعد استخدامها يمنع الصدأ وتراكم الأوساخ.
- تعمل الشفرات الحادة والمستقيمة بشكل أفضل وتحافظ على سلامتك.
- افحص شفراتك يوميًا بحثًا عن أي تلف لتجنب الحوادث.
- استخدم الأدوات والزيوت المناسبة لمساعدة المفرمة على العمل بكفاءة.
- احفظ المفرمة في مكان جاف حتى لا تصدأ.
- راقب عمر شفراتك واشحذها أو استبدلها عند الحاجة.
- اقرأ تعليمات الشركة المصنعة لتجنب إتلاف المفرمة.
لماذا يجب صيانة شفرات مفرمة الخشب
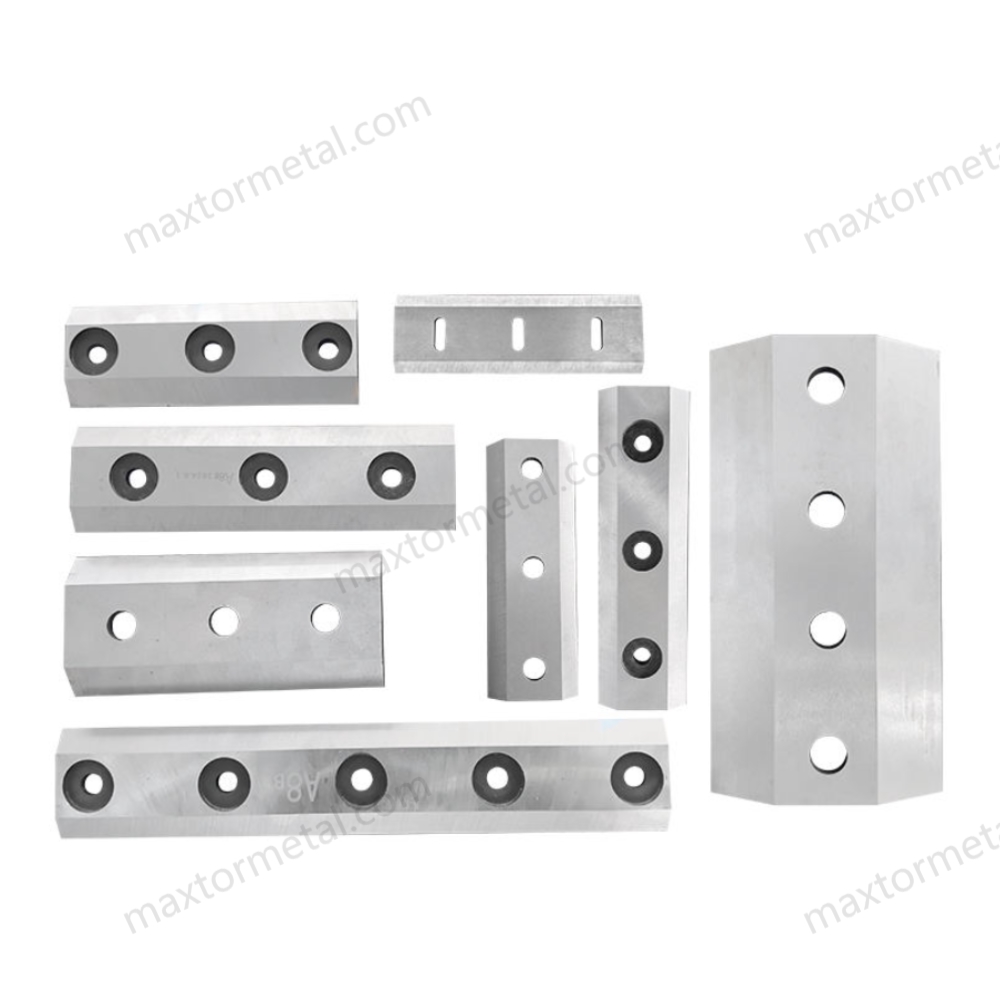
مخاطر السلامة
إنك ترغب في الحفاظ على سلامتك عند استخدام مفرمة الخشب. يمكن للشفرات الثلمة أو التالفة أن تجعل الآلة تعمل بجهد أكبر وتتصرف بطرق غير متوقعة. عندما تتعرض الشفرات للتشقق أو الانحناء، فإنها قد تقذف قطع الخشب في اتجاهات عشوائية، مما قد يتسبب في إصابتك أو إصابة أي شخص قريب منك. بل إن الشفرات المفككة أو المتصدعة قد تتكسر أثناء الاستخدام. يمكنك تجنب هذه المخاطر عن طريق فحص الشفرات بانتظام واستبدالها عند الحاجة.
نصيحة: ارتدِ دائمًا القفازات وواقي العينين عند التعامل مع الشفرات أو فحصها.
تأثير الأداء
الشفرات الحادة تجعل مفرمتك تعمل بشكل أفضل. عندما تحافظ على شفراتك في حالة جيدة، فإنك تحصل على قطع نظيف وسريع. وإذا تركت الشفرات تصبح ثلمة، فستلاحظ المشاكل على الفور:
- تباطؤ المفرمة وزيادة تكرار انسدادها.
- ستحتاج إلى استهلاك المزيد من الوقود لإنجاز نفس المهمة.
- تنتج الآلة رقائق خشبية غير متساوية وتهدر الخشب.
يمكن للشفرات المتآكلة أن تقلل إنتاجيتك إلى النصف. بل قد تستهلك وقودًا أكثر بثلاث مرات إذا لم تحافظ على حدة شفراتك. يمكن للشفرات الجديدة أن تزيد من إنتاجية مفرمتك بنسبة تتراوح بين 15% إلى 30%، اعتمادًا على نوع الخشب المستخدم. وهذا يعني إنجاز المهام بشكل أسرع وتوفير المال المنفق على الوقود.
التكلفة والعمر الافتراضي
إن العناية بشفراتك توفر لك المال. وعندما تستخدم شفرات عالية الجودة، مثل تلك التي تصنعها Nanjing Metal Industrial, ، فإنك تحصل على قيمة أكبر. تمر هذه الشفرات بمراحل تقسية خاصة تجعلها تدوم لفترة أطول من الشفرات القياسية. لن تحتاج إلى استبدالها بشكل متكرر، مما يعني تقليل فترات التوقف عن العمل وتقليل الحاجة لشراء قطع غيار جديدة.
- الشفرات التي تدوم طويلاً تعني شراء قطع غيار أقل.
- ستقضي وقتًا أقل في إصلاح مفرمتك ووقتًا أطول في العمل.
- تساعد الصيانة الجيدة في إطالة العمر الافتراضي للآلة بأكملها.
إذا حافظت على شفراتك حادة ونظيفة، فإنك تحمي استثمارك. كما تتجنب فواتير الإصلاح الباهظة وتحافظ على تشغيل مفرمتك بسلاسة لسنوات.
شفرات مفرمة الخشب: التنظيف والفحص
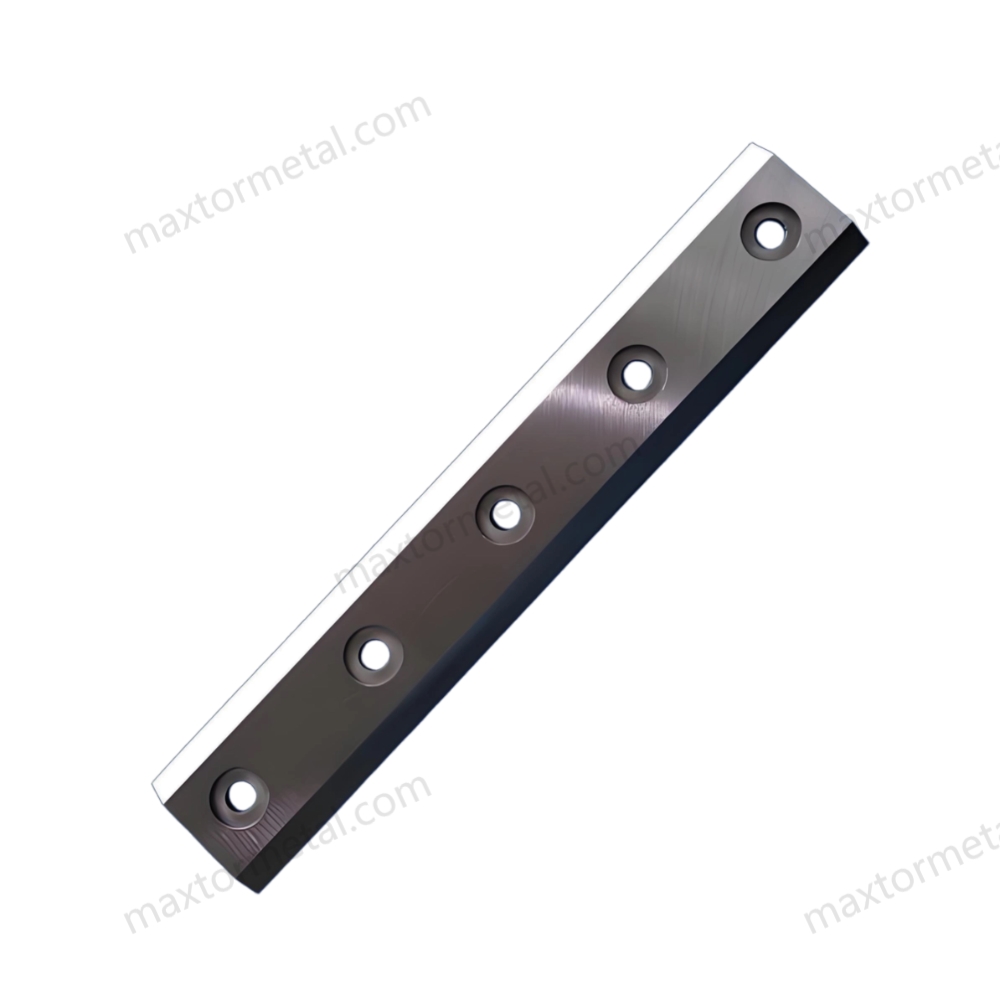
تبدأ المحافظة على شفرات مفرمة الخشب في أفضل حالاتها بالتنظيف المنتظم والفحص الدقيق. يمكنك منع الصدأ وتجنب الانسدادات واكتشاف المشكلات مبكرًا إذا جعلت هذه الخطوات جزءًا من روتينك.
طرق التنظيف
الأدوات والمواد
لا تحتاج إلى أدوات معقدة لتنظيف شفراتك. إليك ما يعمل بشكل أفضل:
- فرشاة صلبة أو فرشاة سلكية لفرك العصارة والرواسب
- خرق نظيفة لمسح الأسطح المعدنية
- منظف معتدل وماء للتخلص من التراكمات اللزجة
- زيت آلات خفيف أو بخاخ واقٍ من الصدأ
- قفازات السلامة وواقي العينين
إذا كنت تستخدم شفرات من صلب الأدوات D2 أو DC53، فستجد أنها تقاوم التآكل ولكنها لا تزال بحاجة إلى التزييت لمنع الصدأ. وتتحمل الشفرات ذات الحواف المدرجة من HSS المهام الشاقة ولكنها قد تصدأ إذا تُرِكت متسخة. أما الشفرات ذات الحواف المدرجة من Tungsten Carbide فتقاوم التآكل بشكل أفضل، ولكن العصارة والأوساخ قد تتراكم عليها أيضًا. احرص دائمًا على مطابقة طريقة التنظيف مع مادة الشفرة للحصول على أفضل النتائج.
تردد التنظيف
ينبغي عليك تنظيف شفرات مفرمة الخشب بعد كل استخدام. تحافظ هذه العادة على الشفرات من الصدأ وتمنع تراكم الرواسب. إليك قائمة فحص سريعة:
- أزل جميع رقائق الخشب والغبار من منطقة الشفرة.
- Wipe down the blades and metal parts with a clean rag.
- Use a brush to scrub off any sap or sticky spots.
- Apply a thin coat of oil to the blades before storing.
نصيحة: Make cleaning and inspection part of your regular care. It only takes a few minutes, but it can save you hours of repair time later.
خطوات التفتيش
Wear & Damage Signs
You want your chipper to run smoothly. That means checking your blades for signs of trouble every morning before you start. Look for:
- Cracks, chips, or bent edges
- Dullness or uneven wear
- Thick or stringy wood chips coming out of the machine
- More vibration or noise than usual
- The chipper running slower or jamming
If you see any of these signs, it might be time for sharpening blades or even replacing them. Always follow the manufacturer’s guidelines for when to sharpen or swap out your blades.
Sap, Sand, Stone Effects
Sap, sand, and stones can do a number on your blades. Sap makes blades sticky and dulls the edge. Sand and stones can chip or crack the blade surface. After each use, check for:
- Sticky residue from sap
- Scratches or nicks from sand and stones
- Unusual marks or dents
Clean off sap right away with a brush and mild detergent. If you spot chips or cracks, replace the blade to keep your chipper safe and efficient.
Fastener Checks
Bolt Tightening
Loose bolts can turn a simple job into a dangerous one. Here’s how you can keep everything tight and safe:
- Always wear cut-resistant gloves when handling blades.
- Remove the access panel to reach the blades.
- Clean debris from the bolts and check for damage or rust.
- Loosen and remove the bolts if you need to take out the blade.
- Clean the mounting surface before putting in a new blade.
- Use new bolts if the old ones look worn or corroded.
- Tighten bolts to the correct torque (check your manual for the right number).
- Re-secure the access panel before starting the chipper.
Field Tips
- Fasteners wear out over time. Inspect them for damage or distortion before reusing.
- Always torque bolts to the right specification. Too loose or too tight can cause problems.
- Keep a small emergency kit with spare bolts and a torque wrench in your toolbox.
ملحوظة: A quick check before each job can prevent accidents and keep your wood chipper blades working their best.
العناية بالشفرات وشحذها
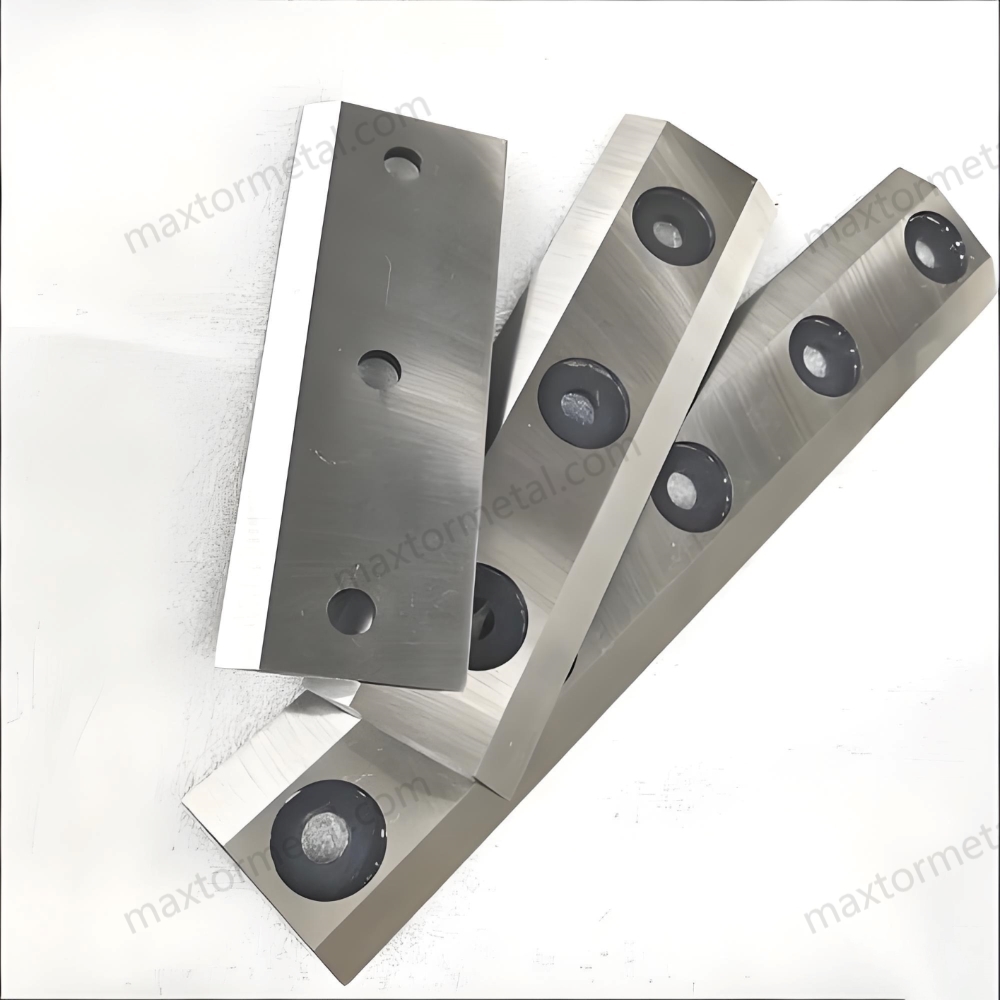
Taking care of your blades is the secret to getting the best results from your chipper. If you follow a few simple steps, you can keep your machine running smoothly and safely.
تقنيات الشحذ
You have a few options when it comes to sharpening blades. Some people like to do it themselves, while others prefer to let a pro handle it. Here’s what you need to know:
Manual vs. Professional
You can sharpen your blades at home with the right tools. Here are some common methods:
- Disc Sanders: These give your blades a smooth finish and work quickly.
- Wet Wheels: These keep the blade cool while you sharpen, which helps prevent damage.
- Belt Sanders: These are effective but need careful handling to avoid mistakes.
- آلات تجليخ المقاعد: These work fast, but you need a steady hand and must keep the blade cool. Aim for a bevel angle between 30 and 45 degrees.
- Hand Sharpening: Use a sharpening stone or a honing guide for precise results, though it takes more time.
If you want the sharpest edge or have high-end blades, you might want to use a professional sharpening service. Companies like نانجينغ Metal الصناعية can help you get the perfect edge and extend the life of your blades.
نصيحة: Always keep the blade cool while sharpening. Overheating can ruin the edge.
تردد الشحذ
How often should you sharpen your blades? It depends on how much you use your chipper and what kind of wood you chip. Here’s a quick guide:
| نوع الاستخدام | تردد الشحذ |
|---|---|
| Professional Use | Every 20–25 hours of operation |
| الاستخدام العرضي | Inspect after each project, sharpen as needed |
| Softwoods | Up to 100 hours lifespan |
| Hardwoods | 4–5 hours lifespan |
| Dirty Wood | 2–3 hours lifespan |
If you chip hardwoods or dirty wood, you’ll need to sharpen more often. For most users, sharpening blades every 8–10 hours of use keeps your chipper working its best. Always check the blade edge before each job.
Blade Rotation & Replacement
Keeping your blades sharp is important, but so is making sure they wear evenly. This helps your chipper run smoothly and makes your blades last longer.
متى يتم الاستبدال
You should replace your blades if you see:
- Cracks, chips, or heavy wear on the cutting edge
- Blades that are too narrow to meet the anvil
- Any sign of bending or warping
Reversible knives can be sharpened several times before you need new ones. If you’re not sure whether to sharpen or replace, check out the خيارات الشفرات المخصصة for a perfect fit.
Rotating for Even Wear
To avoid uneven wear, flip or rotate all your knives at the same time. Mixing sharp and dull blades can cause vibration and poor chip quality. Here’s what you can do:
- Inspect blades after a few hours of use or if you notice a drop in performance.
- Flip or replace all knives together to keep the chipper balanced.
- Avoid running the chipper with a mix of old and new blades.
ملحوظة: Uneven wear can lead to more vibration and even damage your chipper over time.
Alignment & Calibration
Getting the right blade alignment makes a big difference in how well your chipper works. If the gap between the blade and the anvil is off, you’ll get poor cuts and more wear.
Setting Blade Gap
You want a small, even gap between the blade and the anvil. Too much gap means rough chips and wasted energy. Too little gap can cause the blades to hit the anvil and get damaged. Most chipper manuals suggest a gap of about 1–2 millimeters.
Calibration Tools
You can use simple tools to set the gap:
| Tool/Method | وصف |
|---|---|
| Hacksaw blade | Slide it between the knife and anvil to check the gap. |
| Sight method | Look for a thin line of light between the blade and anvil. |
| Anti-seize compound | Use on threads during reassembly for easier maintenance. |
نصيحة: Always double-check the gap after installing or rotating blades. A small adjustment can make a big difference in performance.
If you want to get the most out of your wood chipper blades, make sharpening, rotation, and calibration part of your regular routine. You’ll get cleaner chips, safer operation, and a longer-lasting machine.
صيانة مفرمة الخشب: التشحيم والوقاية من الصدأ
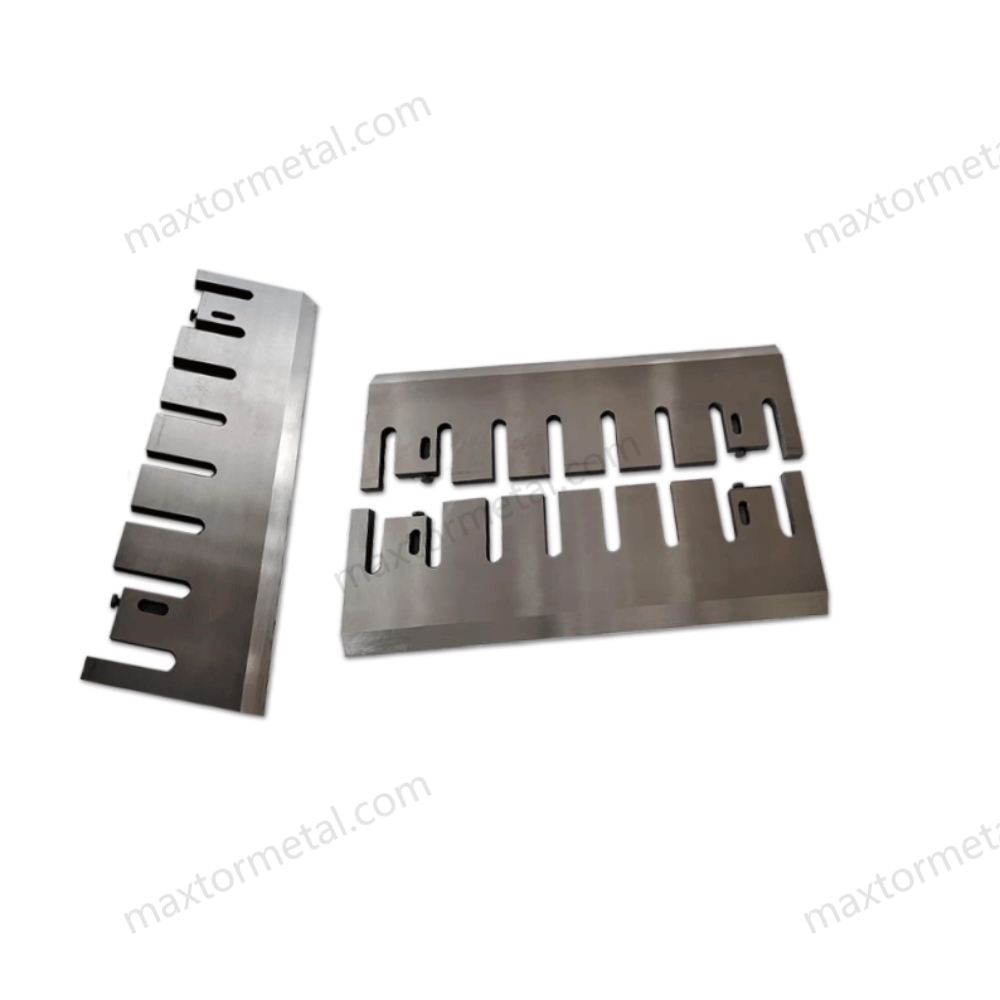
Taking care of your chipper blades goes beyond just sharpening and cleaning. Lubrication and rust prevention play a huge role in keeping your machine running smoothly. If you skip these steps, you might face stuck parts, rusty blades, or even a breakdown when you need your chipper most.
Lubrication Points
You want your wood chipper to work without hiccups. That means you need to know where to add oil or grease. Some parts need more attention than others. Here’s a quick look at the most important spots:
| Lubrication Point | أهمية |
|---|---|
| Bearings | Essential for preventing wear due to high RPMs |
| Hinges | Requires thinner oil for better penetration |
| Pivot Zones | Needs daily checks and oiling due to constant movement |
Bearings spin fast and take a lot of stress. If you forget to oil them, they can wear out quickly. Hinges let you open and close covers or guards. A drop of thin oil keeps them moving freely. Pivot zones move every time you use your chipper, so check them often and add oil as needed.
Recommended Lubricants
Choosing the right lubricant makes a big difference. Here are some tips to help you pick the best one:
- Always use the lubricants listed in your user manual.
- Quality lubricants form a protective film on metal surfaces, reducing friction and preventing wear and tear.
- Using the correct lubricants can lower maintenance costs and extend the lifespan of the machine.
- Use lubricants specifically designed for rust prevention.
- Consider rust removers and waxes to protect tools from oxidation.
- Regular maintenance is essential to keep tools clean and rust-free.
If you use high-performance blades, like those made from D2, DC53, HSS, or Tungsten Carbide, you still need to oil them. Even the toughest blades can rust if left unprotected.
Lubrication Schedule
You don’t have to oil everything every day, but a simple schedule helps you stay on track:
- Check and oil pivot zones daily, especially if you use your chipper often.
- Lubricate bearings every week or after every 10 hours of use.
- Add a drop of oil to hinges whenever they start to squeak or feel stiff.
- Wipe down blades with a light coat of oil after each use, especially before storage.
نصيحة: Keep a small bottle of oil and a rag in your toolbox. A quick wipe after each job can save you a lot of trouble later.
منع الصدأ
Rust can ruin even the best chipper blades. Moisture, sap, and dirt all speed up rusting. You can stop rust before it starts with a few simple habits.
الطلاءات الواقية
You don’t need fancy sprays to keep rust away. Here’s what works:
- Wipe blades and metal parts with a thin layer of machine oil after cleaning.
- Use special rust-preventive sprays or waxes for extra protection.
- Make sure all metal surfaces are dry before you put your chipper away.
A protective coating keeps air and water off the metal. This stops rust from forming, even if you store your chipper for weeks at a time.
نصائح التخزين
How you store your chipper matters just as much as how you use it. Here are some easy ways to protect your investment:
- Keep your machine dry all the time. Moisture is the enemy of metal.
- Put special coatings on metal parts to protect them.
- Use a dehumidifier in the place where you store your chipper.
- Store your chipper in a shed or garage, away from rain and snow.
- Cover the machine with a tarp if you keep it outside, but make sure air can still flow underneath.
When you get ready for off-season storage, follow these steps:
- Prepare for winter: Empty the fuel tank or add stabilizer, and clean the chipper.
- Prevent rust: Spray metal parts and store in a dry place.
- Spring inspection: Check for rust or damage, replace worn parts, and test the engine.
- Regular cleaning and inspection: Look for cracks or wear and address issues early.
ملحوظة: A little effort now saves you from big repairs later. Good storage keeps your chipper ready for action when you need it.
If you make lubrication and rust prevention part of your regular wood chipper maintenance, you’ll get more life out of your blades and your machine. Clean, oiled, and protected blades cut better and last longer, so you can tackle any job with confidence.
أفضل الممارسات التشغيلية
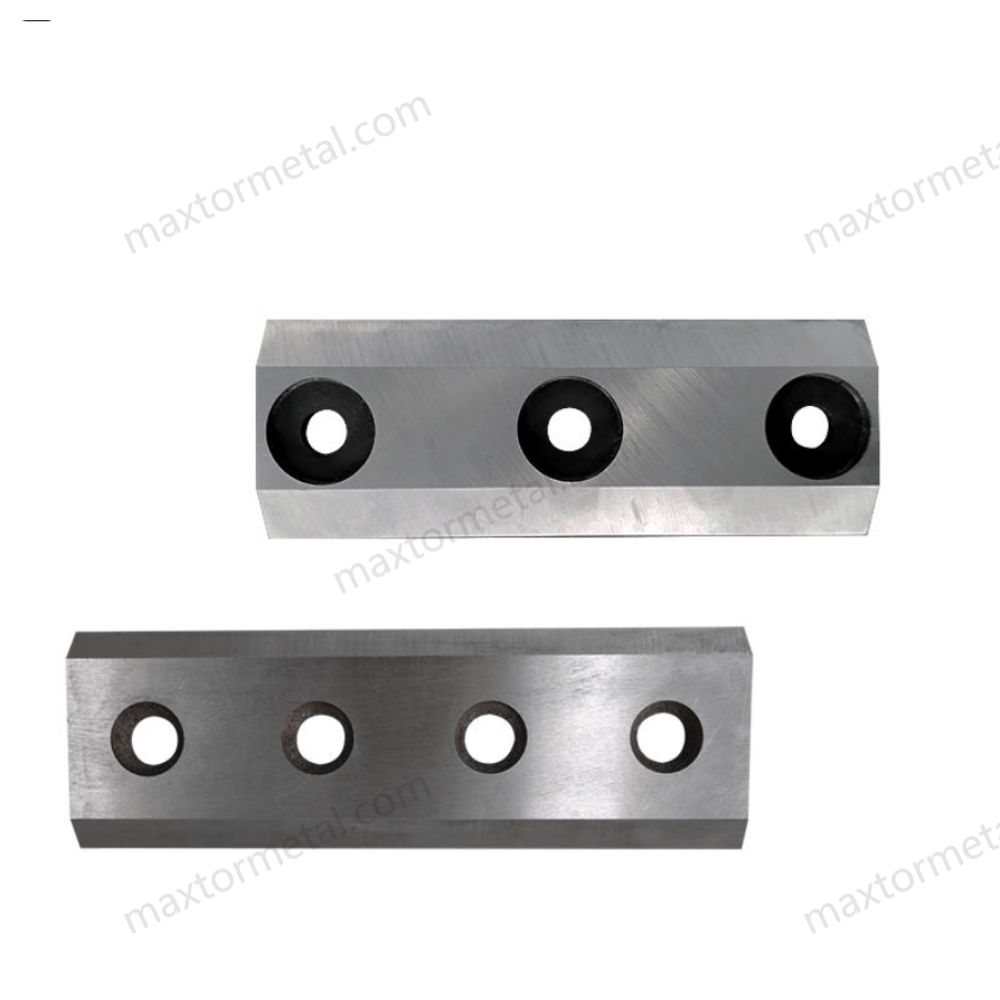
Keeping your portable wood chipper running smoothly means following a few smart habits. If you stick to the basics—using your machine the right way, tracking blade life, and staying prepared with spares—you’ll avoid headaches and keep your work on track.
Manufacturer Specs
تجنب التحميل الزائد
Every wood chipper comes with its own set of rules. You need to follow the specs from the manufacturer. These specs tell you the right size and type of wood to feed into your chipper. If you try to chip wood that’s too big or too hard, you can damage the blades or even the whole machine. High-quality blades, like those made from hardened tool steel or high-alloy steel, are tough, but they still need you to respect the limits.
نصيحة: Always check your chipper’s manual before starting a new job. If you’re working with hardwoods or large branches, make sure your chipper is built for it.
Precision manufacturing and the right materials make a big difference. When you use blades that match the specs—like those from Nanjing Metal Industrial—you get better performance and safer operation. Adjusting the clearance between the blade and the anvil, especially after sharpening, keeps your chipper working at its best.
Monitor Blade Life
You don’t want your chipper to stop working in the middle of a job. That’s why you need to keep an eye on blade life. Some people use special systems to track knife wear in real time, but you can also do it with a simple checklist. Here’s what to watch for:
- The chipper starts making uneven or rough chips.
- You notice more vibration or noise.
- The machine jams more often than usual.
- You see visible wear, chips, or cracks on the blades.
If you track blade sharpness, you’ll get better chip quality and waste less wood. You’ll also know when it’s time to replace or sharpen your blades, which means fewer surprises and more time working.
Spare Blades & Tools
Field Replacement
Accidents happen. Sometimes a blade chips or breaks when you least expect it. If you have spare blades on hand, you can swap them out and keep working. Relying on just one set of blades can slow you down, especially if you need to send them out for sharpening or inspection. Keeping extras in your kit means you’re always ready.
- Store spare blades in a dry, safe place.
- Keep the right tools for blade changes in your toolbox.
- Practice swapping blades at home so you’re ready in the field.
Emergency Kit
A good emergency kit can save your day. Here’s what you should pack:
| غرض | Why You Need It |
|---|---|
| Spare blades | For quick replacement |
| مفتاح عزم الدوران | To tighten bolts to the right level |
| Extra bolts | In case any get lost or damaged |
| Gloves & goggles | For safe handling |
| Cleaning supplies | To remove sap, sand, or debris |
ملحوظة: If you ever need to return a blade for inspection, the process can take time. Having spares means you don’t have to wait to get back to work.
Custom Blade Options & Support
Not every job is the same. Sometimes you need a blade that’s made just for your machine or your type of wood. Custom blades can give you better results than standard options. You can choose special materials, such as tungsten carbide, for extra wear resistance and longer life. Custom blades might cost more at first, but they save you money on replacements and boost your chipper’s efficiency over time.
نصيحة: Custom blades can help you handle tough jobs, reduce downtime, and improve your recycling results.
Making these best practices part of your routine keeps your chipper safe, efficient, and ready for anything. Good maintenance, smart planning, and the right support make all the difference.
معايرة الشفرات
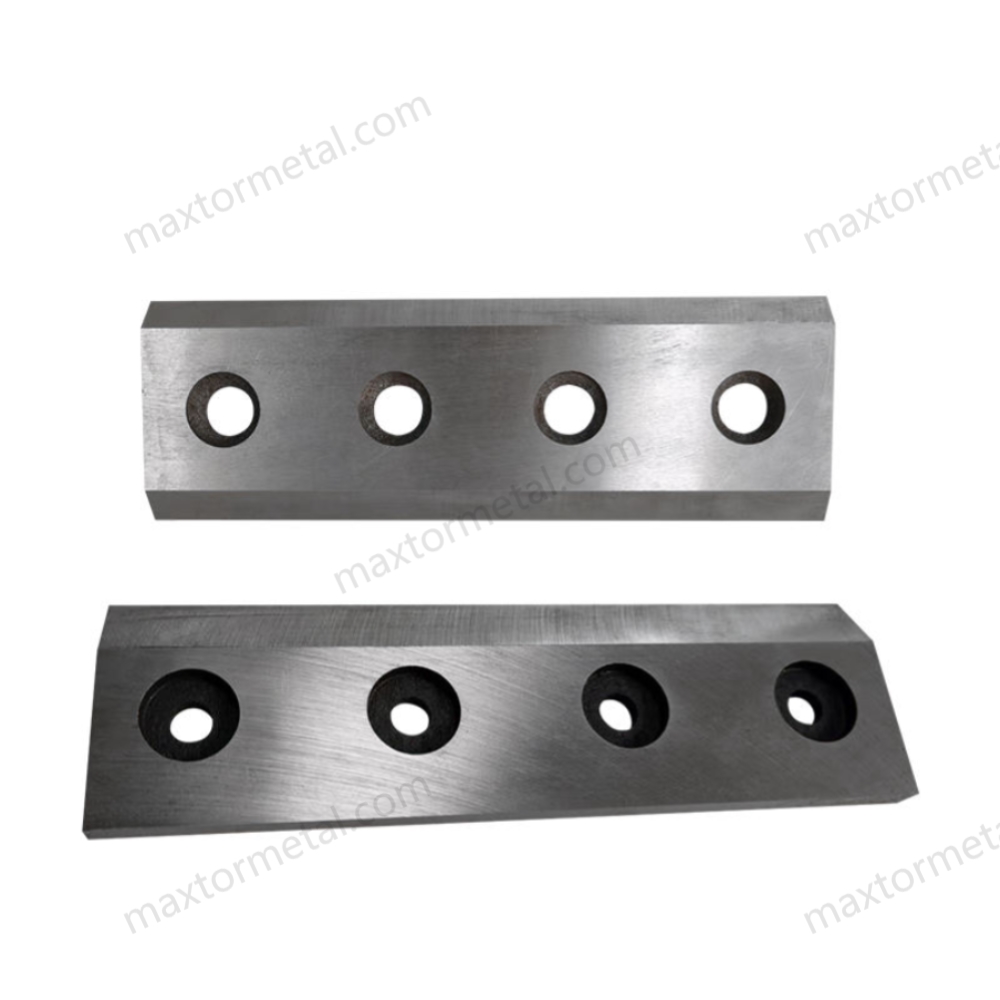
Getting the calibration right on your wood chipper blades makes a huge difference. If you set the gap between the blade and the anvil correctly, you get smooth chips, less wear, and a safer machine. If you skip this step, you might see jams, rough cuts, or even damage to your chipper. Let’s break down why calibration matters and how you can do it yourself.
Blade-to-Anvil Gap
Efficiency & Safety
You want your wood chipper to work fast and safe. The gap between the blade and the anvil controls how well your chipper cuts wood. If the gap is too wide, the blades tear the wood instead of slicing it. This makes the chipper work harder and can cause jams. If the gap is too tight, the blades might hit the anvil. That can dull or even break your blades.
A good gap keeps your wood chipper blades sharp longer. It also helps the machine run quietly and smoothly. You get even chips and less vibration. This means you stay safer and finish your work faster.
Here’s a quick look at the recommended blade-to-anvil gap for most portable wood chippers:
| عنصر | قياس |
|---|---|
| Lead-in Gap | 1mm |
| Lead-out Gap | 2mm |
You can check your chipper’s manual for the exact numbers, but these measurements work well for most machines. Always measure both the lead-in and lead-out sides. This keeps the cut even from start to finish.
Calibration Steps
You don’t need fancy tools to set the gap on your wood chipper blades. Here’s how you can do it:
- Turn off the chipper and disconnect the spark plug. Safety comes first.
- Open the access panel. Use gloves to protect your hands.
- Clean the area. Remove any wood chips, dust, or sap.
- Loosen the blade bolts. Don’t take them out—just loosen them enough to move the blade.
- Insert a feeler gauge or a thin piece of metal. A hacksaw blade works well for a 1–2mm gap.
- Adjust the blade position. Slide the blade until the gap matches the recommended size.
- Tighten the bolts. Make sure the blade stays in place.
- Check the gap at both ends. The lead-in should be 1mm, and the lead-out should be 2mm.
- Spin the drum or disc by hand. Make sure the blade doesn’t touch the anvil.
- Close the panel and reconnect the spark plug.
نصيحة: Always double-check your work. A small mistake can lead to big problems later.
You might notice that different wood chipper blades have different shapes. Rectangular blades are common on disc chippers, while curved blades show up on drum chippers. The calibration steps stay the same, but you need to check the gap along the whole edge. Some machines have adjustable anvils, so you can move the anvil instead of the blade.
الأخطاء الشائعة
It’s easy to make mistakes when calibrating wood chipper blades. Here are some things to watch out for:
- Guessing the gap: Always measure. Don’t just eyeball it.
- Forgetting to check both ends: The gap can change from one side to the other.
- Not cleaning the area: Dirt or sap can throw off your measurements.
- Mixing blade types: Don’t use different shapes or sizes together. This causes uneven cuts.
- Skipping the manual: Each chipper is a little different. Always check the instructions.
ملحوظة: If you use custom or high-performance blades, like tungsten carbide or HSS, you still need to set the gap right. The material doesn’t change the need for good calibration.
When you take time to calibrate your wood chipper blades, you get better results and a safer machine. Make calibration part of your regular maintenance routine. Your chipper—and your wallet—will thank you.
الصيانة البيئية والموسمية
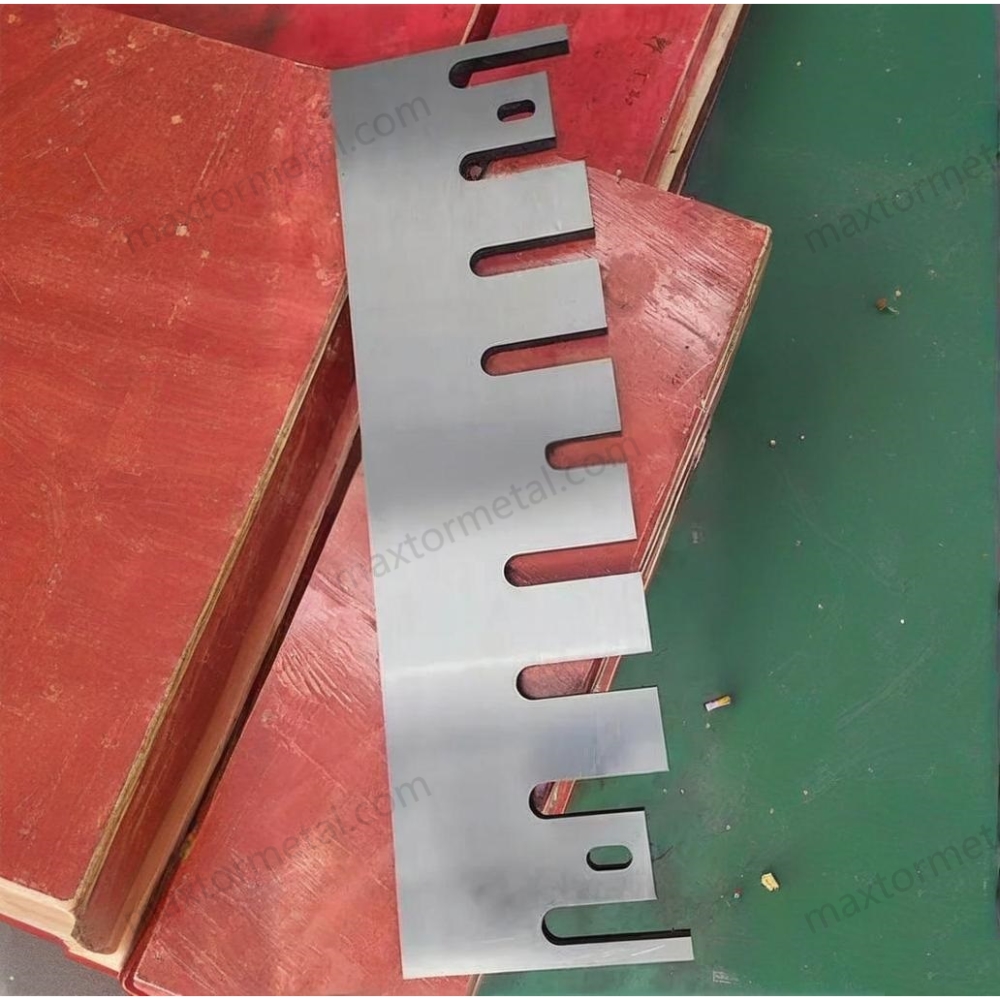
Taking care of your wood chipper blades means thinking about the weather, the environment, and the time of year. You face different challenges in summer, winter, or when working in sandy or muddy places. If you adjust your maintenance routine, you can keep your blades sharp and your chipper running strong all year.
Sand, Stones, Sap
التنظيف بعد الاستخدام
Sand, stones, and sticky sap can wear down your wood chipper blades fast. You might not see the damage right away, but these things can dull the edge or even chip the blade. After each use, you should:
- Brush off all dirt, sand, and wood chips from the blades and inside the chipper.
- Wipe the blades with a dry cloth to remove moisture and sap.
- Use a mild detergent if you find sticky spots that won’t come off.
- Dry the blades completely before you put the chipper away.
نصيحة: If you chip wood with a lot of sap, like pine, clean the blades right after you finish. Sap can harden and make cleaning much harder later.
Protection Strategies
You can protect your wood chipper blades from harsh conditions with a few smart moves. Here’s what works best:
- Keep your machine dry all the time. Water causes rust and weakens the blades.
- Put special coatings, like machine oil or rust-preventive spray, on all metal parts.
- Store your chipper in a dry place. Use a dehumidifier if you live in a damp area.
- Cover your chipper with a breathable cover. This keeps dust and moisture out but lets air flow.
- Clean your chipper and remove all dirt and plant bits after every job.
- If you use your chipper in sandy or rocky areas, check the blades more often for chips or cracks.
Blade material matters, too. D2 and DC53 tool steel blades handle wear from sand and stones better than regular steel. Tungsten carbide inlay blades resist chips and last longer in tough conditions. If you work in harsh environments, choosing the right blade material can save you time and money.
Off-Season Storage
Long-Term Prep
When you finish chipping for the season, you need to get your machine ready for a long rest. Good storage keeps your wood chipper blades sharp and rust-free. Here’s a simple checklist for long-term prep:
- Clean the machine to remove dirt, wood chips, and moisture that can cause rust.
- Lubricate moving parts, like bearings and hinges, before storing.
- Wipe all metal parts with a dry cloth and spray rust-prevention products on exposed areas.
- Drain the fuel or add a stabilizer so the fuel stays good.
- Do engine maintenance, like changing the oil and putting in a new air filter.
- Take out the battery and keep it somewhere dry.
- Store the chipper in a dry, covered spot to block dust and moisture.
ملحوظة: A little work now means your chipper will be ready to go when you need it next season.
Preventing Deterioration
You want your wood chipper blades to last as long as possible. Storing your chipper the right way stops rust and keeps the blades in top shape. Here are some easy ways to prevent deterioration:
- Wipe metal parts with a dry cloth after use to remove moisture.
- Spray rust-prevention products on blades and other exposed metal.
- Store your chipper away from rain or dampness. A shed or garage works best.
- Use a cover that lets air in, not a plastic tarp that traps moisture.
If you follow these steps, you protect your investment and avoid costly repairs. Remember, the right blade material helps, too. Tungsten carbide and HSS inlay blades resist rust and wear better during long storage, but all blades need good care.
نصيحة: Make a habit of checking your chipper every few weeks during storage. Look for signs of rust or moisture and fix problems early.
By adapting your maintenance routine to the season and your environment, you keep your wood chipper blades sharp, safe, and ready for any job.
You can keep your wood chipper blades working their best by following a few simple steps. Try these tips:
- Clean and inspect after each use.
- Sharpen and rotate blades regularly.
- Lubricate moving parts.
- Calibrate the blade gap.
- Store your chipper in a dry place.
Ready to get expert advice or custom solutions? Contact a sales engineer today for help with your next project.
التعليمات
How often should you sharpen wood chipper blades?
You should check your wood chipper blades after each use. Most people sharpen them every 8–10 hours of chipping. If you notice dull cuts or more jams, sharpen them sooner.
What signs show that wood chipper blades need replacing?
Look for cracks, chips, or bent edges. If your chipper makes rough chips, vibrates more, or jams often, it’s time to replace the blades.
Can you sharpen wood chipper blades at home?
Yes, you can. Use a sharpening stone, disc sander, or wet wheel. Always wear gloves and eye protection. If you want a perfect edge, you can ask a professional.
What’s the best way to prevent rust on wood chipper blades?
Wipe blades clean after each use. Add a thin coat of oil or rust-preventive spray. Store your chipper in a dry place. Moisture causes rust fast.
Do different blade materials need special care?
Yes. D2 and DC53 steel blades need oiling to stop rust. Tungsten carbide blades resist wear better but still need cleaning. Always match your care to the blade material.
How do you set the correct gap between blade and anvil?
Turn off the chipper. Use a feeler gauge or thin metal strip to measure the gap. Most chippers need a 1–2mm gap. Check your manual for the right size.
Is it safe to use wood chipper blades with small chips or nicks?
No. Even small chips can cause accidents or damage your chipper. Replace damaged blades right away to stay safe.
What tools should you keep for quick blade changes?
Keep spare wood chipper blades, a torque wrench, extra bolts, gloves, and cleaning rags in your kit. This helps you swap blades fast and get back to work.
انظر أيضا
اختيار سكاكين الفرامة الصناعية: حافة واحدة أم حافتان؟
سكاكين الفرامة الأسطوانية الصناعية: الموازنة بين سرعة القطع والمتانة وجودة الشظايا
مفتاح جودة الخشب المفروم: زوايا شفرات الفرامة القرصية المحسنة للأخشاب اللينة والصلبة
الدليل الشامل لـ مواد شفرات الفرامة: اختيار سبيكة الفولاذ المناسبة

 English
  Spanish
  Italian
  French
  Portuguese
  Russian
  German
  Arabic
  Hindi
Hindi  Vietnamese
  Indonesian
  Japanese
  Korean