

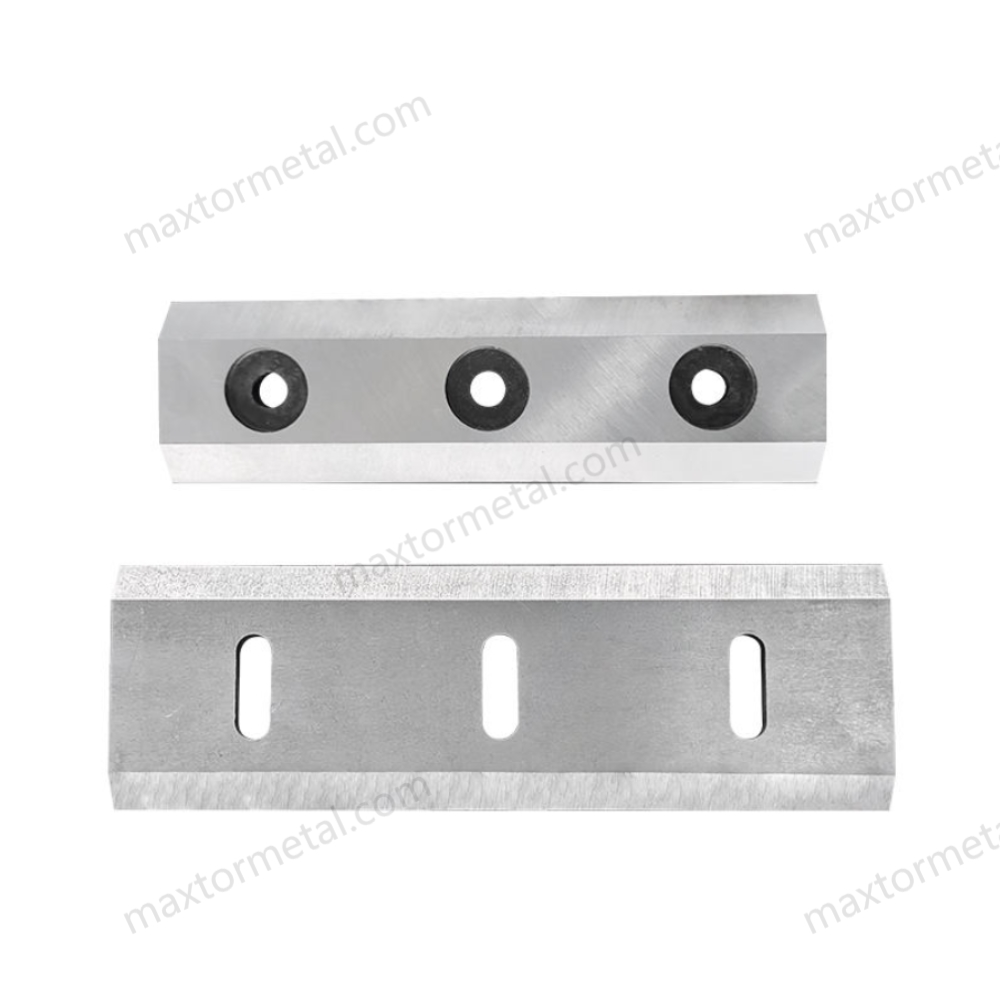
Cuidando do seu lâminas de triturador de madeira É mais fácil do que você imagina. Basta mantê-las limpas, verificar se há danos, afiá-las, substituí-las no momento certo e armazená-las corretamente. Fazendo isso, você aumenta a segurança, o desempenho e a vida útil delas.
- A manutenção regular das lâminas pode ajudar a prolongar a vida útil das lâminas do seu triturador em até 50%.
- Limpe as lâminas após cada utilização para evitar ferrugem e acúmulo de resíduos.
- Lâminas afiadas e alinhadas funcionam melhor e oferecem mais segurança.
Esses hábitos simples podem te ajudar a economizar dinheiro e evitar acidentes.
Principais conclusões
- Cuidar bem das lâminas do seu triturador de madeira ajuda a prolongar a vida útil delas.
- Limpar as lâminas após o uso evita ferrugem e acúmulo de sujeira.
- Lâminas afiadas e retas funcionam melhor e garantem sua segurança.
- Verifique diariamente se as lâminas estão danificadas para evitar acidentes.
- Use as ferramentas e os óleos corretos para que seu triturador funcione bem.
- Guarde o triturador em um local seco para evitar ferrugem.
- Observe a durabilidade das suas lâminas e afie-as ou troque-as quando necessário.
- Leia as instruções do fabricante para não danificar seu triturador de galhos.
Por que fazer a manutenção das lâminas do triturador de madeira?
Riscos de segurança
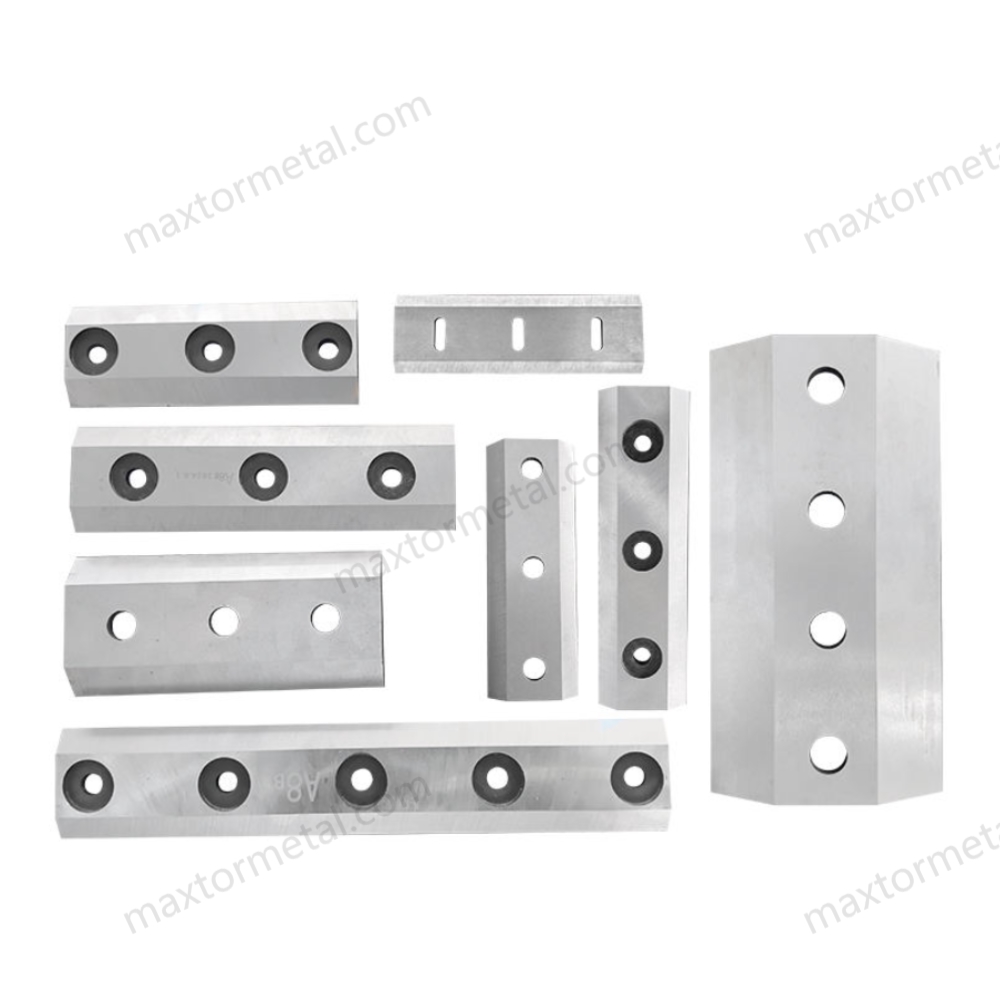
É importante garantir a sua segurança ao usar o triturador de madeira. Lâminas cegas ou danificadas podem fazer com que a máquina trabalhe mais e se comporte de maneiras inesperadas. Quando as lâminas lascam ou entortam, podem lançar pedaços de madeira em direções aleatórias, o que pode ferir você ou qualquer pessoa próxima. Lâminas soltas ou rachadas podem até se quebrar durante o uso. Você pode evitar esses perigos verificando as lâminas com frequência e substituindo-as quando necessário.
Dica: Use sempre luvas e proteção ocular ao manusear ou inspecionar lâminas.
Impacto no desempenho
Lâminas afiadas melhoram o desempenho do seu triturador de galhos. Mantendo as lâminas em bom estado, você obtém cortes limpos e rápidos. Se deixar as lâminas perderem o fio, você notará problemas imediatamente.
- O triturador fica mais lento e trava com mais frequência.
- Você precisa usar mais combustível para realizar a mesma tarefa.
- A máquina produz lascas irregulares e desperdiça madeira.
Lâminas desgastadas podem reduza sua produtividade pela metadeVocê pode até triplicar o consumo de combustível se não mantiver as lâminas afiadas. Lâminas novas podem aumentar a produção do seu triturador em 15 a 30 toneladas por minuto, dependendo do tipo de madeira utilizada. Isso significa que você termina os trabalhos mais rápido e economiza combustível.
Custo e Longevidade
Cuidar das suas lâminas economiza dinheiro. Quando você usa lâminas de alta qualidade, como as fabricadas pela Nanjing Metal IndustrialCom essas lâminas, você obtém ainda mais vantagens. Elas passam por etapas especiais de endurecimento que as tornam mais duráveis do que as lâminas comuns. Você não precisará substituí-las com tanta frequência, o que significa menos idas à loja e menos tempo de inatividade.
- Lâminas mais duráveis significam menos compras de reposição.
- Você passa menos tempo consertando seu triturador de galhos e mais tempo trabalhando.
- Uma boa manutenção ajuda a prolongar a vida útil de toda a sua máquina.
Ao manter as lâminas afiadas e limpas, você protege seu investimento. Além disso, evita grandes despesas com reparos e garante o bom funcionamento do seu triturador por muitos anos.
Lâminas de triturador de madeira: limpeza e inspeção
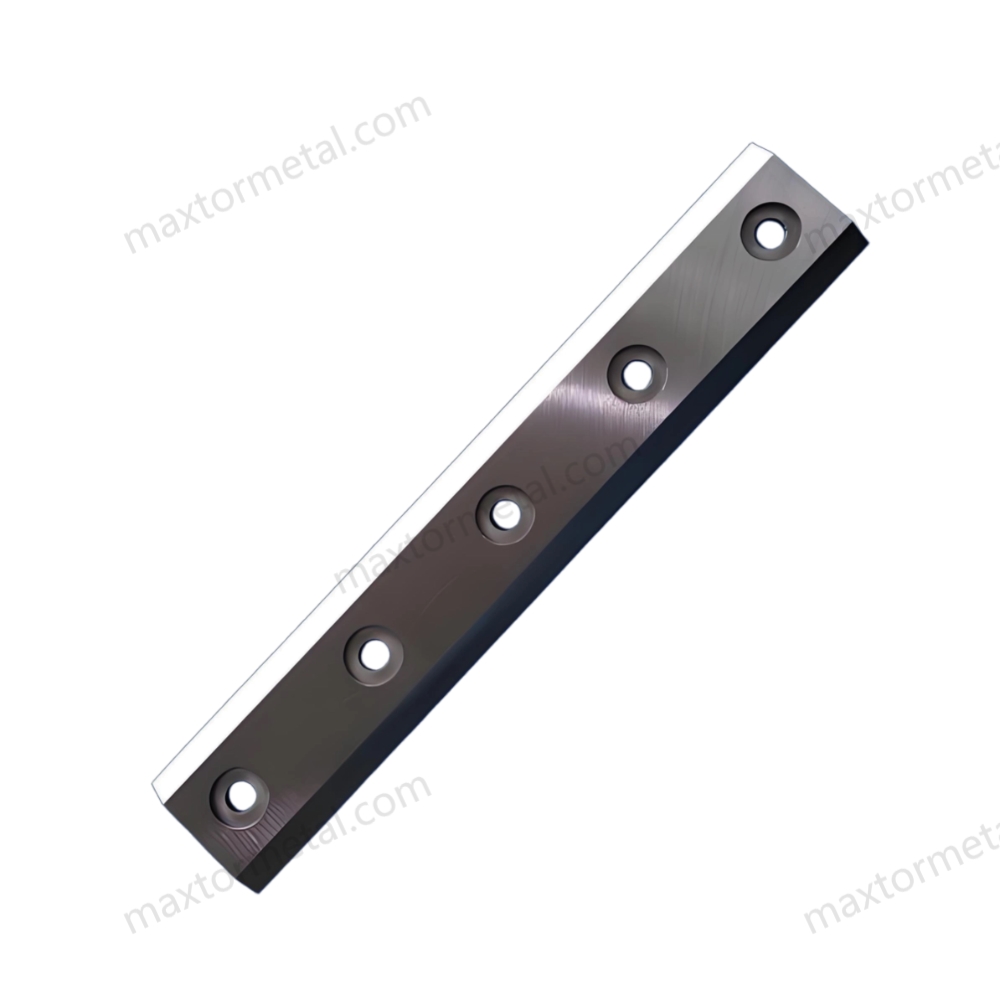
Manter as lâminas do seu triturador de madeira em perfeitas condições começa com a limpeza regular e a inspeção cuidadosa. Você pode prevenir a ferrugem, evitar entupimentos e identificar problemas precocemente se incorporar essas etapas à sua rotina.
Métodos de limpeza
Ferramentas e Materiais
Você não precisa de ferramentas sofisticadas para limpar suas lâminas. Veja o que funciona melhor:
- Escova rígida ou escova de arame para remover seiva e detritos.
- Panos limpos para limpar superfícies metálicas
- Detergente suave e água para remover acúmulo de sujeira pegajosa.
- Óleo lubrificante leve ou spray antiferrugem
- Luvas de segurança e proteção ocular
Se você usar lâminas de aço ferramenta D2 ou DC53, verá que elas resistem ao desgaste, mas ainda precisam de lubrificação para evitar ferrugem. Lâminas com revestimento de aço rápido (HSS) são ideais para trabalhos pesados, mas podem enferrujar se ficarem sujas. Lâminas com revestimento de carboneto de tungstênio oferecem melhor resistência à corrosão, mas ainda podem acumular seiva e sujeira. Sempre utilize um método de limpeza adequado ao material da lâmina para obter os melhores resultados.
Frequência de limpeza
Você deve Limpe as lâminas do seu triturador de madeira após cada utilização.Esse hábito evita a ferrugem e impede o acúmulo de detritos. Aqui está uma lista de verificação rápida:
- Remova todos os pedaços de madeira e poeira da área da lâmina.
- Limpe as lâminas e as partes metálicas com um pano limpo.
- Use uma escova para remover qualquer seiva ou manchas pegajosas.
- Aplique uma fina camada de óleo nas lâminas antes de guardá-las.
Dica: Inclua a limpeza e a inspeção na sua rotina de manutenção. Leva apenas alguns minutos, mas pode poupar-lhe horas de reparos mais tarde.
Etapas de Inspeção
Sinais de desgaste e danos
Você quer que seu triturador funcione sem problemas. Isso significa verificar as lâminas em busca de sinais de problemas todas as manhãs antes de começar. Procure por:
- Rachaduras, lascas ou bordas tortas
- Opacidade ou desgaste irregular
- lascas de madeira grossas ou fibrosas saindo da máquina
- Mais vibração ou ruído do que o normal
- O triturador está funcionando mais lentamente ou está emperrando.
Se você observar algum desses sinais, pode ser hora de afiar as lâminas ou até mesmo substituí-las. Sempre siga as instruções do fabricante sobre quando afiar ou trocar as lâminas.
Seiva, Areia, Efeitos da Pedra
Seiva, areia e pedras podem danificar bastante suas lâminas. A seiva deixa as lâminas pegajosas e cega. Areia e pedras podem lascar ou rachar a superfície da lâmina. Após cada uso, verifique:
- Resíduo pegajoso da seiva
- Arranhões ou marcas causadas por areia e pedras.
- Marcas ou amassados incomuns
Limpe imediatamente a seiva com uma escova e detergente neutro. Se notar lascas ou rachaduras, substitua a lâmina para manter seu triturador seguro e eficiente.
Verificações de fixadores
Aperto de parafusos
Parafusos soltos podem transformar um trabalho simples em algo perigoso. Veja como manter tudo firme e seguro:
- Use sempre luvas resistentes a cortes ao manusear lâminas.
- Remova o painel de acesso para alcançar as lâminas.
- Limpe os parafusos, removendo quaisquer detritos, e verifique se há danos ou ferrugem.
- Se precisar retirar a lâmina, afrouxe e remova os parafusos.
- Limpe a superfície de montagem antes de colocar uma lâmina nova.
- Use parafusos novos se os antigos estiverem gastos ou corroídos.
- Aperte os parafusos com o torque correto (consulte o manual para saber o valor correto).
- Recoloque o painel de acesso antes de ligar o triturador.
Dicas de campo
- Os fixadores se desgastam com o tempo. Inspecione-os quanto a danos ou deformações antes de reutilizá-los.
- Aperte sempre os parafusos com o torque especificado. Parafusos muito soltos ou muito apertados podem causar problemas.
- Mantenha um pequeno kit de emergência com parafusos sobressalentes e uma chave dinamométrica na sua caixa de ferramentas.
Observação: Uma verificação rápida antes de cada trabalho pode evitar acidentes e manter as lâminas do seu triturador de madeira funcionando da melhor maneira possível.
Cuidados e afiação de lâminas
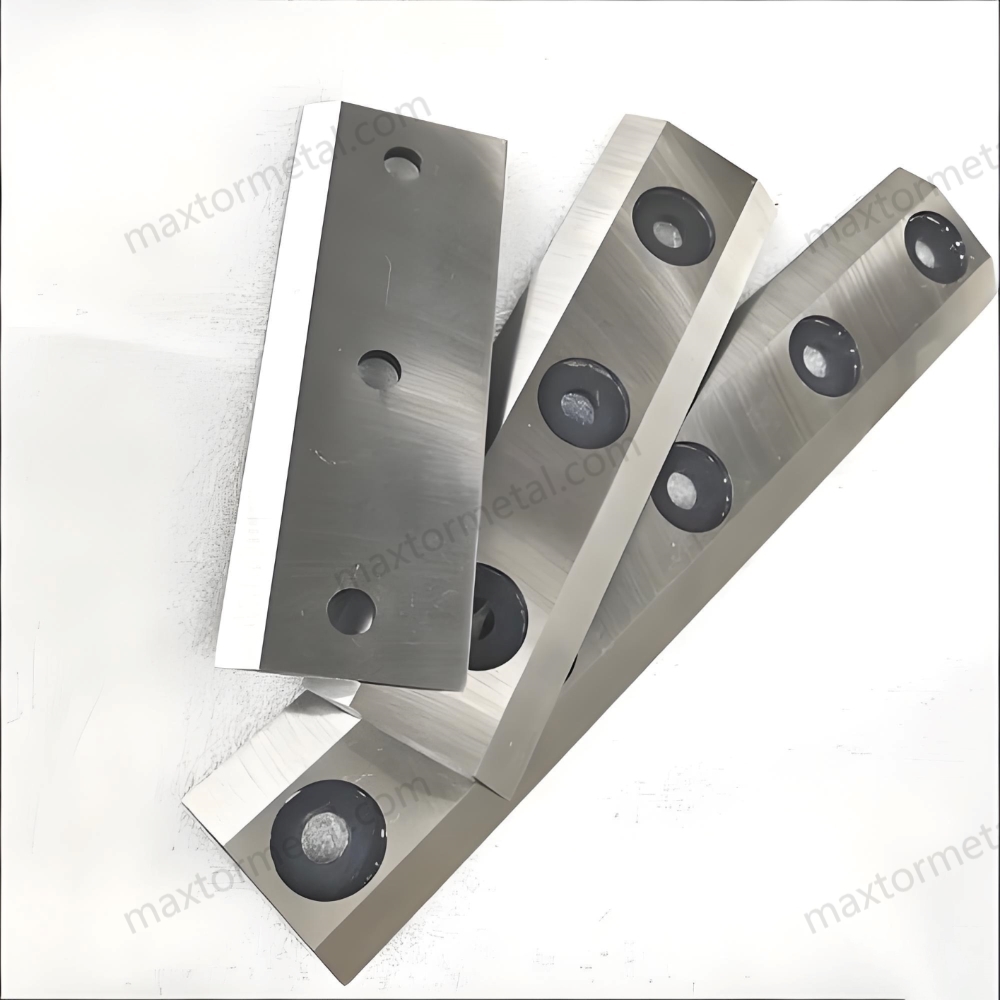
Cuidar das lâminas é o segredo para obter os melhores resultados com seu triturador de galhos. Seguindo alguns passos simples, você pode manter sua máquina funcionando de forma eficiente e segura.
Técnicas de Afiação
Você tem algumas opções quando se trata de afiar lâminas. Algumas pessoas gostam de fazer isso sozinhas, enquanto outras preferem deixar um profissional cuidar disso. Aqui está o que você precisa saber:
Manual vs. Profissional
Você pode afiar suas lâminas em casa com as ferramentas certas. Aqui estão alguns métodos comuns:
- Lixadeiras de discoEsses produtos proporcionam um acabamento suave às lâminas e aceleram o processo.
- Rodas molhadasEsses dispositivos mantêm a lâmina fria enquanto você a afia, o que ajuda a evitar danos.
- Lixadeiras de cintaSão eficazes, mas exigem manuseio cuidadoso para evitar erros.
- Esmerilhadeiras de bancadaEssas ferramentas funcionam rapidamente, mas você precisa de mão firme e manter a lâmina fria. Procure manter um ângulo de bisel entre 30 e 45 graus.
- Afiação manualUse uma pedra de afiar ou um guia de afiar para obter resultados precisos, embora isso leve mais tempo.
Se você deseja o fio mais afiado ou possui lâminas de alta qualidade, talvez seja interessante utilizar um serviço profissional de afiação. Empresas como Nanjing Metal Industrial Pode ajudar você a obter o fio perfeito e prolongar a vida útil de suas lâminas.
Dica: Mantenha sempre a lâmina fria durante o processo de afiação. O superaquecimento pode danificar o fio.
Frequência de afiação
Com que frequência você deve afiar as lâminas? Isso depende da frequência de uso do seu triturador e do tipo de madeira que você tritura. Aqui está um guia rápido:
| Tipo de uso | Frequência de afiação |
|---|---|
| Uso profissional | A cada 20–25 horas de funcionamento. |
| Uso ocasional | Inspecione após cada projeto e afie conforme necessário. |
| Madeiras macias | Autonomia de até 100 horas |
| Madeiras duras | duração de vida de 4 a 5 horas |
| Madeira suja | duração de vida de 2 a 3 horas |
Se você triturar madeira dura ou madeira suja, precisará afiar as lâminas com mais frequência. Para a maioria dos usuários, afiar as lâminas a cada 8 a 10 horas de uso mantém o triturador funcionando da melhor maneira possível. Sempre verifique o fio da lâmina antes de cada uso.
Rotação e substituição da lâmina
Manter as lâminas afiadas é importante, mas garantir que o desgaste seja uniforme também é fundamental. Isso ajuda o triturador a funcionar sem problemas e prolonga a vida útil das lâminas.
Quando substituir
Você deve substituir suas lâminas se observar:
- Rachaduras, lascas ou desgaste acentuado na lâmina de corte
- Lâminas muito estreitas para alcançar a bigorna.
- Qualquer sinal de curvatura ou deformação
Facas reversíveis podem ser afiadas diversas vezes antes de precisarem ser substituídas. Se você não tem certeza se deve afiar ou trocar, confira o guia. opções de lâmina personalizadas Para um ajuste perfeito.
Rotação para um desgaste uniforme
Para evitar desgaste irregular, vire ou gire todas as suas facas ao mesmo tempo. Misturar lâminas afiadas e cegas pode causar vibração e lascas de má qualidade. Veja o que você pode fazer:
- Inspecione as lâminas após algumas horas de uso ou se notar uma queda no desempenho.
- Vire ou troque todas as lâminas juntas para manter o triturador equilibrado.
- Evite usar o triturador com uma mistura de lâminas novas e velhas.
Observação: O desgaste irregular pode levar a uma maior vibração e até mesmo danificar o seu picador ao longo do tempo.
Alinhamento e Calibração
Obter o alinhamento correto das facas faz uma grande diferença no desempenho do seu picador. Se a folga entre a faca e a contra-faca estiver incorreta, você terá cortes ruins e maior desgaste.
Ajuste da Folga das Facas
É necessária uma folga pequena e uniforme entre a faca e a contra-faca. Uma folga excessiva resulta em cavacos irregulares e desperdício de energia. Uma folga muito pequena pode fazer com que as facas colidam com a contra-faca e sofram danos. A maioria dos manuais de picadores sugere uma folga de cerca de 1–2 milímetros.
Ferramentas de Calibração
Você pode usar ferramentas simples para ajustar a folga:
| Ferramenta/Método | Descrição |
|---|---|
| Lâmina de serra manual | Deslize-a entre a faca e a contra-faca para verificar a folga. |
| Método visual | Procure por uma fina linha de luz entre a faca e a contra-faca. |
| Composto antiengripante | Use nas roscas durante a remontagem para facilitar a manutenção. |
Dica: Sempre verifique novamente a folga após instalar ou rotacionar as facas. Um pequeno ajuste pode fazer uma grande diferença no desempenho.
Se você deseja obter o máximo desempenho das facas do seu picador de madeira, inclua a afiação, a rotação e a calibração em sua rotina regular. Você obterá cavacos mais limpos, uma operação mais segura e uma máquina de maior durabilidade.
Manutenção de trituradores de madeira: lubrificação e prevenção de ferrugem
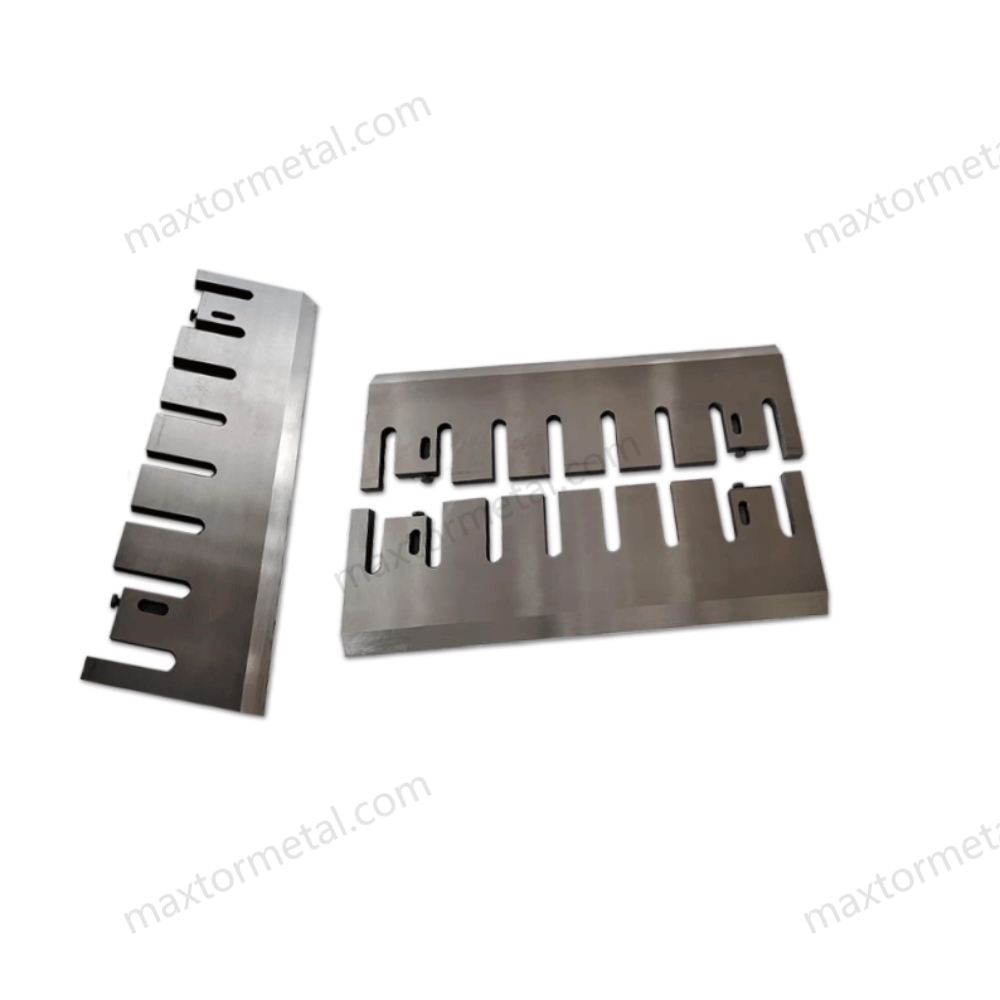
O cuidado com as facas do seu picador vai além de apenas afiar e limpar. A lubrificação e a prevenção contra ferrugem desempenham um papel fundamental para manter sua máquina funcionando perfeitamente. Se você pular essas etapas, poderá enfrentar peças travadas, facas enferrujadas ou até mesmo uma quebra quando mais precisar do seu picador.
Pontos de Lubrificação
Para que o seu picador de madeira funcione sem imprevistos, você precisa saber onde adicionar óleo ou graxa. Algumas peças exigem mais atenção do que outras. Aqui está uma visão rápida dos pontos mais importantes:
| Ponto de Lubrificação | Importância |
|---|---|
| Rolamentos | Essencial para evitar o desgaste devido a altas RPMs |
| Dobradiças | Requer óleo mais fino para melhor penetração |
| Zonas de Articulação | Necessita de verificações diárias e lubrificação devido ao movimento constante |
Os rolamentos giram em alta velocidade e suportam muito esforço. Se você se esquecer de lubrificá-los, eles podem se desgastar rapidamente. As dobradiças permitem abrir e fechar tampas ou proteções. Uma gota de óleo fino as mantém movendo-se livremente. As zonas de articulação se movem toda vez que você usa o picador, portanto, verifique-as com frequência e adicione óleo conforme necessário.
Lubrificantes Recomendados
Escolher o lubrificante correto faz uma grande diferença. Aqui estão algumas dicas para ajudá-lo a escolher o melhor:
- Sempre use os lubrificantes listados no manual do usuário.
- Lubrificantes de qualidade formam uma película protetora nas superfícies metálicas, reduzindo o atrito e evitando o desgaste.
- O uso dos lubrificantes corretos pode reduzir os custos de manutenção e prolongar a vida útil da máquina.
- Use lubrificantes projetados especificamente para prevenção de ferrugem.
- Considere o uso de removedores de ferrugem e ceras para proteger as ferramentas contra a oxidação.
- A manutenção regular é essencial para manter as ferramentas limpas e livres de ferrugem.
Mesmo se você utilizar facas de alto desempenho, como as feitas de D2, DC53, HSS ou Tungsten Carbide, ainda assim precisará lubrificá-las. Até mesmo as facas mais resistentes podem enferrujar se ficarem desprotegidas.
Cronograma de Lubrificação
Você não precisa lubrificar tudo todos os dias, mas um cronograma simples ajuda a manter o controle:
- Verifique e lubrifique as zonas de articulação diariamente, especialmente se usar o picador com frequência.
- Lubrifique os rolamentos semanalmente ou a cada 10 horas de uso.
- Adicione uma gota de óleo às dobradiças sempre que começarem a ranger ou parecerem rígidas.
- Limpe as facas com uma leve camada de óleo após cada uso, especialmente antes do armazenamento.
Dica: Mantenha um pequeno frasco de óleo e um pano na sua caixa de ferramentas. Uma limpeza rápida após cada trabalho pode evitar muitos problemas no futuro.
Prevenção de ferrugem
A ferrugem pode arruinar até as melhores facas de picador. Umidade, seiva e sujeira aceleram a oxidação. Você pode evitar a ferrugem antes que ela comece com alguns hábitos simples.
Revestimentos protetores
Você não precisa de sprays sofisticados para manter a ferrugem longe. Aqui está o que funciona:
- Limpe as facas e as peças metálicas com uma fina camada de óleo de máquina após a limpeza.
- Use sprays ou ceras especiais de prevenção contra ferrugem para proteção extra.
- Certifique-se de que todas as superfícies metálicas estejam secas antes de guardar o seu picador.
Um revestimento protetor mantém o ar e a água longe do metal. Isso evita a formação de ferrugem, mesmo se você armazenar o picador por semanas seguidas.
Dicas de armazenamento
A forma como você armazena o seu picador importa tanto quanto a forma como o utiliza. Aqui estão algumas maneiras fáceis de proteger o seu investimento:
- Keep your machine dry all the time. Moisture is the enemy of metal.
- Put special coatings on metal parts to protect them.
- Use a dehumidifier in the place where you store your chipper.
- Store your chipper in a shed or garage, away from rain and snow.
- Cover the machine with a tarp if you keep it outside, but make sure air can still flow underneath.
When you get ready for off-season storage, follow these steps:
- Prepare for winter: Empty the fuel tank or add stabilizer, and clean the chipper.
- Prevent rust: Spray metal parts and store in a dry place.
- Spring inspection: Check for rust or damage, replace worn parts, and test the engine.
- Regular cleaning and inspection: Look for cracks or wear and address issues early.
Observação: A little effort now saves you from big repairs later. Good storage keeps your chipper ready for action when you need it.
If you make lubrication and rust prevention part of your regular wood chipper maintenance, you’ll get more life out of your blades and your machine. Clean, oiled, and protected blades cut better and last longer, so you can tackle any job with confidence.
Melhores Práticas Operacionais
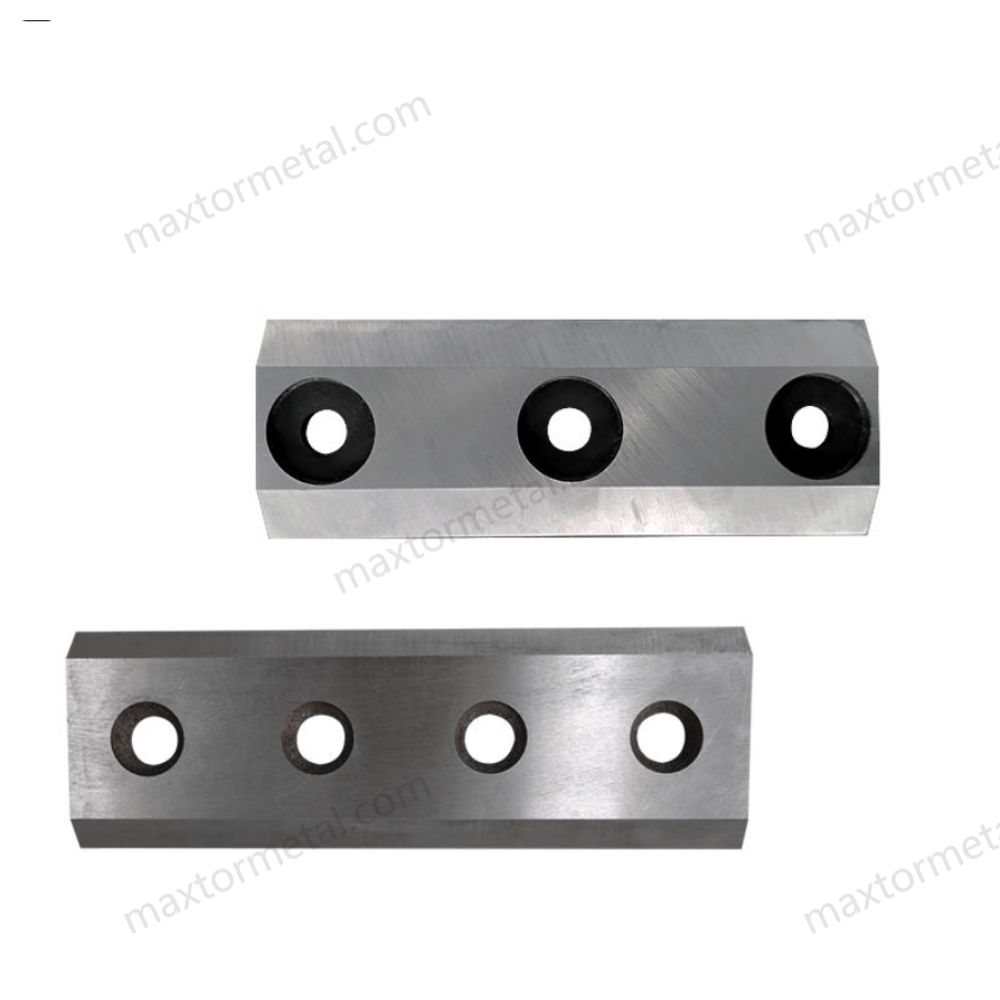
Keeping your portable wood chipper running smoothly means following a few smart habits. If you stick to the basics—using your machine the right way, tracking blade life, and staying prepared with spares—you’ll avoid headaches and keep your work on track.
Manufacturer Specs
Evite sobrecarga
Every wood chipper comes with its own set of rules. You need to follow the specs from the manufacturer. These specs tell you the right size and type of wood to feed into your chipper. If you try to chip wood that’s too big or too hard, you can damage the blades or even the whole machine. High-quality blades, like those made from hardened tool steel or high-alloy steel, are tough, but they still need you to respect the limits.
Dica: Always check your chipper’s manual before starting a new job. If you’re working with hardwoods or large branches, make sure your chipper is built for it.
Precision manufacturing and the right materials make a big difference. When you use blades that match the specs—like those from Nanjing Metal Industrial—you get better performance and safer operation. Adjusting the clearance between the blade and the anvil, especially after sharpening, keeps your chipper working at its best.
Monitor Blade Life
You don’t want your chipper to stop working in the middle of a job. That’s why you need to keep an eye on blade life. Some people use special systems to track knife wear in real time, but you can also do it with a simple checklist. Here’s what to watch for:
- The chipper starts making uneven or rough chips.
- You notice more vibration or noise.
- The machine jams more often than usual.
- You see visible wear, chips, or cracks on the blades.
If you track blade sharpness, you’ll get better chip quality and waste less wood. You’ll also know when it’s time to replace or sharpen your blades, which means fewer surprises and more time working.
Spare Blades & Tools
Field Replacement
Accidents happen. Sometimes a blade chips or breaks when you least expect it. If you have spare blades on hand, you can swap them out and keep working. Relying on just one set of blades can slow you down, especially if you need to send them out for sharpening or inspection. Keeping extras in your kit means you’re always ready.
- Store spare blades in a dry, safe place.
- Keep the right tools for blade changes in your toolbox.
- Practice swapping blades at home so you’re ready in the field.
Emergency Kit
A good emergency kit can save your day. Here’s what you should pack:
| Item | Por que você precisa disso? |
|---|---|
| Spare blades | For quick replacement |
| Chave de torque | To tighten bolts to the right level |
| Extra bolts | In case any get lost or damaged |
| Gloves & goggles | For safe handling |
| Cleaning supplies | To remove sap, sand, or debris |
Observação: If you ever need to return a blade for inspection, the process can take time. Having spares means you don’t have to wait to get back to work.
Custom Blade Options & Support
Not every job is the same. Sometimes you need a blade that’s made just for your machine or your type of wood. Custom blades can give you better results than standard options. You can choose special materials, such as tungsten carbide, for extra wear resistance and longer life. Custom blades might cost more at first, but they save you money on replacements and boost your chipper’s efficiency over time.
Dica: Custom blades can help you handle tough jobs, reduce downtime, and improve your recycling results.
Making these best practices part of your routine keeps your chipper safe, efficient, and ready for anything. Good maintenance, smart planning, and the right support make all the difference.
Calibração de lâminas
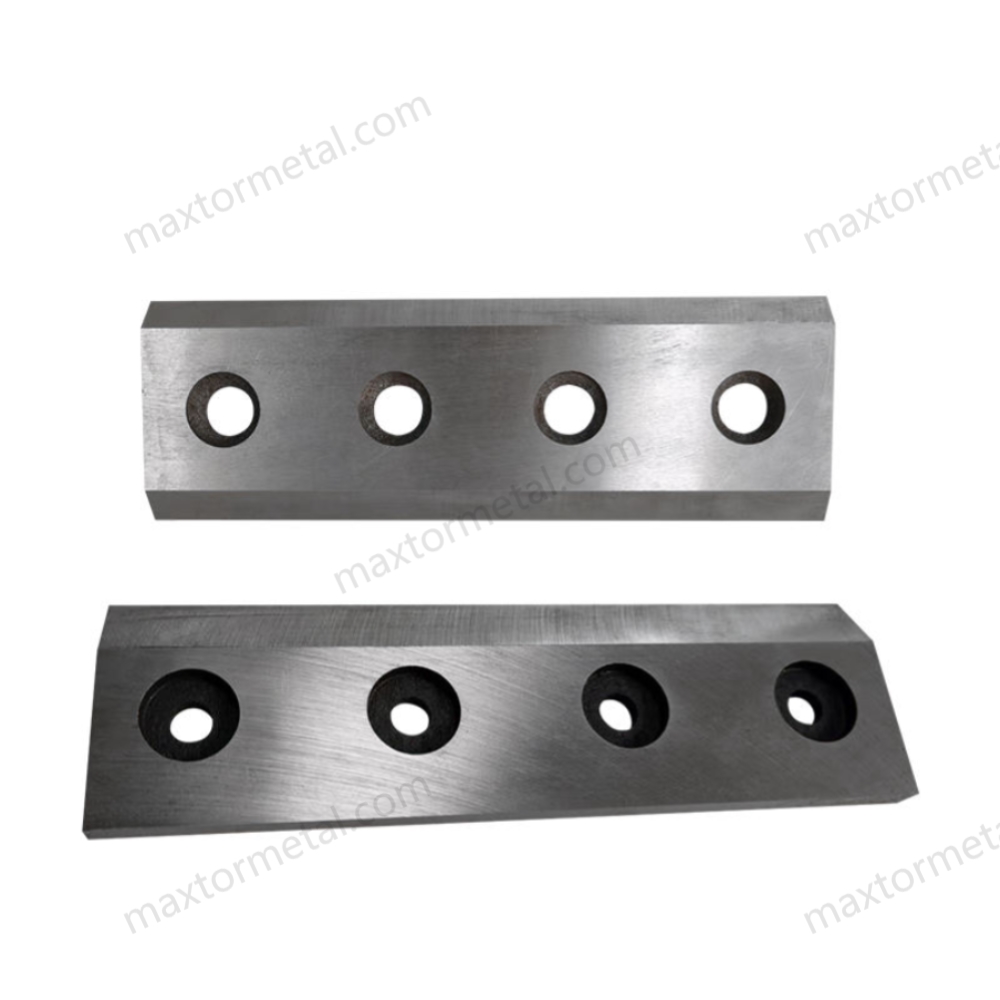
Getting the calibration right on your wood chipper blades makes a huge difference. If you set the gap between the blade and the anvil correctly, you get smooth chips, less wear, and a safer machine. If you skip this step, you might see jams, rough cuts, or even damage to your chipper. Let’s break down why calibration matters and how you can do it yourself.
Blade-to-Anvil Gap
Efficiency & Safety
You want your wood chipper to work fast and safe. The gap between the blade and the anvil controls how well your chipper cuts wood. If the gap is too wide, the blades tear the wood instead of slicing it. This makes the chipper work harder and can cause jams. If the gap is too tight, the blades might hit the anvil. That can dull or even break your blades.
A good gap keeps your wood chipper blades sharp longer. It also helps the machine run quietly and smoothly. You get even chips and less vibration. This means you stay safer and finish your work faster.
Here’s a quick look at the recommended blade-to-anvil gap for most portable wood chippers:
| Componente | Medição |
|---|---|
| Lead-in Gap | 1mm |
| Lead-out Gap | 2 mm |
You can check your chipper’s manual for the exact numbers, but these measurements work well for most machines. Always measure both the lead-in and lead-out sides. This keeps the cut even from start to finish.
Calibration Steps
You don’t need fancy tools to set the gap on your wood chipper blades. Here’s how you can do it:
- Turn off the chipper and disconnect the spark plug. Safety comes first.
- Open the access panel. Use gloves to protect your hands.
- Clean the area. Remove any wood chips, dust, or sap.
- Loosen the blade bolts. Don’t take them out—just loosen them enough to move the blade.
- Insert a feeler gauge or a thin piece of metal. A hacksaw blade works well for a 1–2mm gap.
- Adjust the blade position. Slide the blade until the gap matches the recommended size.
- Tighten the bolts. Make sure the blade stays in place.
- Check the gap at both ends. The lead-in should be 1mm, and the lead-out should be 2mm.
- Spin the drum or disc by hand. Make sure the blade doesn’t touch the anvil.
- Close the panel and reconnect the spark plug.
Dica: Always double-check your work. A small mistake can lead to big problems later.
You might notice that different wood chipper blades have different shapes. Rectangular blades are common on disc chippers, while curved blades show up on drum chippers. The calibration steps stay the same, but you need to check the gap along the whole edge. Some machines have adjustable anvils, so you can move the anvil instead of the blade.
Erros comuns
It’s easy to make mistakes when calibrating wood chipper blades. Here are some things to watch out for:
- Guessing the gap: Always measure. Don’t just eyeball it.
- Forgetting to check both ends: The gap can change from one side to the other.
- Not cleaning the area: Dirt or sap can throw off your measurements.
- Mixing blade types: Don’t use different shapes or sizes together. This causes uneven cuts.
- Skipping the manual: Each chipper is a little different. Always check the instructions.
Observação: If you use custom or high-performance blades, like tungsten carbide or HSS, you still need to set the gap right. The material doesn’t change the need for good calibration.
When you take time to calibrate your wood chipper blades, you get better results and a safer machine. Make calibration part of your regular maintenance routine. Your chipper—and your wallet—will thank you.
Manutenção Ambiental e Sazonal
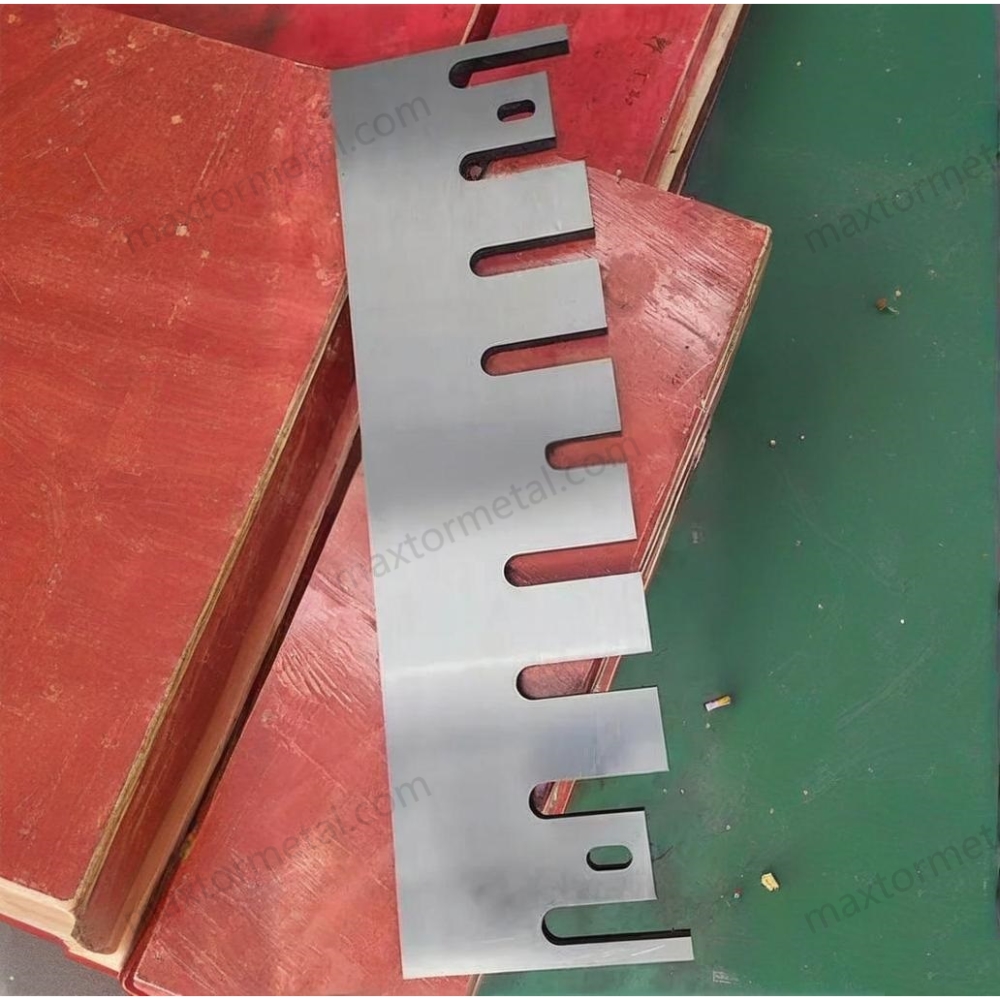
Taking care of your wood chipper blades means thinking about the weather, the environment, and the time of year. You face different challenges in summer, winter, or when working in sandy or muddy places. If you adjust your maintenance routine, you can keep your blades sharp and your chipper running strong all year.
Sand, Stones, Sap
Limpeza após o uso
Sand, stones, and sticky sap can wear down your wood chipper blades fast. You might not see the damage right away, but these things can dull the edge or even chip the blade. After each use, you should:
- Brush off all dirt, sand, and wood chips from the blades and inside the chipper.
- Wipe the blades with a dry cloth to remove moisture and sap.
- Use a mild detergent if you find sticky spots that won’t come off.
- Dry the blades completely before you put the chipper away.
Dica: If you chip wood with a lot of sap, like pine, clean the blades right after you finish. Sap can harden and make cleaning much harder later.
Protection Strategies
You can protect your wood chipper blades from harsh conditions with a few smart moves. Here’s what works best:
- Keep your machine dry all the time. Water causes rust and weakens the blades.
- Put special coatings, like machine oil or rust-preventive spray, on all metal parts.
- Store your chipper in a dry place. Use a dehumidifier if you live in a damp area.
- Cover your chipper with a breathable cover. This keeps dust and moisture out but lets air flow.
- Clean your chipper and remove all dirt and plant bits after every job.
- If you use your chipper in sandy or rocky areas, check the blades more often for chips or cracks.
Blade material matters, too. D2 and DC53 tool steel blades handle wear from sand and stones better than regular steel. Tungsten carbide inlay blades resist chips and last longer in tough conditions. If you work in harsh environments, choosing the right blade material can save you time and money.
Off-Season Storage
Long-Term Prep
When you finish chipping for the season, you need to get your machine ready for a long rest. Good storage keeps your wood chipper blades sharp and rust-free. Here’s a simple checklist for long-term prep:
- Clean the machine to remove dirt, wood chips, and moisture that can cause rust.
- Lubricate moving parts, like bearings and hinges, before storing.
- Wipe all metal parts with a dry cloth and spray rust-prevention products on exposed areas.
- Drain the fuel or add a stabilizer so the fuel stays good.
- Do engine maintenance, like changing the oil and putting in a new air filter.
- Take out the battery and keep it somewhere dry.
- Store the chipper in a dry, covered spot to block dust and moisture.
Observação: A little work now means your chipper will be ready to go when you need it next season.
Preventing Deterioration
You want your wood chipper blades to last as long as possible. Storing your chipper the right way stops rust and keeps the blades in top shape. Here are some easy ways to prevent deterioration:
- Wipe metal parts with a dry cloth after use to remove moisture.
- Spray rust-prevention products on blades and other exposed metal.
- Store your chipper away from rain or dampness. A shed or garage works best.
- Use a cover that lets air in, not a plastic tarp that traps moisture.
If you follow these steps, you protect your investment and avoid costly repairs. Remember, the right blade material helps, too. Tungsten carbide and HSS inlay blades resist rust and wear better during long storage, but all blades need good care.
Dica: Make a habit of checking your chipper every few weeks during storage. Look for signs of rust or moisture and fix problems early.
By adapting your maintenance routine to the season and your environment, you keep your wood chipper blades sharp, safe, and ready for any job.
You can keep your wood chipper blades working their best by following a few simple steps. Try these tips:
- Clean and inspect after each use.
- Sharpen and rotate blades regularly.
- Lubricate moving parts.
- Calibrate the blade gap.
- Store your chipper in a dry place.
Ready to get expert advice or custom solutions? Entre em contato com um engenheiro de vendas. today for help with your next project.
Perguntas frequentes
How often should you sharpen wood chipper blades?
You should check your wood chipper blades after each use. Most people sharpen them every 8–10 hours of chipping. If you notice dull cuts or more jams, sharpen them sooner.
What signs show that wood chipper blades need replacing?
Look for cracks, chips, or bent edges. If your chipper makes rough chips, vibrates more, or jams often, it’s time to replace the blades.
Can you sharpen wood chipper blades at home?
Yes, you can. Use a sharpening stone, disc sander, or wet wheel. Always wear gloves and eye protection. If you want a perfect edge, you can ask a professional.
What’s the best way to prevent rust on wood chipper blades?
Wipe blades clean after each use. Add a thin coat of oil or rust-preventive spray. Store your chipper in a dry place. Moisture causes rust fast.
Do different blade materials need special care?
Yes. D2 and DC53 steel blades need oiling to stop rust. Tungsten carbide blades resist wear better but still need cleaning. Always match your care to the blade material.
How do you set the correct gap between blade and anvil?
Turn off the chipper. Use a feeler gauge or thin metal strip to measure the gap. Most chippers need a 1–2mm gap. Check your manual for the right size.
Is it safe to use wood chipper blades with small chips or nicks?
No. Even small chips can cause accidents or damage your chipper. Replace damaged blades right away to stay safe.
What tools should you keep for quick blade changes?
Keep spare wood chipper blades, a torque wrench, extra bolts, gloves, and cleaning rags in your kit. This helps you swap blades fast and get back to work.
Veja também
Seleção de Facas para Picador Industrial: Lâmina de Gume Único ou Duplo?
Facas para Picador de Tambor Industrial: Equilibrando Velocidade de Corte, Tenacidade e Qualidade do Cavaco
A Chave para a Qualidade do Cavaco: Ângulos Otimizados de Lâminas de Picador de Disco para Madeira Macia e Dura
O Guia Definitivo de Materiais para Lâminas de Picador: Escolhendo a Liga de Aço Certa

 English
  Spanish
  Italian
  French
  Portuguese
  Russian
  German
  Arabic
  Hindi
Hindi  Vietnamese
  Indonesian
  Japanese
  Korean