

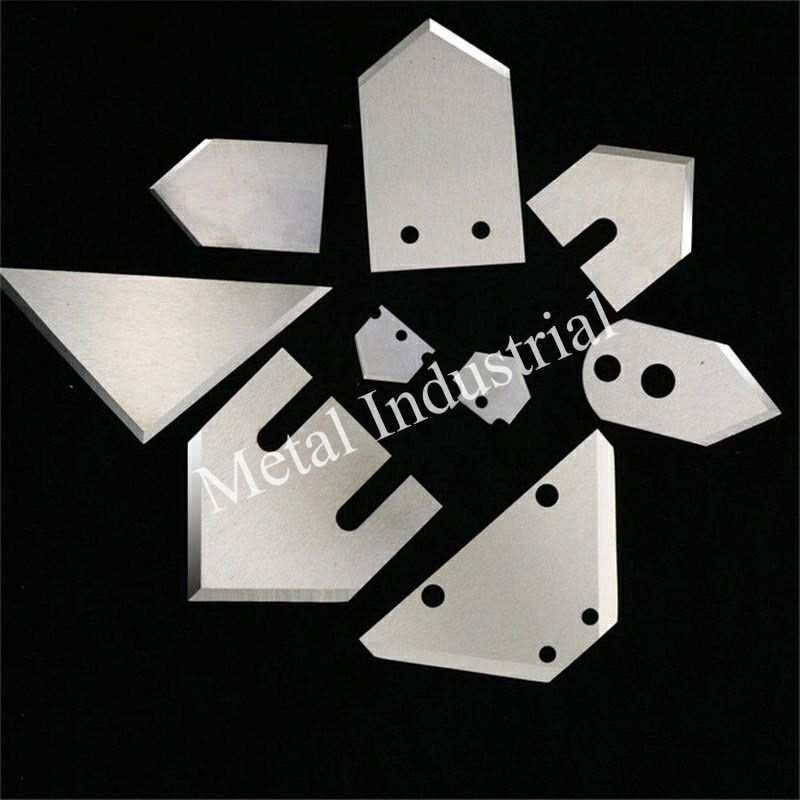
Sûr et efficace Lames de coupe en tête de filière pour granulateur le remplacement nécessite des consignes de sécurité rigoureuses et un entretien régulier. Vous aidez votre granulateur à fonctionner de manière optimale en surveillant des signes tels que une augmentation des fines, une charge moteur plus lourde ou des bruits inhabituels. Alors que le marché des granulateurs croît de 4.5% par an, l'utilisation de lames de haute qualité vous permet de répondre à la demande croissante. Choisissez toujours une lame sur mesure avec le jeu approprié — 0,2 à 0,3 mm — pour des coupes nettes et un temps d'arrêt minimal.
Principaux points à retenir
- Portez toujours l'équipement de sécurité approprié, comme des gants anticoupure, des lunettes de sécurité et des chaussures de sécurité à embout d'acier, avant de changer les lames.
- Suivez les étapes de consignation/étiquetage (LOTO) pour éteindre le granulateur et éviter les accidents pendant la maintenance.
- Nettoyez et inspectez soigneusement la face de la filière et les lames pour détecter tout dommage et vous assurer que les nouvelles lames s'ajustent correctement.
- Utilisez des lames de granulateur sur mesure pour de meilleures performances, une durée de vie accrue et des économies à long terme.
- Vérifiez souvent l'alignement et le jeu des lames (0,2–0,3 mm) pour maintenir le bon fonctionnement de la machine et produire des granulés de qualité.
Sécurité et préparation

EPI et outils
Équipement de protection individuelle (EPI) requis
Vous devez assurer votre sécurité avant de commencer. Mettez toujours des gants anticoupure pour protéger vos mains des bords tranchants. Portez des lunettes de sécurité pour protéger vos yeux des projections. Si vous prévoyez des éclaboussures ou de la poussière, utilisez un écran facial. Des chaussures de sécurité à embout d'acier protègent vos pieds en cas de chute d'objets lourds. Portez des manches longues et un pantalon pour couvrir votre peau. Si l'environnement est bruyant, utilisez une protection auditive.
Outils essentiels pour le remplacement des lames
Préparez tous vos outils avant de commencer. Vous aurez besoin d'une clé dynamométrique pour un serrage précis. Apportez des clés Allen ou des clés hexagonales, ainsi qu'un tournevis. Un maillet souple vous aidera à tapoter délicatement. Utilisez une brosse de nettoyage et des chiffons non pelucheux pour essuyer la saleté. Prévoyez un récipient pour les lames usagées et les fixations. Assurez-vous que vos outils sont en bon état et non endommagés.
Arrêt de la machine
Procédure d'arrêt étape par étape
Vous devez arrêter le granulateur correctement pour garantir votre sécurité. Suivez ces étapes :
- Identifiez toutes les sources d'énergie et les dangers à proximité de la machine.
- Coupez l'alimentation principale et arrêtez toutes les pièces mobiles.
- Utilisez des dispositifs de consignation/étiquetage (LOTO), et non de simples boutons d'arrêt, pour couper l'énergie.
- Placez les dispositifs de consignation aux endroits appropriés.
- Libérez ou contenez toute énergie résiduelle stockée, comme dans les condensateurs.
- Testez la machine pour vous assurer qu'elle est réellement hors tension.
- Informez votre équipe afin que tout le monde sache que la machine est arrêtée.
Protocole de sécurité de consignation/étiquetage (LOTO)
La consignation/étiquetage (LOTO) garantit votre sécurité lors du changement de lames. Utilisez toujours des dispositifs LOTO pour maintenir la machine hors tension. Apposez des étiquettes pour signaler que des travaux sont en cours. Ne vous fiez pas uniquement aux verrouillages de sécurité. Seules les personnes formées doivent retirer les dispositifs LOTO une fois le travail terminé.
Préparation de la zone
Dégagement et nettoyage de la zone de travail
Une zone de travail propre permet de prévenir les accidents. Ramassez tous les granulés de plastique, la poussière et les débris sur le sol et la machine. Rangez soigneusement les outils et les fournitures. Maintenir l'ordre évite les glissades, les trébuchements et les risques d'incendie.
Identification et prévention des risques courants
Les rapports de l'industrie indiquent que des incendies et des explosions peuvent survenir lors de la maintenance des granulateurs. Le tableau ci-dessous présente les principaux types de risques :
| Catégorie | Détails |
|---|---|
| Matériaux impliqués | Fibres de bois vertes et sèches, granulés de bois, gaz combustibles |
| Équipements concernés | Granulateurs, sécheurs, broyeurs à marteaux, silos, convoyeurs, dépoussiéreurs, refroidisseurs |
| Sources d'inflammation | Travaux à chaud, étincelles mécaniques, équipements électriques, combustion lente, auto-échauffement, friction |
| Types d'incidents | Incendies (granulateur, silo, sécheur), déflagrations, explosions, défaillances d'équipements |
Vous pouvez prévenir ces dangers en contrôlant la poussière, en inspectant les équipements et en formant votre équipe. Installez des alarmes incendie et maintenez la zone exempte de matières inflammables. Suivez toujours scrupuleusement les consignes de sécurité à chaque changement de lame.
Étapes de remplacement des lames de coupe en tête de filière pour granulateur
Retrait de la lame
Procédure de démontage étape par étape
Vous devez retirer les anciennes lames avant d'installer les nouvelles. Voici les étapes pour démonter les lames en toute sécurité et rapidement : 1. Assurez-vous que le granulateur est arrêté et consigné. 2. Laissez refroidir la face de la filière et les lames si elles sont chaudes. 3. Utilisez votre clé dynamométrique ou vos clés Allen pour desserrer les boulons. Tournez chaque boulon lentement et uniformément. 4. Maintenez la lame d'une main lorsque vous retirez le dernier boulon pour éviter qu'elle ne tombe. 5. Retirez la lame de la face de la filière. Placez-la dans un récipient sécurisé pour sa mise au rebut ou son inspection.
Conseil: Keep your hands away from sharp edges. Wear cut-resistant gloves to protect yourself.
Common Issues and Solutions During Removal
You might have some problems when taking out the blade. Here are some common issues and how to fix them:
| Problème | Cause | Solution |
|---|---|---|
| Blade stuck to die | Residue build-up or corrosion | Tap gently with a soft mallet; use a little penetrating oil if needed. |
| Stripped bolt heads | Over-tightening or worn tools | Use a bolt extractor or get new tools. |
| Blade drops suddenly | Not holding blade during last bolt | Always hold the blade with your hand or use a clamp. |
Inspection et nettoyage
Inspection Checklist and Cleaning Steps
After you take out the blade, check and clean the die face and mounting area. Use this checklist: – Look for cracks, chips, or uneven wear on the die face. – Check the mounting holes for thread damage or dirt. – Look at the old blade for too much wear or breaks. – Check for residue, plastic build-up, or rust on all surfaces.
To clean the area: 1. Wipe away dust and dirt with a lint-free cloth. 2. Use a cleaning brush to get rid of tough residue. 3. If needed, use a mild solvent that the manufacturer says is safe. 4. Dry everything before putting in the new blade.
Note: Clean surfaces help the blade fit right and stop problems with alignment.
Common Issues and Solutions During Inspection/Cleaning
Problems can happen when you check and clean the area. Here are some examples:
| Problème | Cause | Solution |
|---|---|---|
| Residue hard to remove | Melted plastic or old grease | Use a plastic scraper or a safe solvent. |
| Threads full of dirt | Not cleaned after last change | Clean threads with a small wire brush. |
| Surface rust | Water exposure | Sand gently with fine paper; use rust inhibitor. |
Blade Installation
Processus d'installation étape par étape
Now you can put in the new pelletizer die face blades. Follow these steps: 1. Line up the new blade with the holes on the die face. 2. Put the bolts in by hand so you do not cross-thread them. 3. Tighten each bolt a little in a crisscross pattern. 4. Use a torque wrench to tighten bolts to the right torque. 5. Make sure the blade sits flat against the die face with no gaps.
Safety Check: Make sure all bolts are tight and the blade moves if it needs to.
Common Issues and Solutions During Installation
You may run into these problems when putting in the blade:
| Problème | Cause | Solution |
|---|---|---|
| Blade does not fit | Wrong blade size or not lined up | Check the part number and make sure it is the right blade. |
| Bolts will not tighten | Cross-threading or dirt | Take out bolts, clean threads, and try again. |
| Blade sits unevenly | Dirt or damage on mounting surface | Clean the surface again and check for damage. |
Alignment and Test Run
Alignment Procedure and Test Run Steps
Good alignment helps the machine work well and makes blades last longer. Here is how to line up and test the new blade: 1. Turn the die face by hand to check the blade gap. 2. Measure the space between the blade and die face. Set it to 0.2–0.3 mm. 3. Make sure the blade does not touch or drag on the die face. 4. Take away all tools and cleaning stuff from the area. 5. Remove lockout/tagout devices and turn the power back on. 6. Start the pelletizer at low speed. Listen for strange noises or shaking. 7. Slowly speed up and watch the pellets.
Conseil de pro : Stop the machine right away if you hear scraping or see uneven pellets. Check the alignment and gap again.
Common Issues and Solutions During Alignment/Test Run
You might see problems during alignment or the test run. Here is how to fix them:
| Problème | Cause | Solution |
|---|---|---|
| Strange noise or shaking | Bad alignment or loose bolts | Stop the machine, check alignment, and tighten bolts. |
| Pellets are not even | Wrong blade gap | Set the gap to 0.2–0.3 mm. |
| Blade touches die face | Gap is too small | Loosen bolts, move blade, and tighten again. |
Always follow the manufacturer’s instructions for die and blade replacement. Doing each step carefully helps you stay safe and get good results.
Lames de coupe en tête de filière pour granulateur sur mesure
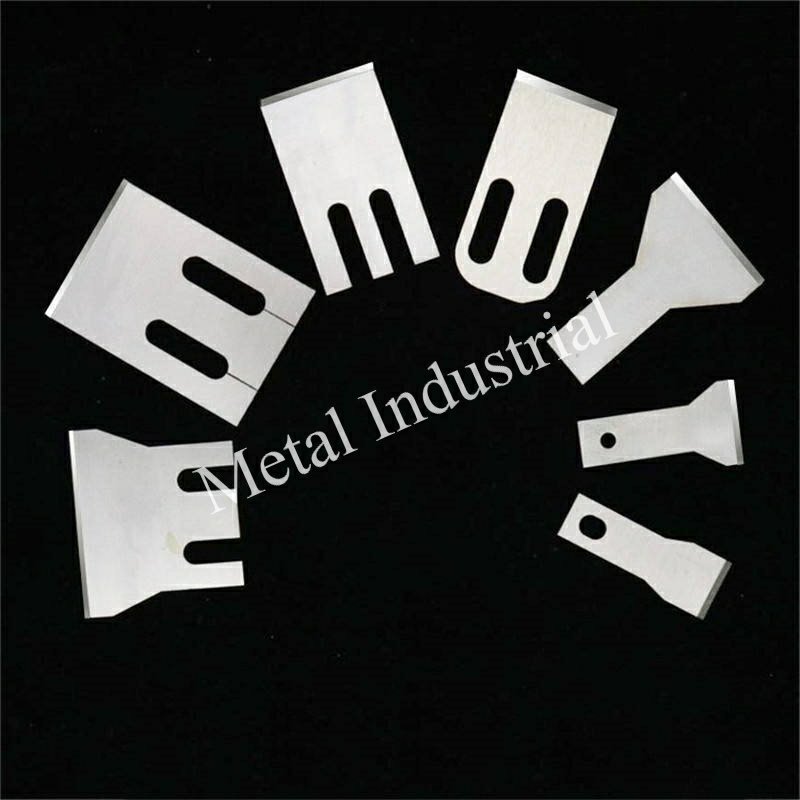
Avantages de la personnalisation
Enhanced Performance and Efficiency
Custom pelletizer blades help you make more pellets. They also help you make better quality pellets. You can pick the blade shape and material that fits your job. This helps you get pellets that look the same and waste less material. Studies show that if you control things like particle size and machine speed, you get stronger pellets and more of them. Custom blades let you choose what works best for your raw materials and your goals.
Increased Durability and Lifespan
Custom blades last longer because they use special materials and coatings. Some have tungsten carbide or ceramic coatings to stop them from wearing out fast. These blades stay sharp longer. You will not need to change them as often. This saves you time and money on repairs.
Precise Fit for Specific Machines
Custom blades fit your pelletizer just right. This helps the machine run smoothly and cuts down on shaking. A good fit also stops problems like uneven cuts or blades not lining up.
Cost-Effectiveness Over Time
Custom blades might cost more at first. But you save money later because they last longer. They can last up to three times longer than regular blades. You also spend less time fixing your machine. The table below shows how custom blades are better than standard blades:
| Aspect de performance | Custom Pelletizer Blades | Lames standard |
|---|---|---|
| Durée de vie de la lame | Up to 3 times longer due to advanced materials/coatings | Standard steel, shorter lifespan |
| Cutting Consistency | Higher, resulting in better pellet uniformity | Lower consistency |
| Débit | Higher throughput; example: 200 tons recycled pellets/month | Débit inférieur |
| Raw Material Savings | Up to 35% savings reported by a furniture company in China | Less efficient, more waste |
| Revenue Impact | $1.2 million additional annual revenue (case example) | No comparable increase |
| Fréquence de maintenance | Less frequent due to durability and better fit | More frequent blade changes and repairs |
| Rapport coût-efficacité | Better due to longer life and less downtime | Higher operational costs |
Improved Maintenance and Safety
Custom blades are easier to put in and take out. This makes it safer for workers. It also helps keep the pelletizer working well.
Solutions Nanjing Metal
Nanjing Metal Industrial CO., Limited is a top maker of pelletizer die face blades. They have been making blades for over 20 years. The company has ISO certification, so you know their products are good. Their team has both experienced and young engineers who work hard to make great blades. Nanjing Metal lets you order custom blades that fit your needs.
They check quality at every step, from checking materials to the final product. They use strong materials like SK2, HSS, M2, and SKD11. They also use special heat treatments like quenching, tempering, and sub-zero treatment. These steps make the blades very hard, with a hardness of HRC 52 to 65. This helps the blades last up to 60% longer. You can also get coatings like chromium plating or titanium nitride to make the blades even better.
Nanjing Metal’s custom blades work for many jobs, like plastic recycling and masterbatch production. You can trust their knowledge and get updates on your order. If you want to know more or need a special blade, you can Contact their sales engineers.
Maintenance de la filière et bonnes pratiques
Routine Inspection
Key Inspection Points for Blade Mounting Area
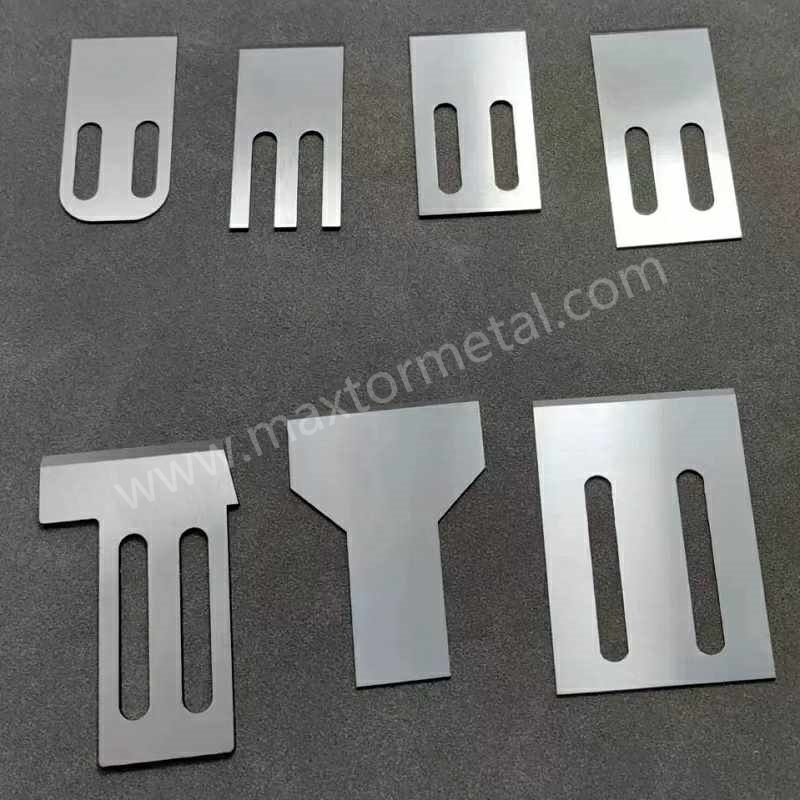
You should check many parts during die maintenance. Look at the blade root, platform, trailing edge, blade tip, leading edge, airfoil, and platform radius. Clean blades make it easier to see problems. Research shows clean blades help you find issues three times more often than dirty ones. Always wipe away dust and residue before checking. This helps you spot cracks, nicks, or other damage that could hurt how the machine works.
Signs of Wear, Cracks, or Loosening in Blade Seats
Check for grooves, chips, or uneven wear on blade seats. Watch for cracks or if the blade is not tight. If you see loose bolts or moving parts, stop and fix them right away. Missing these problems can cause bigger failures and cost you time and money. Checking the die often helps you find these problems early.
Nettoyage et lubrification
Cleaning Procedures for Blade and Die Contact Surfaces
After each use, clean the die and blade contact areas. Use a lint-free cloth to remove dust and plastic bits. Check for leftover material before starting the machine again. Cleaning well stops contamination and keeps your machine working well.
Lubrication Tips for Blade Mounting and Moving Parts
Put the right lubricant on moving parts and blade mounts. Never use bottles without labels. Always look for leaks or drips when the machine is running. Set a schedule for adding lubricant based on how much you use the machine.
Preventing Contamination During Maintenance
Keep your work area tidy. Wear clean clothes and close doors to keep out dust and bugs. Store lubricants in containers with labels. Bad cleaning habits can cause contamination, which can harm your blades and die. Good maintenance routines help you avoid these problems.
Dépannage
Common Issues After Blade Replacement (e.g., Improper Installation, Unusual Noises, Uneven Cutting)
You might hear strange sounds, see uneven pellets, or feel shaking after changing blades. These problems usually happen because of bad installation, loose bolts, or the wrong blade gap.
Solutions and Preventive Measures for Blade-Related Problems
Check if everything lines up and tighten all bolts. Set the blade gap to the right size. Follow the maker’s instructions for every step. Keep a checklist for die maintenance. Research shows good die maintenance can make dies last longer and cut costs by up to 90%. Regular checks and care keep your machine working well.
Need expert advice or custom solutions? Reach out to contact Nanjing Metal’s sales engineers for support.
If you follow each step, you can change pelletizer die face blades safely and quickly. Doing regular maintenance and using custom blades helps your machine work well and not stop often. Experts say you should do these things:
- Check blades and other parts for any damage or wear.
- Change broken or old parts right away to keep the machine working well.
- Always use safety rules and listen to what the maker says.
- Teach your team what to do and have extra parts ready.
- Ask for help from experts if the job is hard.
FAQ
How often should you replace pelletizer die face blades?
Check the blades after each production run. Replace them if you see chips, cracks, or uneven wear. Checking often helps stop machine problems and keeps pellets good.
What is the correct blade gap for efficient pelletizing?
Set the blade gap from 0.2 to 0.3 mm. This gap helps make clean cuts and lowers fines. Always check the gap before you start the machine.
Can you use standard blades on all pelletizer machines?
No, you need blades made for your machine. Custom blades fit better and last longer. Using the wrong blade can make uneven pellets and hurt the machine.
How do you prevent contamination during blade replacement?
Keep your work area neat and clean. Use lint-free cloths and put lubricants in labeled containers. Always wear clean gloves and close doors to keep out dust.
Voir aussi
Trouvez les Couteaux de Granulation Parfaits pour Vos Besoins de Traitement du Plastique
Lames de Granulateur Comparées : Trouvez Facilement la Bonne
Que Sont les Lames de Granulateur et Comment Fonctionnent-elles dans l'Industrie?
Comment choisir le couteau de granulation adapté à votre secteur d'activité
Guide Complet pour Choisir le Meilleur Couteau de Granulateur pour Votre Machine

 English
  Spanish
  Italian
  French
  Portuguese
  Russian
  German
  Arabic
  Hindi
Hindi  Vietnamese
  Indonesian
  Japanese
  Korean
2 réponses