

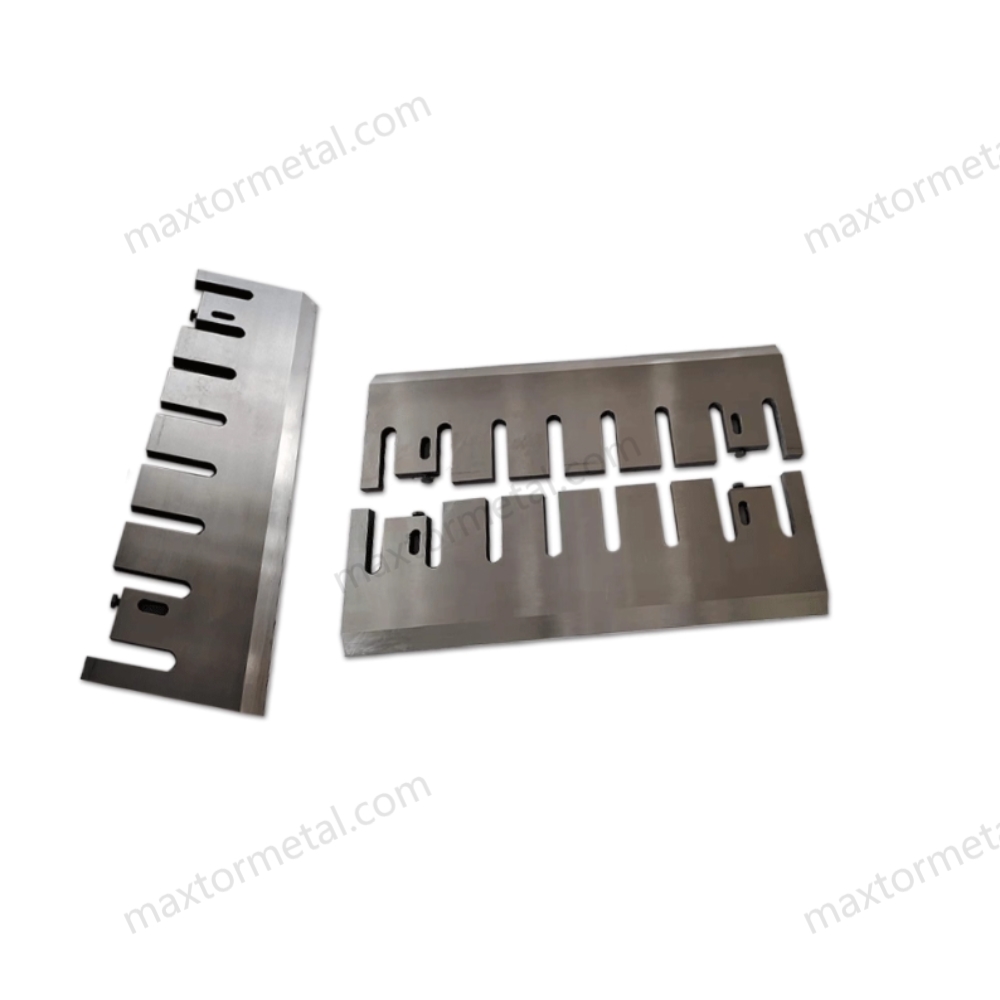
You must affûter les lames de déchiqueteuse with care to keep the right angle. This helps you get clean and accurate cuts. Sharp knives help your chipper work well and stay safe. The blade’s material matters a lot when you sharpen it. For example, D2 and DC53 tool steels are tough and resist wearing out. HSS inlay blades can take hard hits. Tungsten carbide blades last the longest and do not need sharpening as much.
Here’s a quick look at how different materials affect sharpening and blade life:
| Matériau | Caractéristiques de dureté | Avantages |
|---|---|---|
| Acier à outils D2 | High-carbon, high-chromium | Great at resisting wear |
| Acier à outils DC53 | Very tough; very hard | Lasts longer |
| HSS Inlay | Very tough; stays hard when hot | Handles strong impacts |
| Carbure de tungstène | Almost as hard as diamond | Lasts the longest |
If you use the right method, you can sharpen your chipper blades well. This keeps your machine working smoothly.
Principaux points à retenir
- Sharpening chipper blades keeps the angle correct for clean cuts and better chips.
- Blade materials like D2 and tungsten carbide change how often you need to sharpen.
- Dull blades can be dangerous, make the machine work harder, and give bad chips.
- The right tools, like sharpening stones or grinders, help make the edge sharp.
- Always wear safety gear, like gloves and goggles, to stay safe when sharpening.
- Check and clean blades often to make sure they are good before sharpening.
- Follow a maintenance plan based on the wood type to keep blades sharp longer.
- Test the blades after sharpening to make sure your chipper works well and smooth.
Why Sharpen Chipper Blades Matters
Cutting Precision and Chip Quality
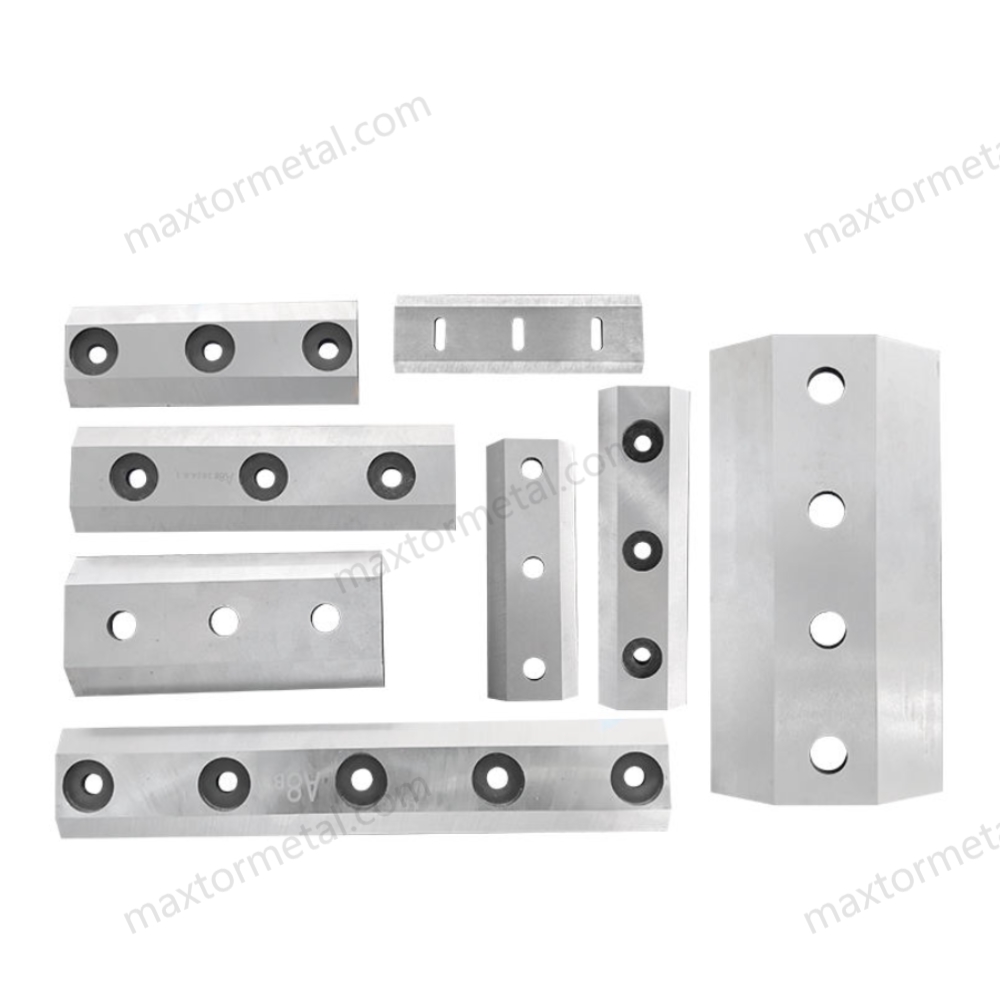
You need sharp chipper knives to get clean, uniform wood chips. When you sharpen chipper blades, you help your machine slice through wood with less effort. This keeps the chips even and improves their quality. The angle of the blade affects how thick the chips are and how smooth the cut looks. If you use blades made from D2 or DC53 tool steel, you get better wear resistance and longer life. HSS and tungsten carbide blades handle tough jobs and keep their edge longer, so you spend less time sharpening.
Take a look at how blade angle and condition affect chip quality:
| Blade Angle (IA) | Weighted Mean Chip Thickness (WCT) | Knot Ratio Effect | Chip Quality Impact |
|---|---|---|---|
| 50° | Decreased by 1 mm | Affected size distribution | Improved chip shape |
| 30° | N / A | Affected size distribution | Increased chip quality |
| Frozen Wood | Decreased by 0.55 mm | Increased fines and pin chips | Increased Williams accepts chip class by 6% |
| Unfrozen Wood | N / A | N / A | N / A |
When you keep your blades sharp, you get smoother chips and better results for downstream processes.
Risks of Dull Blades
Dull blades cause problems for both you and your chipper. You may notice visible dull edges or rough cuts. These issues can lead to safety hazards and lower chip quality. Here are some risks you face when you use dull blades:
- You need more force to feed wood, which can lead to mistakes.
- The chipper may break down from too much strain.
- You risk getting caught in the feed mechanism.
- Blades can still cause severe cuts.
- The machine gets louder, which can hurt your hearing.
- You may breathe in more wood dust and fumes.
If you see visible dull edges, you should stop and start sharpening right away. This keeps you safe and helps your chipper work better.
Blade Geometry and Performance
Blade geometry plays a big role in chipper performance. The infeed angle and blade shape affect how much power your chipper uses and how much energy it needs. When you use the right geometry, you get smaller chips and save energy. Here is how blade geometry changes chipper efficiency:
| Infeed Angle | Power Requirement | Consommation d'énergie | Chip Size |
|---|---|---|---|
| Augmenté | Decreased | Decreased | Decreased |
Lames de Nanjing Metal Industrial come in different shapes and materials. You can choose custom blades for your machine to get the best results.
Sharpening your blades often keeps your chipper running smoothly and safely. You get better chip quality, use less energy, and avoid costly repairs.
Tools for Sharpening Wood Chipper Knives
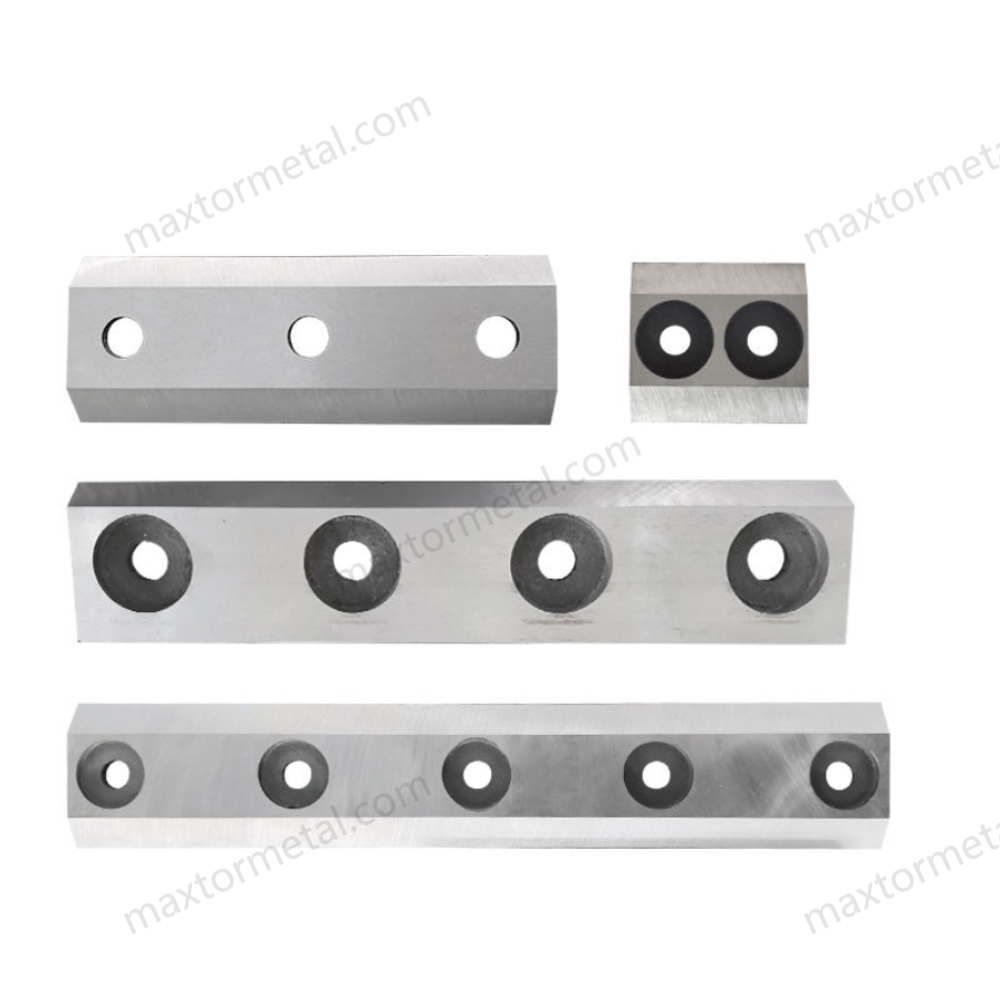
To keep chipper blades sharp, you need good tools. The right equipment helps you get a sharp edge and keep the best angle.
Hand Tools and Power Tools
There are different hand tools and power tools for sharpening. Each tool works in its own way and helps in different situations.
- A bench grinder or chipper knife sharpener fixes the blade fast. These machines can remove small dents and change the blade’s shape.
- A sharpening stone or honing guide helps you make the edge smooth by hand. These tools are good for small fixes and keeping the blade even.
- A torque wrench and other tools help you put blades back after sharpening. You need these to make sure blades are tight and safe.
- Gloves and goggles protect you while you work.
Hand tools let you control the angle better. Power tools help you finish faster, especially with lots of blades.
Tip: Use an angle guide or jig when sharpening. This keeps the bevel right, usually about 30 degrees for most chipper blades.
Professional Grinding Equipment
Professional grinding equipment has many benefits over doing it by hand. You get a sharper edge and better balance.
- Professional sharpening services keep the bevel angle correct every time.
- These services balance blade sets so your chipper works well.
- Coolant systems stop blades from getting too hot. This keeps the blade strong and helps it last longer.
- After sharpening, blades are packed safely and ready to use.
Professional equipment lowers the chance of blade warping and gives steady results. Coolant systems are important because they keep blades cool and safe.
Safety Gear Essentials
Safety is very important when sharpening chipper knives. You should always wear the right gear to stay safe.
- Gloves keep your hands safe from sharp blades.
- Safety glasses protect your eyes from dust and flying pieces.
- Steel-toed boots keep your feet safe from heavy things.
- Ear protection helps you avoid loud noise.
Never skip safety gear. Even a small mistake can hurt you. Make sure you have all your gear before you start sharpening.
Note: Check your safety gear before you begin. Replace anything broken right away.
Using good tools and safety gear makes sharpening easier and safer. You get better results and keep your chipper blades working well.
Sharpen Chipper Blades: Step-by-Step
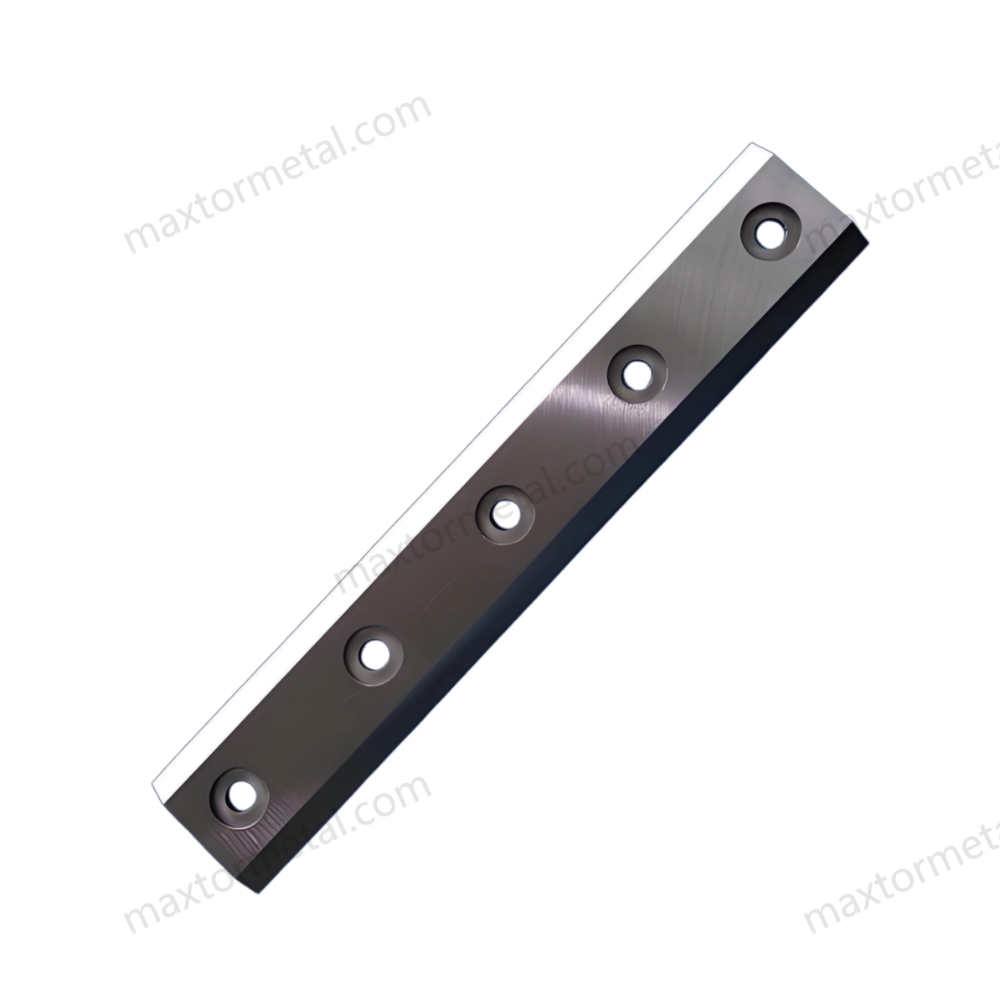
Preparation and Blade Removal
La sécurité avant tout
You must always put safety first before you sharpen chipper blades. Start by turning off the chipper and disconnecting it from any power source. For electric chippers, unplug the machine. For gas-powered models, remove the spark plug. This step prevents accidental starts and keeps you safe.
Wear gloves and safety glasses to protect your hands and eyes. Steel-toed boots add extra protection for your feet. Make sure you have all your safety gear ready before you begin.
Inspect for Damage
Before you remove the blades, check the chipper for any signs of damage. Look for cracks, chips, or bends in the blades. Damaged blades can break during sharpening or use, which can lower chip quality and put you at risk.
If you see any damage, set those blades aside for repair or replacement. Only sharpen blades that are in good condition. This helps you keep your chipper running smoothly and ensures precise sharpening.
Tip: Always inspect the bolts, nuts, and washers that hold the blades. Replace any worn or damaged parts to keep the blades secure.
Cleaning and Securing Blades
Après avoir retiré les lames, nettoyez-les soigneusement. Utilisez une brosse pour éliminer les copeaux de bois, la sève et la saleté. Si nécessaire, vous pouvez utiliser un nettoyant doux. Nettoyage des lames permet de visualiser clairement le taillant et rend le processus d'affûtage plus efficace.
Essuyez les lames avec un chiffon propre. Lubrifiez-les légèrement pour éviter la rouille. Des lames propres durent plus longtemps et offrent de meilleurs résultats lors de l'affûtage des couteaux de broyeur de bois.
Fixez les lames dans un étau ou un gabarit d'affûtage. Assurez-vous que la lame ne bouge pas pendant l'affûtage. Une lame stable permet de maintenir le bon angle et d'obtenir un taillant lisse et régulier.
Remarque : nettoyez la zone autour de votre établi pour éviter tout glissement ou accident pendant l'affûtage.
Réglage de l'angle d'affûtage
Utilisation de guides ou de gabarits
Vous devez régler le bon angle avant de commencer l'affûtage. La plupart des couteaux de broyeur nécessitent un angle spécifique pour garantir des performances optimales. Utilisez un guide d'angle ou un gabarit d'affûtage pour maintenir un taillant uniforme. Ces outils facilitent le respect du guide d'affûtage étape par étape et évitent les erreurs.
Placez la lame dans le gabarit et ajustez-la à l'angle recommandé. Vérifiez que la lame repose bien à plat et ne vacille pas. Ce montage garantit un affûtage précis à chaque fois.
Spécifications du fabricant (ex. 30 degrés)
Consultez toujours les spécifications du fabricant pour connaître l'angle d'affûtage correct. De nombreux couteaux de broyeur, notamment ceux en D2, DC53, HSS ou carbure de tungstène, utilisent un angle de 30 degrés. Cet angle offre un taillant résistant et une excellente qualité de copeaux.
L'utilisation d'un mauvais angle risque d'endommager la lame ou de réduire sa durée de vie. Le respect des spécifications garantit la conformité de l'affûtage avec la conception de la lame. Cette étape permet d'affûter les couteaux de broyeur pour une performance et une sécurité maximales.
Rappel : le maintien du bon angle améliore la qualité des copeaux et prolonge la durée de vie de vos couteaux de broyeur.
Techniques d'affûtage
Méthodes manuelles
Vous pouvez affûter les couteaux de broyeur de bois à la main pour un contrôle plus précis. Utilisez une pierre à affûter ou une lime diamantée. Fixez la lame dans un gabarit ou un étau stable. Maintenez la pierre au bon angle, environ 30 degrés. Déplacez la pierre le long du taillant avec des mouvements réguliers, d'une extrémité à l'autre. Vous conserverez ainsi une lame bien affûtée et un angle constant.
L'affûtage manuel convient particulièrement aux lames en acier à outils D2 et DC53. Ces lames conservent leur tranchant et résistent à l'usure rapide. Les lames à mise en carbure sont très dures et nécessitent des pierres diamantées spécifiques. Les lames en acier inoxydable supportent également très bien l'affûtage manuel, même en milieu humide.
Conseil : inspectez la lame à la recherche d'ébréchures ou de fentes avant de commencer. Éliminez tout dommage par des passes douces pour préserver la résistance de la lame.
Affûtage sous arrosage professionnel
L'affûtage sous arrosage professionnel offre les meilleurs résultats pour les couteaux de broyeur. Cette méthode utilise une affûteuse équipée d'un système d'arrosage à l'eau ou au fluide de coupe. Le fluide maintient la lame au frais et empêche toute surchauffe. Placez la lame dans la machine et réglez l'angle conformément aux instructions du fabricant.
L'affûtage sous arrosage convient à tous les types de lames, comme l'acier à haute teneur en carbone, les lames à mise en carbure et l'acier inoxydable. Ce procédé garantit un taillant lisse et régulier tout en préservant l'équilibrage de la lame. Les professionnels utilisent des machines pour affûter chaque lame de façon homogène. Ainsi, vos couteaux de broyeur durent plus longtemps et offrent une meilleure qualité de coupe.
Remarque : l'affûtage sous arrosage réduit le risque de déformation et maintient un taillant uniforme. Vous obtenez de meilleurs copeaux et prolongez la durée de vie de vos lames.
Avoiding Mistakes
Prévenir la surchauffe
La surchauffe est un problème fréquent lors de l'affûtage des lames. Si la lame chauffe trop, elle risque de se déformer ou de perdre sa dureté. Utilisez toujours du fluide de coupe ou de l'eau avec une meuleuse. Faites des pauses pour laisser refroidir la lame. La surchauffe endommage particulièrement les lames en carbure, mais toutes les lames peuvent en subir les conséquences.
| Erreur | Impact | Solution |
|---|---|---|
| Surchauffe de la lame en carbure | Bords déformés, faible précision de coupe | Utiliser du fluide de coupe, laisser refroidir la lame |
| Application d'une pression excessive | Ébréchure, fissuration, usure prématurée | Appliquer une pression douce et constante |
| Utilisation d'une vitesse d'avance incorrecte | Désaffûtage, surchauffe, mauvaise qualité de coupe | Respecter la vitesse d'avance recommandée par le fabricant |
Avertissement : si vous constatez un changement de couleur ou une odeur de brûlé, arrêtez l'affûtage et laissez refroidir la lame.
Maintenir l'équilibrage des lames
Des lames bien équilibrées garantissent le bon fonctionnement et la sécurité de votre broyeur. Un affûtage irrégulier peut provoquer des vibrations de la machine et produire des copeaux de mauvaise qualité. Affûtez toujours les deux côtés de la lame de façon identique. Utilisez un équilibreur pour contrôler la lame après l'affûtage. Si un côté est plus lourd, enlevez un peu plus de matière jusqu'à obtenir un équilibre parfait.
Un mauvais alignement de la lame entraîne des coupes irrégulières et une usure accrue. Veillez à remonter la lame correctement après l'affûtage. Vérifiez le serrage de tous les boulons et éléments de fixation.
Conseil : des lames équilibrées protègent votre broyeur et produisent des copeaux de meilleure qualité.
Vous pouvez affûter vos couteaux de broyeur à la main ou par affûtage sous arrosage. Ces deux méthodes permettent de conserver le bon angle et un taillant tranchant. Évitez toute surchauffe de la lame et équilibrez toujours vos lames pour obtenir des résultats optimaux.
Maintaining Sharp Chipper Knives
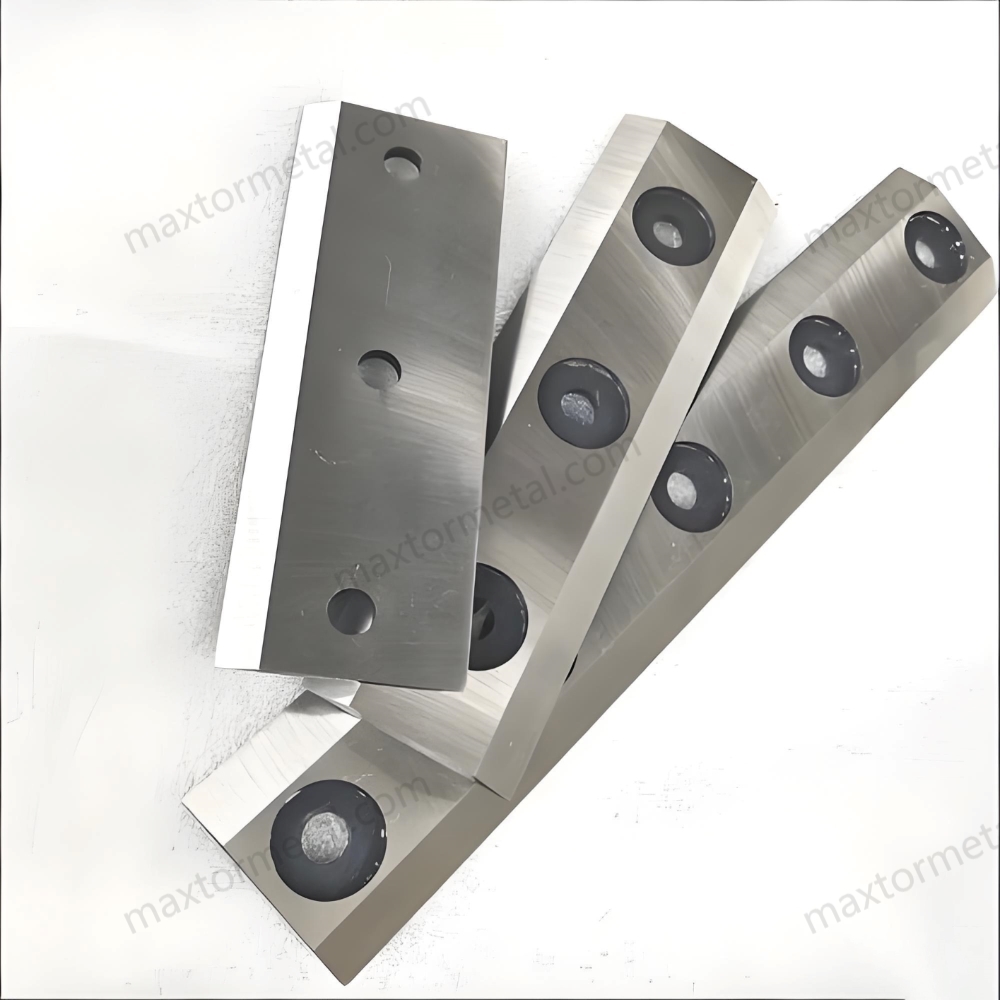
Inspection après affûtage
Après avoir affûté une lame, vous devez l'examiner attentivement. Orientez la lame vers la lumière et vérifiez que le tranchant est bien lisse. Passez délicatement votre doigt le long de la lame pour détecter d'éventuelles rugosités ou ébréchures. Si vous constatez des éclats ou des zones irrégulières, affûtez à nouveau la lame. Vous pouvez utiliser une loupe pour mieux observer le tranchant. Assurez-vous que la lame soit parfaitement tranchante et ne présente aucun point émoussé.
Le contrôle de vos lames permet de détecter rapidement tout problème. Cela garantit la sécurité et le bon fonctionnement de votre broyeur. Des couteaux de broyeur bien affûtés coupent le bois de manière nette et assurent un fonctionnement fluide de votre machine. Certaines lames, en D2, DC53, HSS ou carbure de tungstène, nécessitent un affûtage moins fréquent. Les lames en carbure de tungstène conservent leur tranchant plus longtemps et demandent moins de vérifications.
Conseil : examinez toujours les deux côtés de la lame. Un tranchant équilibré produit de meilleurs copeaux et prolonge la durée de vie de votre broyeur.
Test des performances de la lame
Une fois l'affûtage terminé, vous devez tester les performances de la lame. Réinstallez la lame dans votre broyeur. Faites passer une petite quantité de bois dans la machine. Observez la façon dont le broyeur coupe le bois. Écoutez le bruit de fonctionnement, qui doit être fluide, et examinez les copeaux. Si les copeaux sont uniformes et que le broyeur est silencieux, votre lame est bien affûtée et équilibrée.
Si vous constatez des copeaux irréguliers ou des bruits anormaux, affûtez de nouveau la lame. Vérifiez l'absence d'oscillations ou de vibrations. Ces signes indiquent que la lame n'est peut-être pas suffisamment affûtée ou équilibrée. Les tests vous aident à déceler les problèmes avant qu'ils n'endommagent votre broyeur.
Vous pouvez utiliser une liste de contrôle simple pour tester votre lame :
| Étape du test | Que rechercher | Que faire ensuite |
|---|---|---|
| Faire passer du bois dans le broyeur | Taille de copeau uniforme | Blade is sharp |
| Listen to machine | Smooth, quiet operation | Blade is balanced |
| Check for vibration | No shaking | Blade is installed well |
| Inspect chips | Clean, even edges | Blade is precise |
Note: Always test your chipper in a safe place. Wear safety gear and keep your hands away from moving parts.
Consistent Edge Geometry
You need to keep the same edge shape every time you sharpen. This helps you get the same cutting and chip quality each time. Use a sharpening jig or guide to hold the blade at the right angle. Press evenly along the blade when sharpening. Do not rush. Take your time so the blade does not get too hot.
Here are some ways to keep the edge shape the same:
- Use a sharpening jig to keep the blade steady and the angle right.
- Press evenly while sharpening to avoid rough edges.
- Check the blade often to make sure it is sharp everywhere.
- Use coolant or take breaks to stop the blade from overheating.
- Make a regular schedule to keep blades sharp.
A sharpening jig helps you keep the angle the same for every blade. This tool makes it easier to sharpen blades well. If you use harder blades like tungsten carbide, you must be careful with the edge shape. These blades last longer but need careful sharpening to keep their shape.
Alert: If you sharpen unevenly, you can get bad chips and damage your chipper. Always check your work and use guides if you can.
Keeping chipper knives sharp means you check, test, and sharpen them carefully. This keeps your chipper safe and working well. The blade material changes how often you need to sharpen. Harder blades like tungsten carbide need less sharpening, but softer steels need more care. If you follow these steps, your blades will stay sharp and your chipper will work its best.
Safety in Sharpening Industrial Wood Chipper Knives
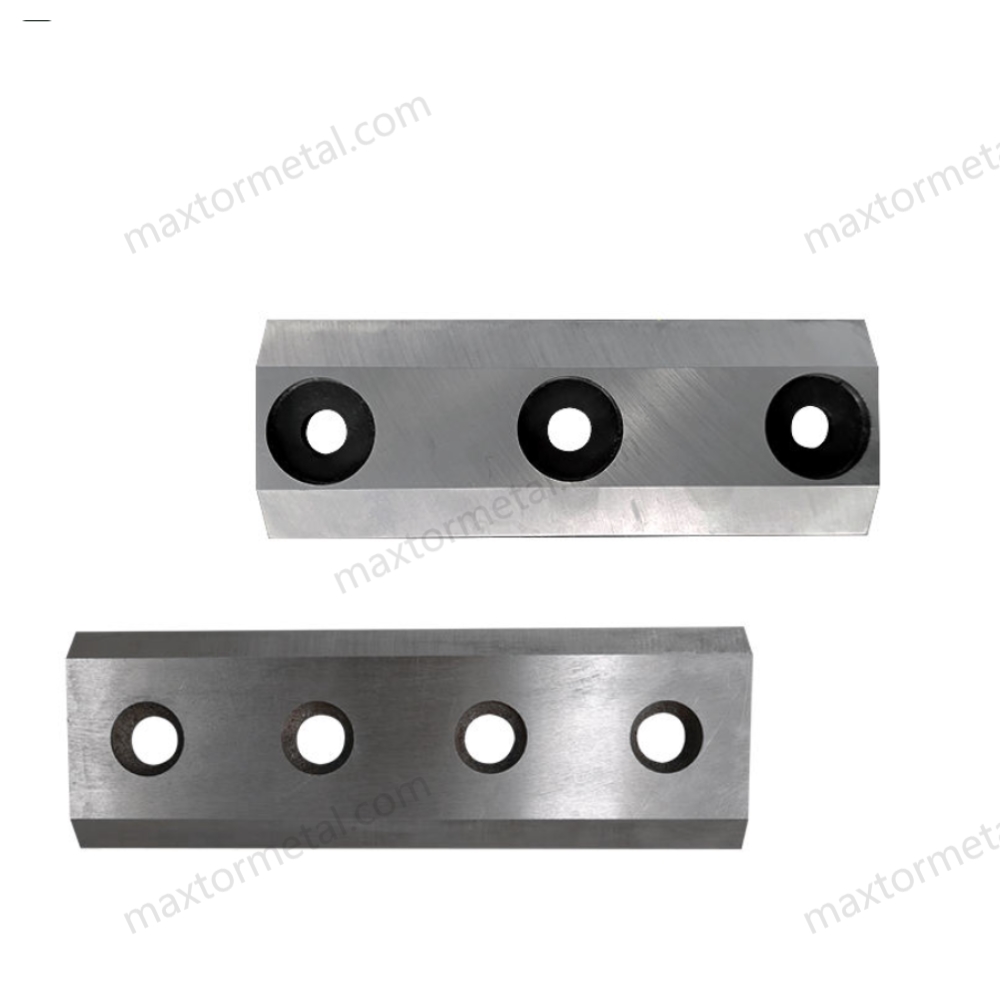
Safety is very important when you sharpen industrial wood chipper knives. Sharp blades cut wood easily, but they can hurt you if you are not careful. You need to wear the right gear and handle blades gently. Safe storage is also important. These steps keep you and others safe.
Équipement de protection individuelle
You should wear personal protective equipment before sharpening. This gear helps protect you from cuts, flying pieces, and loud sounds.
- Put on cut-resistant gloves to keep your hands safe.
- Use safety glasses or goggles to protect your eyes from dust.
- Wear steel-toed boots to keep your feet safe from dropped blades.
- Use ear protection if you work with loud machines.
- Wear long sleeves and pants to cover your skin.
Tip: Check your gear for damage before you start. Replace broken or worn gear right away.
Manipulation et stockage en toute sécurité
Handling and storing chipper blades safely stops injuries at work. Treat every blade with care, even if it looks dull.
- Use the right tool for each job to avoid slips.
- Check each blade before using it to make sure it is not damaged.
- Carry one blade at a time with the tip pointed down.
- Work in a bright area so you can see well.
- Cut away from your body and keep your hands safe.
- Store blades in a clean rack or drawer with handles facing out.
- Keep the storage area neat to stop tripping or dropping blades.
- Follow the manufacturer’s instructions for blade use and care.
- Train everyone to use and handle blades safely.
Note: Do not leave sharpened blades out. Always put them back in their storage spot after use.
Prévenir les accidents
You can stop most accidents by following easy safety rules. Stay focused and do not rush when sharpening.
- Check your blades often for damage or wear.
- Do not use too much force when sharpening or handling blades.
- Do not play around or get distracted near sharp tools.
- Keep your workspace clean and free of clutter.
- Only trained people should handle and sharpen chipper knives.
- Always follow your workplace safety rules.
If you see something unsafe, tell someone right away. A safe work area keeps everyone from getting hurt.
Alert: If you drop a blade, do not try to catch it. Let it fall, then pick it up with gloves.
By wearing the right gear, handling blades carefully, and following safety steps, you keep yourself and your team safe. These habits help you work well and keep your chipper blades in good shape.
Sharpening Frequency and Blade Longevity
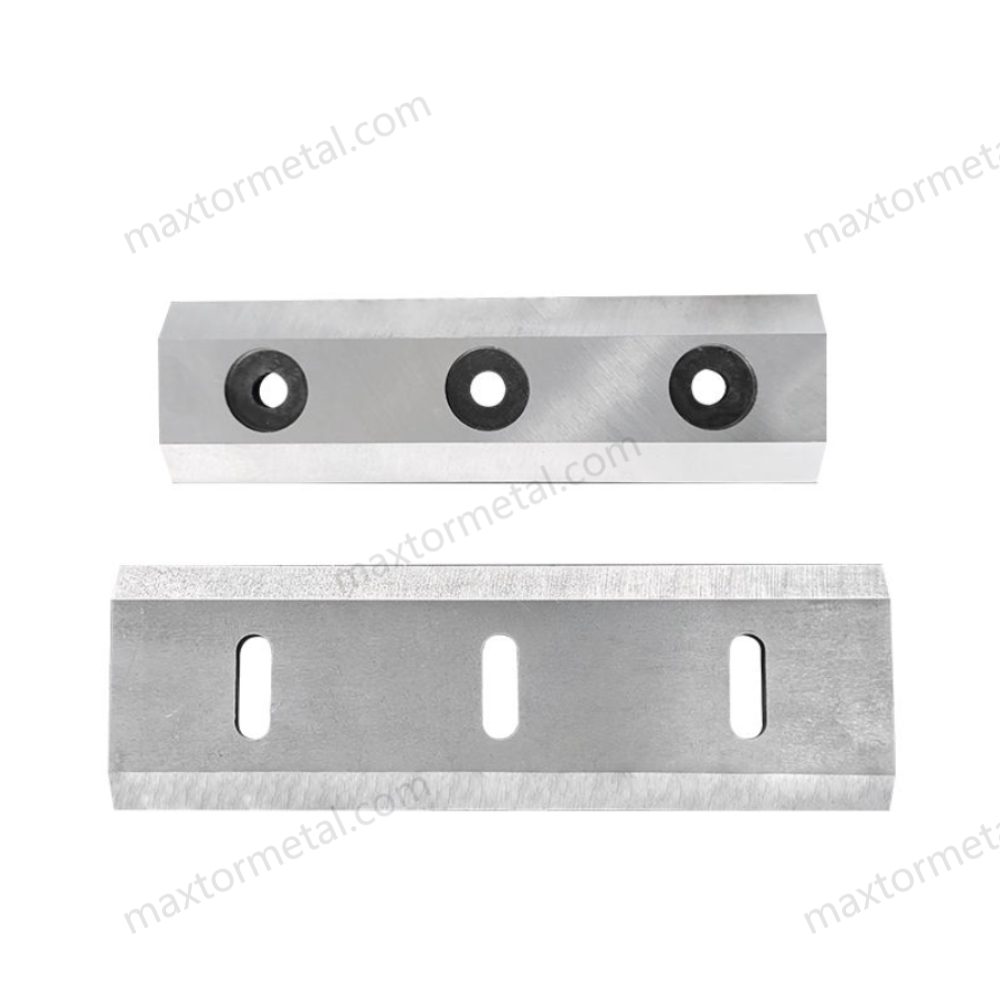
Factors Affecting Sharpening Needs
Material Type and Volume
You need to pay attention to what kind of wood you process and how much you use your chipper. Hardwoods like oak and maple wear down blades faster than softwoods such as pine. If you chip a lot of wood every day, your blades will need more frequent sharpening. The style of chipper also matters. Drum-style chipper blades usually last between 20 and 30 hours per side. Disc-style chipper blades should be flipped every 25 to 30 hours to keep the edge fresh.
| Type of Wood | Wear Rate on Blades |
|---|---|
| Hardwoods (oak, maple) | Higher wear rate |
| Softwoods (pine) | Lower wear rate |
If you use your chipper for old, dried branches, you may need to sharpen the blades more often. The volume and type of wood you process directly affect how long your blades stay sharp.
Signes d'usure
You can spot signs your chipper knife needs sharpening by watching how your machine works. If your chipper starts to slow down, uses more fuel, or makes uneven wood chips, your blades may be dull. Dull blades can reduce your work speed by almost 16 percent. They can also make your chipper use up to 2.8 times more fuel. If you notice engine strain or rough chip quality, it is time to check your blades.
Tip: Always look for slower operation, higher fuel use, and uneven chips. These are clear signs your chipper knife needs sharpening.
Programme de maintenance
You should follow a regular maintenance schedule to keep your chipper blades working well. The blade material affects how often you need to sharpen or replace them. D2 and DC53 tool steels offer good wear resistance, so you can sharpen them after about 25 hours of use. High-speed steel (HSS) blades handle tough jobs and may need sharpening every 6 to 8 hours of chipping time, especially if you process old branches. Tungsten carbide blades last the longest and require less frequent sharpening, but you should still check them at 10-hour intervals.
- Change the oil after the first 8 hours of use, then every 50 hours.
- Sharpen or replace chipper blades after about 25 hours of use for most steel blades.
- Sharpen knives every 6 to 8 hours if you chip tough or dried wood.
- Check all blades at 10-hour intervals, especially if you use harder materials or work in rough conditions.
You should always keep the correct angle when you sharpen your blades. This helps maintain chip quality and blade life. Regular maintenance keeps your chipper running smoothly and helps you avoid costly repairs.
Note: A good maintenance schedule helps you get the most out of your chipper blades and keeps your machine safe.
DIY vs. Professional Sharpening: Cost and Performance
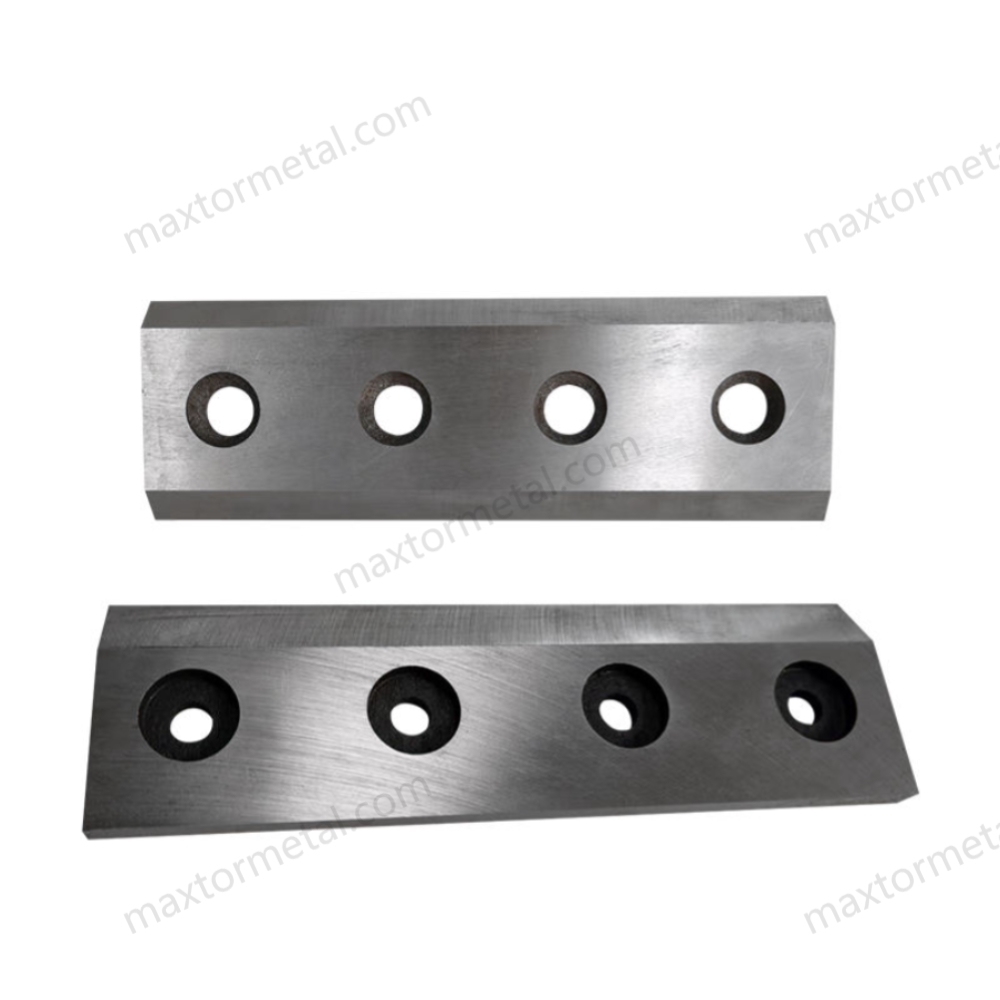
DIY Sharpening Economics
When you sharpen your chipper blades at home, you save money on service fees. You only need to buy basic tools like a sharpening stone, a bench grinder, or a honing guide. These tools cost less over time if you use them often. You can sharpen your blades whenever you want, so you do not have to wait for a service shop.
Here are some costs you might face with DIY sharpening:
| Article | Estimated Cost (USD) |
|---|---|
| Pierre à affûter | $20 – $40 |
| Bench Grinder | $60 – $150 |
| Angle Guide/Jig | $15 – $30 |
| Équipement de sécurité | $25 – $50 |
You also need to spend time learning the right way to sharpen. If you do not keep the correct angle, your chipper may not work as well. You might need to sharpen more often if you do not get a perfect edge. DIY sharpening works best if you have a small chipper or do not use it every day.
Tip: Practice on old blades before sharpening your main chipper knives. This helps you build skill and confidence.
Professional Wet Grinding Benefits
Professional wet grinding gives you a sharper and more precise edge. Experts use special machines that keep the blade cool and prevent damage. This method helps your chipper blades last longer and cut better. You get a perfect angle every time, which means your chipper works at its best.
Some benefits of professional sharpening include:
- Consistent edge geometry for every blade
- Less risk of overheating or warping
- Longer blade life and fewer replacements
- Balanced blades for smooth chipper operation
Professional services also check for cracks or damage before sharpening. This keeps your chipper safe and reduces the chance of accidents. If you use your chipper for business or process a lot of wood, professional sharpening can save you time and money in the long run.
Note: Many professional shops use wet grinding with coolant. This protects the blade’s hardness and keeps the edge strong.
Coût total de possession
When you look at the total cost, you need to think about more than just sharpening. You should consider how often you need to replace blades, how much downtime you have, and how much energy your chipper uses. A sharp, well-balanced blade helps your chipper run smoothly and use less fuel.
Here is a simple comparison:
| Sharpening Method | Coût initial | Durée de vie de la lame | Temps d'arrêt | Energy Use | Épargne à long terme |
|---|---|---|---|---|---|
| DIY | Faible | Moyen | Plus | Plus haut | Good for small jobs |
| Professional Wet Grind | Moyen | Haut | Moins | Inférieur | Best for heavy use |
If you use high-quality blades from Nanjing Metal Industrial, you get even better results. Their custom blade solutions help you match the right blade to your chipper and your workload. This means you spend less on replacements and repairs.
Alert: Always balance the cost of sharpening with the value of your time and the performance of your chipper. The right choice depends on how much you use your machine and what results you want.
Machine Efficiency and Blade Life
You want your chipper to work smoothly and last a long time. Sharp blades play a big role in making this happen. When you keep your blades sharp, your chipper does not have to work as hard. The machine cuts through wood easily and does not slow down. You finish jobs faster and spend less time fixing problems.
Sharp blades help your chipper make clean and even wood chips. This reduces the chance of jams and keeps the machine running without stops. Dull blades force your chipper to use more power. The engine gets hotter and may wear out sooner. You might hear louder noises from the machine, which means it is working too hard.
You can see the benefits of sharp blades in several ways:
- The chipper uses less energy to cut wood.
- You get more work done in less time.
- The machine stays cooler and lasts longer.
- You avoid jams and keep the chipper safe.
- The noise level stays low, making the work area safer.
When you sharpen your blades regularly, you also save money. You do not need to replace blades as often. Longer intervals between professional sharpenings mean lower costs over time. Your chipper stays in good shape, and you do not have to worry about sudden breakdowns.
If you use blades made from tough materials, such as D2 or tungsten carbide, you get even better results. These blades keep their edge longer and help your chipper stay efficient. You spend less time on maintenance and more time getting work done.
Tip: Check your chipper blades often. Sharp blades protect your machine and help you get the best results every time.
You can make chipper blades sharp if you follow these steps. First, pick the right tool for the job. Next, set the blade at the correct angle. Sharpen both sides the same way so the edge is even. Take off any burrs left on the blade. Make sure the blade is balanced before you put it back. If you check your chipper often and keep it clean, it will work better and make nicer chips. Good blade materials and the right sharpening steps help your blades last longer and cut well. If you want help or need special blades, you can ask Nanjing Metal Industrial’s team on their page de contact.
FAQ
À quelle fréquence faut-il affûter les lames d'un broyeur ?
Check your chipper blades after 10 to 25 hours of use. Look for dull edges or rough chips. Sharpen them when you see these signs. Regular sharpening helps your chipper work well.
What is the best angle for sharpening chipper blades?
Most chipper blades need a 30-degree angle. Use an angle guide or jig to keep the edge even. Always follow the instructions from the manufacturer for your blade.
Can you sharpen tungsten carbide chipper blades at home?
You need diamond stones or grinding wheels for tungsten carbide blades. Most people send these blades to a professional shop. Home tools usually do not work well for this job.
How do you know if chipper blades are dull?
Look for uneven wood chips or listen for loud noises. Your chipper may slow down or use more fuel. Dull blades make rough cuts and lower chip quality.
What safety gear do you need when sharpening chipper blades?
Wear cut-resistant gloves, safety glasses, and steel-toed boots. Use ear protection if your machine is loud. Keep your hands away from sharp edges at all times.
Can you use a regular bench grinder for chipper blades?
You can use a bench grinder for steel chipper blades. Use coolant to stop overheating. For carbide blades, use a diamond wheel. Always keep the right angle when sharpening.
Why does blade balance matter after sharpening?
Balanced blades help your chipper run smoothly. Unbalanced blades cause vibration and uneven chips. They can also damage your chipper. Always check balance before putting blades back.
What is the difference between manual and professional sharpening?
Manual sharpening gives you more control and saves money. Professional sharpening uses machines for a sharper edge and better balance. Wet grinding at a shop helps blades last longer.
Voir aussi
Sélection de Couteaux de Déchiqueteuse Industriels : Simple Tranchant ou Double Tranchant ?
Couteaux de Déchiqueteuse à Tambour Industriels : Équilibrer Vitesse de Coupe, Robustesse et Qualité des Copeaux
La Clé de la Qualité des Copeaux : Angles de Lames de Déchiqueteuse à Disque Optimisés pour le Bois Tendre et Dur
Le Guide Ultime des Matériaux de Lames de Déchiqueteuse : Choisir le Bon Alliage d'Acier

 English
 Spanish
 Italian
 French
 Portuguese
 Russian
 German
 Arabic
 Hindi
 Vietnamese
 Indonesian
 Japanese
 Korean