Imagine you cut a metal sheet and see rough burrs on the edge. Sometimes, you might even find chips on your cutting blade. You can stop these problems by ensuring proper Penyesuaian jarak bebas bilah geser. If you set the clearance just right, you achieve smooth cuts and fewer burrs. Your blades will also last longer and avoid damage. Many workers make mistakes like using dull blades. Some use plates that are too thick. Others set the gap unevenly. You can avoid these issues by checking if your blade is sharp. Make sure the machine matches the plate thickness. Adjust the gap carefully. High-quality blades from Metal Industrial help you get excellent results in your shop.
Poin-poin Utama
- The right shear blade clearance stops burrs and makes clean cuts. Change the gap for each material to get the best cut.
- Dull blades or wrong plate thickness make cuts look bad. Always check if blades are sharp and fit the material.
- Setting blade clearance the right way helps blades last longer. It also keeps the machine from wearing out fast. This saves money on fixing or buying new parts.
- Use the clearance percentages that experts suggest for each material. For mild steel, use 5% to 10%. For stainless steel, use 8% to 12%.
- Use feeler gauges and shims to set the blade gap exactly. These tools help you get the right setting for smooth cuts.
- Take care of your machine often. Clean it every day and look at the blades a lot. This keeps the machine working well.
- Try your settings on scrap pieces before you start the real job. This helps you find problems and get good cuts.
- Use charts from the industry to check blade clearance fast. These charts make it easier to set the blades and help you avoid mistakes.
Why Shear Blade Clearance Adjustment Matters
Cut Quality and Burr Prevention
You want every cut to look clean and smooth. The gap between the cutting blades, called blade clearance, plays a big role in this. If you set the gap too wide or too narrow, you will see rough edges and burrs on your metal sheets. Burrs are sharp, unwanted pieces of metal that stick out from the edge. They can make your parts look bad and even cause safety problems. When you use the right blade clearance, you get clean edges and almost no burrs. Worn or damaged cutting blades also make burrs worse. If you cut soft metals or work at high speeds, you need to pay extra attention to your settings. Good shear blade clearance adjustment helps you avoid these problems and keeps your work looking professional.
Blade Longevity and Machine Health
You want your cutting blades to last as long as possible. If you set the blade clearance wrong, your blades will wear out faster. Too tight a gap makes the blades rub together and causes extra friction. This can lead to chips or cracks in the blades. Too wide a gap makes the blades hit the metal at the wrong angle, which can also cause damage. When your blades wear out, you need to replace them more often. This costs money and takes time. Bad settings also put stress on your shearing machine. The machine can overheat or break down, leading to expensive repairs. By adjusting the blade clearance correctly, you protect both your blades and your machine.
Dampak Produktivitas
When you set the blade clearance just right, you work faster and waste less material. Clean cuts mean you do not need to spend extra time fixing rough edges. You throw away less scrap, which saves money. Your production line moves smoothly because you do not stop for repairs or blade changes as often. The table below shows how accurate blade clearance helps your shop:
| Keuntungan | Keterangan |
|---|---|
| Potongan yang lebih bersih | You get high-quality cuts every time. |
| Reduced Scrap Rates | You waste less material with each cut. |
| Lower Rework Requirements | You spend less time fixing mistakes. |
| Improved Production Rates | You finish jobs faster and more efficiently. |
| Lower Operational Costs | You save money on repairs and wasted materials. |
If you use automatic systems, they can adjust the gap for you. These systems save time and help your blades last longer. They also keep your machine running smoothly. Whether you adjust by hand or use a system, always check your blade clearance for the best results.
Shear Blade Clearance Formulas
Setting the right gap between your cutting blades is important for every shearing machine. You need to use the correct formula for each material. This helps you get clean cuts and avoid burrs. You can use simple rules and charts to find the best setting for your job.
Material Thickness Percentage Rule
You can use a percentage of the material thickness to set your blade clearance. This rule works for most metals. You measure the thickness of your sheet, then multiply by a set percentage. The answer gives you the ideal gap between your blades.
Mild Steel Formula
For mild steel, you should set the clearance between 5% and 10% of the sheet thickness. If you cut a 4 mm thick mild steel plate, you multiply 4 mm by 0.07 (7%) to get a clearance of 0.28 mm. This range gives you a good balance between clean cuts and long blade life.
Stainless Steel Formula
Stainless steel is harder than mild steel. You need a wider gap to prevent blade damage. Set the clearance between 8% and 12% of the sheet thickness. For a 3 mm stainless steel sheet, multiply 3 mm by 0.10 (10%) to get a clearance of 0.3 mm. This helps your cutting blade last longer and reduces burrs.
Aluminum Formula
Aluminum is softer than steel. You can use a smaller gap. Set the clearance between 4% and 6% of the sheet thickness. For a 2 mm aluminum sheet, multiply 2 mm by 0.05 (5%) to get a clearance of 0.1 mm. This keeps your cut edge smooth.
Tip: If you work with custom blades for different materials, you can find more information about pisau khusus options.
Recommended Clearance Percentages
You can use these guidelines for most jobs:
- For mild steel, use 5% to 10% of the sheet thickness.
- For stainless steel, use 8% to 12%.
- For aluminum, use 4% to 6%.
- For high-strength steel, increase the clearance up to 16% or more.
If you cut thicker or harder materials, increase the gap. This prevents damage to your cutting blade and helps your shearing machine run smoothly.
| Jenis Bahan | Recommended Clearance (%) | Example (3 mm sheet) | Clearance (mm) |
|---|---|---|---|
| Baja Ringan | 5% – 10% | 3 x 0.07 | 0.21 |
| Besi tahan karat | 8% – 12% | 3 x 0.10 | 0.30 |
| Aluminium | 4% – 6% | 3 x 0.05 | 0.15 |
| Baja Kekuatan Tinggi | 12% – 16% | 3 x 0.14 | 0.42 |
Using Industry Charts
You can also use industry charts to set your blade clearance. These charts show the best gap for each material and thickness. Many machine manuals include these tables. You can find charts online or from your blade supplier. Always check the chart before you start a new job.
- Look for the material type and thickness in the chart.
- Find the recommended clearance value.
- Set your cutting blade gap to match the chart.
If you use special materials or custom blades, ask your supplier for a chart that matches your needs. This helps you avoid mistakes and keeps your cuts clean.
Catatan: Charts help you set the right clearance quickly. They also help you avoid common errors in shear blade clearance adjustment.
By following these formulas and using charts, you can set your blade clearance with confidence. You will get better results and protect your cutting blade from damage.
Technical Factors in Adjusting Blade Clearance
Material Strength Effects
Impact of High-Strength Materials
You need to be careful with high-strength metals. These metals, like stainless steel or strong alloys, are very hard. They need a bigger gap between your cutting blade edges. If the gap is too small, you can get double shearing and burrs. Your blades will wear out quickly. If the gap is too big, your cuts may not be straight. The edge might fold.
Here is a table that shows what happens with different gaps:
| Clearance Level | Effects |
|---|---|
| Too little | Double shear, burrs, rapid wear |
| Too much | Inaccurate cuts, folding |
| Minimum (for stainless steel) | Prevents burrs and work hardening |
Always check the recommended gap for high-strength metals. This helps you keep your blades safe and your cuts smooth.
Adjusting for Soft Metals
Soft metals like aluminum or copper need a smaller gap. These metals bend easily. If the gap is too big, you might see rough edges or folding. If the gap is too small, your blades can wear out faster. Use the lower end of the recommended gap for these metals. Try your settings on a scrap piece before you start your job.
Mixed Material Processing Considerations
Sometimes you cut sheets made from different metals at once. Set your blade gap for the hardest metal in the batch. If you use the gap for the softest metal, your blade can get damaged when you cut harder sheets. Check your blades for wear after cutting mixed metals. This helps you keep your cuts looking good.
Blade Rake Angle
Influence on Shearing Force
The rake angle is how much your cutting blade tilts. This angle changes how hard it is to cut the metal. A positive rake angle makes cutting easier. It lowers the force needed. A negative rake angle makes cutting harder. It can make your cuts look worse.
Here is a table that explains the effects:
| Rake Angle Type | Effect on Shearing Force | Effect on Cut Quality |
|---|---|---|
| Positive Rake | Reduces shearing force | Improves cut quality |
| Negative Rake | Increases shearing force | May decrease cut quality |
Pick a rake angle that fits your metal and machine. A sharper rake angle needs less force but can wear out your blade faster.
Effects on Edge Quality
The rake angle also changes how the edge looks. A sharper rake angle gives a cleaner edge. Positive rake angles make the cutting face sharper. This makes your finished part look better. Negative rake angles make the blade stronger but can leave a rough edge. You should balance edge quality and blade life when you set the rake angle.
Tip: Use a positive rake angle for a smooth edge. Use a negative rake angle for more blade strength.
Adjusting Rake Angle for Different Materials
Change the rake angle for each metal you cut. For soft metals, use a sharper positive rake angle. For hard or thick metals, use a less sharp angle to protect your blade. Always check your machine manual for the best rake angle. Test your settings on a sample piece to find the best mix of force and edge quality.
Machine Design Considerations
Fixed vs. Adjustable Blade Holders
Your machine design changes how you set blade clearance. Machines with adjustable blade holders let you move the cutting blade more exactly. This helps you keep your cuts even and your blades lasting longer. Fixed blade holders do not let you adjust much. This can cause more blade wear or uneven cuts.
Here is a table that compares the two types:
| Fitur | Adjustable Blade Holders | Fixed Blade Holders |
|---|---|---|
| Precision Adjustment | Allows fine-tuning of blade position | Limited adjustment capabilities |
| Kualitas Pemotongan | Maintains consistent cutting quality | Potential for variations |
| Wear Minimization | Reduces wear through precise alignment | May lead to increased wear |
| Aplikasi | Ideal for industries needing accuracy | Less suitable for precision tasks |
| Adjustment Mechanism | Precision screws or micrometer dials | Tidak tersedia |
For the best results, use machines with adjustable blade holders.
Hydraulic vs. Mechanical Shears
Hydraulic shears use fluid power to move the blade. These machines work smoothly and keep the force steady. Mechanical shears use gears and levers. They can cut faster but are harder to adjust for exact cuts. Pick the type that fits your work. Hydraulic shears make it easier to keep the blade gap right.
Alignment and Parallelism
Keep your cutting blade edges lined up and parallel. Bad alignment causes uneven cuts and wears out your blades. Use feeler gauges or dial indicators to check alignment. Tighten all fasteners as your machine manual says. Test with sample cuts to make sure your blades are parallel. Check often to avoid problems and keep your machine working well.
Catatan: Always match your blade clearance to the metal and your machine. This helps you avoid mistakes and keeps your cutting blade working its best.
Special Materials
Baja Kekuatan Tinggi
You face unique challenges when you cut high-strength steel. This material is tough and can wear out your cutting blade quickly. You must set the blade clearance with care. For a 1 mm thick steel sheet, you should use a gap between 0.05 and 0.1 mm. This range helps you avoid blade damage and keeps your cuts clean. Always check the thickness and properties of your steel before you adjust the gap. You need to keep the upper and lower blades parallel. If you do not, you may see uneven cuts or poor edge quality.
Tip: Use a feeler gauge to measure the gap. Test your settings on a scrap piece before you start your main job.
Here is a quick reference table for high-strength steel:
| Steel Thickness (mm) | Recommended Blade Clearance (mm) |
|---|---|
| 1.0 | 0.05 – 0.10 |
| 2.0 | 0.10 – 0.20 |
| 3.0 | 0.15 – 0.30 |
Laminated or Composite Materials
Laminated and composite materials combine layers of different substances. You might work with sheets that have metal and plastic together. These materials can split or fray if you do not set the blade gap correctly. You should start with a slightly wider gap than you use for solid metals. This helps you avoid crushing or delaminating the layers.
- Check the thickness of the entire sheet, not just one layer.
- Use trial cuts to find the best blade clearance.
- Watch for signs of splitting or rough edges after each cut.
- Adjust the gap if you see problems.
You must keep your cutting blade sharp. Dull blades can tear the layers and ruin your work.
Non-Metallic Materials (e.g., Plastics, Rubber)
You may need to cut non-metallic materials like plastics or rubber. These materials behave differently than metals. Plastics can melt or chip. Rubber can stretch or deform. You should use a smaller blade gap for these materials. Start with the lowest recommended setting and adjust as needed.
- Use a sharp cutting blade to get a clean edge.
- Test your settings on a sample piece.
- Watch for melting, chipping, or rough edges.
- Adjust the blade clearance until you see smooth cuts.
Catatan: Non-metallic materials may require more trial and error. You should always check the results and make small changes to your settings.
You must match your blade clearance to the material and your machine. This helps you avoid mistakes and keeps your cutting blade working well.
Manually Adjusting Blade Clearance
When you want to achieve clean, burr-free cuts, you need to set your blade gap with care. Manually adjusting blade clearance gives you control over the process. You can use simple tools to measure and fine-tune the gap. This section explains the tools you need and guides you through each step.
Tools for Adjustment
You need the right tools to set the gap between your blades. These tools help you measure, adjust, and check the clearance for accuracy.
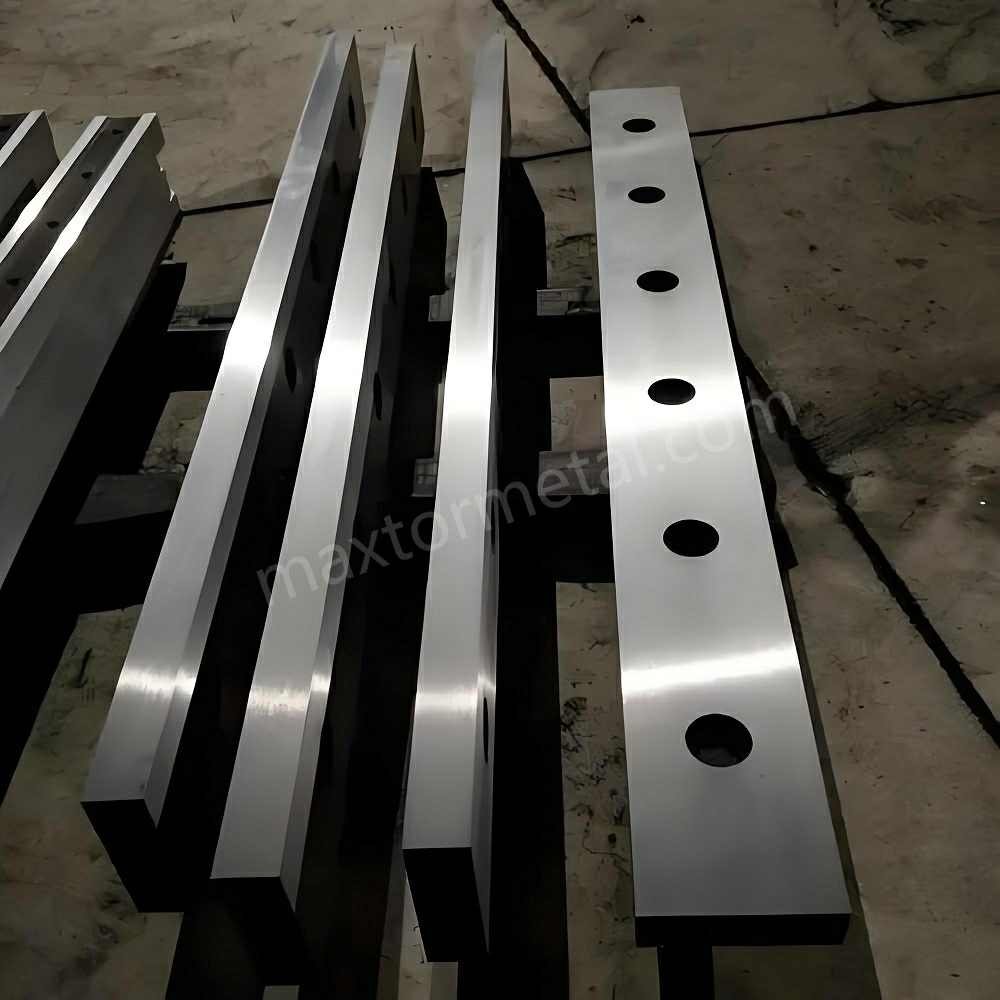
Pengukur Rasa
Feeler gauges are thin metal strips with marked thicknesses. You use them to measure the gap between the upper and lower blades. Slide the gauge into the space and feel for slight resistance. If the gauge fits snugly, you have the right clearance. Feeler gauges come in sets, so you can pick the exact size you need for your material.
Shims
Shims are thin pieces of metal or plastic. You place them between the blade and the holder to adjust the position. Shims help you make small changes to the gap. You can stack shims to reach the perfect setting. Always use clean, flat shims for the best results.
Dial Indicators
Dial indicators measure small movements with high accuracy. You attach the dial indicator to the machine frame. Move the blade and watch the dial. The needle shows you how much the blade moves. This tool helps you check if the blades are parallel and if the gap is even across the whole length.
Proses Penyesuaian Langkah demi Langkah
Follow these steps to set your blade clearance by hand. You will get the best results if you work slowly and check your progress at each stage.
- Turn off the machine and lock it out for safety.
- Remove the lower blade and clean it piece by piece. Dirt or metal chips can affect your measurements.
- Install the lower blade tightly. Check its straightness in both horizontal and vertical directions.
- Adjust the gap by moving the lower blade. The upper blade usually stays fixed.
- Locate the left and right adjusting bolts on the lower blade. Turn these bolts to increase or decrease the clearance.
- Find the set screws on both sides of the lower blade. Use these to narrow the gap if needed. Remember to loosen the backup nuts first.
- Loosen the four bolts on the lower blade table. This lets you move the blade for fine adjustments.
- Lower the upper blade by hand until it is close to the lower blade. Start your adjustment from the blanking area.
- Use a feeler gauge to set the gap to your target value (for example, 0.5 mm) on the left side.
- Move the blade to the middle position. Check and adjust the gap again.
- Repeat the process on the right side. Make sure the gap is even across the whole blade.
- Fine-tune the position with the feeler gauge until you reach the correct clearance.
Tip: Always test your settings on a scrap piece before starting your main job. This helps you avoid mistakes and ensures your cutting blade gives a clean edge.
Locking and Testing the Setting
After you finish adjusting, you need to lock everything in place and check your work. This step makes sure your settings stay accurate during cutting.
- Tighten all the bolts and backup nuts on the lower blade and table.
- Double-check the gap with your feeler gauge at several points along the blade.
- Run the upper blade down slowly by hand. Watch for any spots where the blades touch or the gap changes.
- Use a dial indicator to check that the blades stay parallel from end to end.
- Make a test cut with your cutting blade on a sample sheet. Inspect the edge for burrs or roughness.
- If you see problems, repeat the adjustment steps until you get a smooth, clean cut.
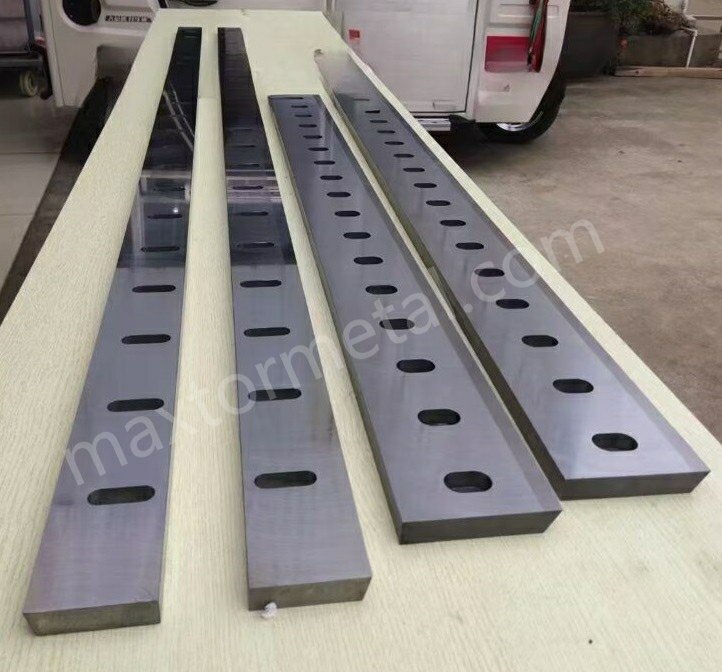
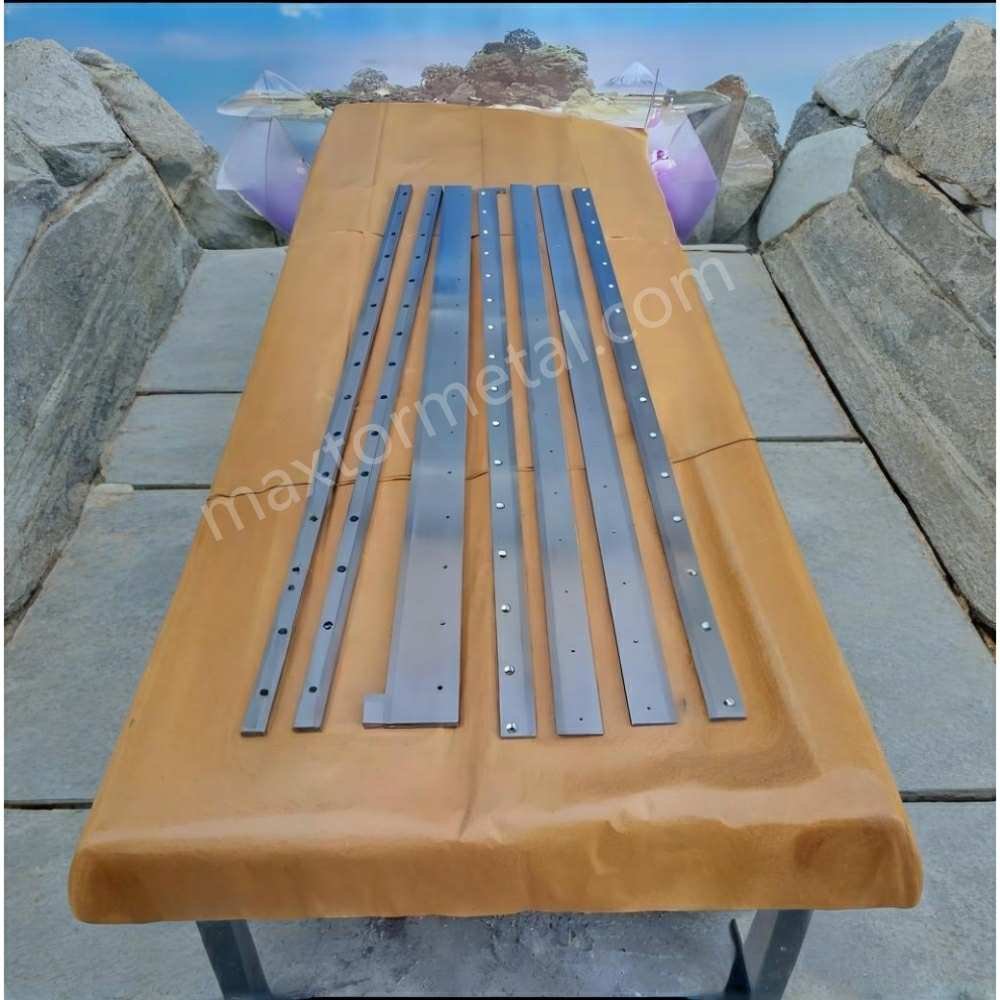
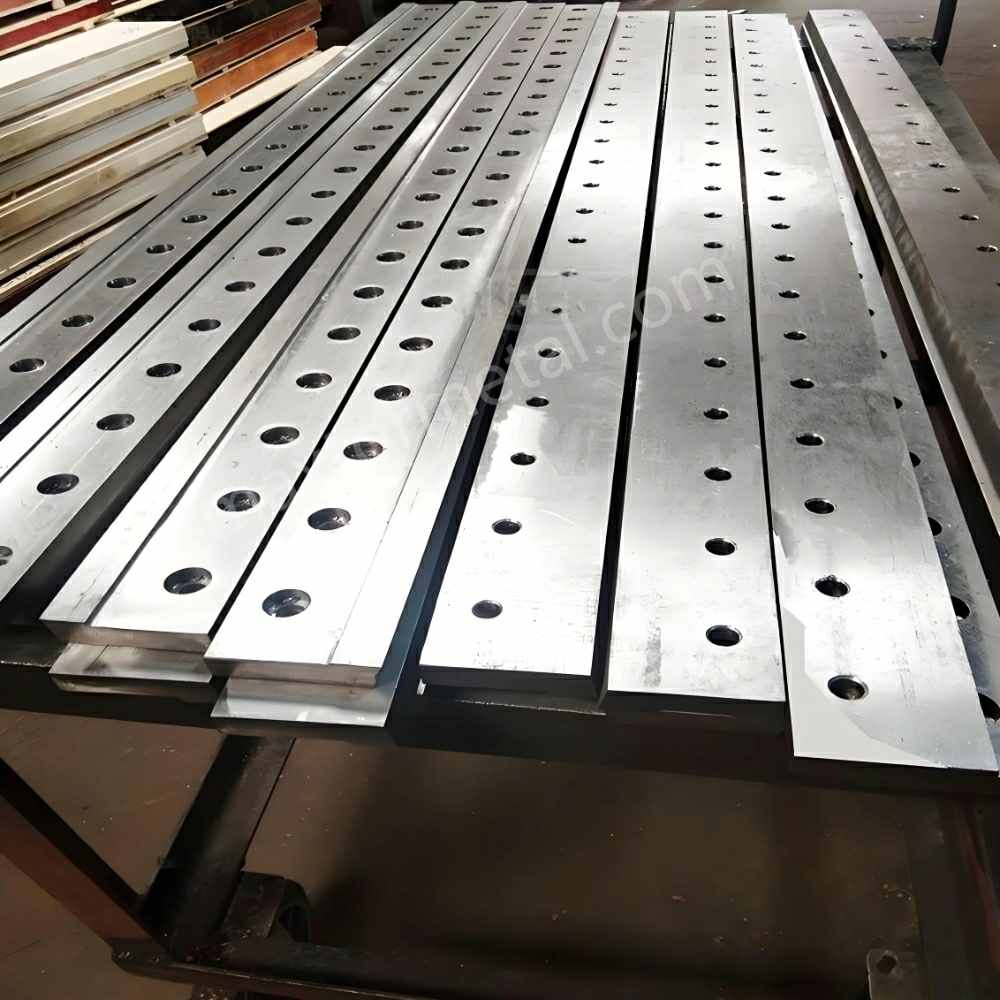
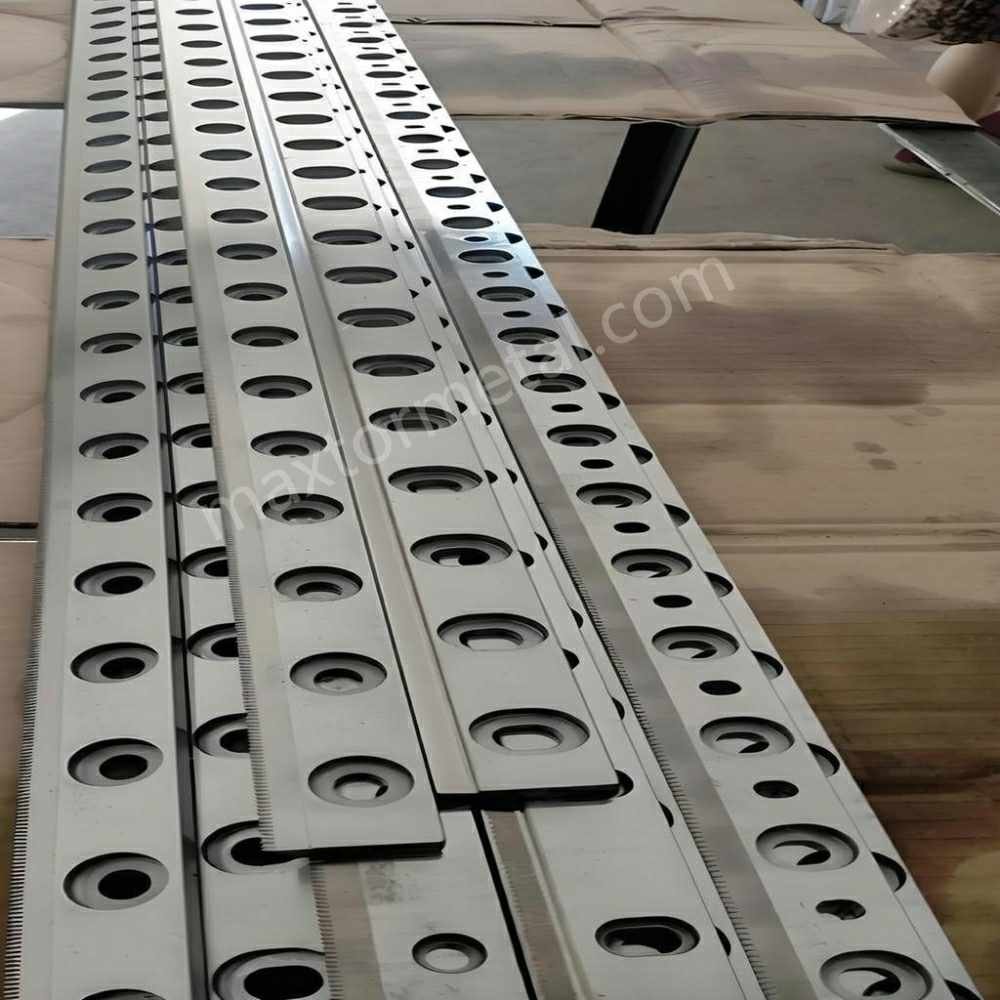
Catatan: Metal Industrial’s Shear Blades are designed for precise adjustment. Their quality helps you achieve accurate settings and consistent results.
By following these steps, you can master manually adjusting blade clearance. You will protect your blades, improve your cut quality, and keep your machine running smoothly.
Tips Perawatan
You want your shear blade clearance to stay accurate for every job. Good maintenance helps you get clean cuts and keeps your machine running well. Follow these tips to protect your cutting blade and make sure your equipment lasts longer:
- Clean Daily
Wipe down your machine every day. Remove dust, metal shavings, and debris from the blade area. Dirt can build up and affect the gap between your blades. Clean surfaces help you keep the clearance precise. - Inspect the Blades Often
Look at your cutting blade before each shift. Check for dull edges, chips, or signs of misalignment. If you see any damage, replace or regrind the blade right away. Sharp blades give you the best results and help prevent burrs. - Check the Hydraulic System
If your machine uses hydraulics, look at the oil level once a week. Low or dirty oil can cause the system to overheat. Change the oil as needed to keep everything working smoothly. - Tighten Bolts and Fasteners
Loose bolts can make the blades shift during cutting. Use a wrench to check and tighten all fasteners regularly. Secure parts help you keep the blade gap even and safe.
Tip: Keep a maintenance log. Write down each cleaning, inspection, and adjustment. This record helps you spot problems early and keeps your machine in top shape.
A good maintenance routine protects your cutting blade and helps you achieve the right shear blade clearance adjustment every time. You will see fewer burrs, smoother edges, and longer machine life.
Troubleshooting and Adjusting Blade Clearance

Excessive Burrs
Common Causes
You might see burrs on your cut edges. Burrs show up when something is wrong during shearing. Here are some reasons why this happens:
- Dull knives can crush or tear the material, not slice it cleanly.
- If the clearance between the blades and workpiece is too small, the material gets pushed instead of cut, making burrs.
- The wrong cutting speed or feed rate can make more shear force and bigger burrs.
- Not enough lubrication or cooling makes more friction, so burrs are more likely.
- Stress from the machine or heat during cutting can cause tearing and rough spots.
If you see burrs, check these things first.
Detection Methods
You can find burrs and their causes with easy checks:
- Look at the cut edges for raised or rough spots.
- Run your fingernail along the edge. If it feels sharp or jagged, there are burrs.
- Compare burr size and shape on different materials and settings.
- Check the cut edge for tearing or a saw-like look.
Checking often helps you find problems early and keep cuts smooth.
Solusi
You can fix too many burrs by doing these steps:
- Change the blade clearance to the right percentage for your material. Use charts or formulas to help.
- Replace or sharpen dull or damaged blades. Sharp blades cut better and make fewer burrs.
- Make sure the upper and lower blades are lined up and touch right.
- Set the right cutting speed and feed rate for your material.
- Use enough lubrication and cooling to lower friction when cutting.
Tip: Always try your settings on a scrap piece before your main job. This helps you get a smooth edge without burrs.
Blade Chipping and Wear
Blade chipping and wear can make your cutting blade not last as long. It can also make your cuts look bad. Watch for these signs and know what causes them.
| Masalah | Penjelasan |
|---|---|
| Excessive clearance | Too much clearance lets the metal move, causing angled or rough cuts. |
| Incorrect blade installation | If the blade is not put in right, it can chip from uneven stress. |
| Improper clearance | A gap that is too small or too big makes more friction and blade damage. |
Check your blades for chips, cracks, or uneven wear. If you see damage, look for wrong clearance or too much force. Make sure you use the right blade material for your work. Replace or sharpen blades when needed, and always set the clearance right to stop more problems.
Formula Errors
Mistakes with blade clearance formulas can make bad cuts and hurt your machine. Here are some common mistakes and how to stop them:
- If the blade clearance is too small, there is more friction and the blade or workpiece can bend.
- If the clearance is too big, cuts are rough and forces are uneven.
- If the blades are not lined up, they can break and cause safety problems.
- Too much clearance can trap material and stop the machine.
- Always check the material thickness and type before using any formula.
- Use charts from the industry and check your math.
- For 1.0 mm thick mild steel, set the clearance between 0.05 mm and 0.1 mm, and change it for different materials.
- If your results are not the same each time, look at your machine manual or ask the maker for help.
- Test your settings on scrap material before you start the real job.
Catatan: Careful math and testing help you stop formula mistakes and keep your machine working well.
Machine Alignment Issues
You must keep your machine lined up to get good cuts from your shear. If your machine is not lined up, your cuts can look jagged, rough, or slanted. These problems happen when the blades are not straight or the holders are loose. When things are not lined up, there is more rubbing on the bearings. This makes the parts wear out faster and uses more power. If you do not fix these problems, your machine can break sooner.
You can find alignment problems by looking at the edges of your cuts. If the cuts look uneven or rough, check the blade holders and guides. Use feeler gauges or dial indicators to measure the gap and see if the blades are straight. Tighten all bolts and fasteners the way your manual says. If you find any loose parts, fix them right away.
Here are steps you can use to find and fix machine alignment problems:
- Look at the blade holders and guides to see if they are loose or not lined up.
- Use a feeler gauge or dial indicator to check if the blades are straight all the way across.
- Tighten all bolts and fasteners as the maker says.
- Make a test cut and look at the edge to see if it is smooth.
- If you still see problems, check and fix the alignment again.
Tip: Always check your machine’s alignment before you start a new job. This helps you keep your blade clearance right and your cutting blade working well.
Daftar Periksa Pemecahan Masalah
You can use a checklist to fix most problems with your shear. This helps you find and fix things fast. Go through each question before you start cutting.
- Do you see burrs on the cut edge?
- Are the blades chipped, cracked, or very worn?
- Did you use the right clearance formula for the material?
- Are the blades lined up and straight?
- Did you do regular maintenance on the shear?
- Did you set the blade clearance for the sheet metal thickness?
- Did you check if the blade is sharp and not damaged?
- Did you use a clearance gauge to measure and set the gap?
- Are all bolts and fasteners tight?
- Did you use the right tools to set the blade and make the gap even?
If you answer “no” to any question, stop and fix it before you keep going. This checklist helps you keep your machine safe and your cuts smooth.
Catatan: Checking and fixing things often helps you stop problems and keeps your shop working well.
Achieving Zero-Burr Results
Fine-Tuning for Materials
You can get zero-burr results if you change your settings for each material. Every metal or non-metal sheet acts in its own way when you cut it. First, check how thick and hard your material is. Use the right clearance percentage for the type of material. Softer metals like aluminum need a smaller gap. Harder metals like stainless steel need a bigger gap. Always test your settings on a scrap piece before you start your main job. If you see burrs or rough edges, change the clearance a little and try again. Sometimes you need to change the rake angle or move the blade for special materials. Write down what works best for each type. This helps you set up faster next time.
Tip: When you use a new material, always reset your shear blade clearance adjustment. This stops mistakes and keeps your cuts smooth.
Inspeksi visual
You should check every cut edge after you finish shearing. Look for a shiny, smooth edge with no raised metal or rough spots. Burrs look like thin, sharp pieces sticking out from the edge. Run your finger or a cloth along the cut. If you feel any roughness, you need to change your settings. Compare the edges from different cuts. If all the edges look the same, your machine is set up well. If you see changes in how the edge looks, check your blade alignment and clearance. Checking by eye helps you find problems early and avoid doing the work again.
| Inspection Step | Apa yang Harus Diperhatikan | What to Do Next |
|---|---|---|
| Penampilan Tepi | Smooth, shiny, no burrs | Continue production |
| Feel Test | No sharpness or roughness | Adjust clearance |
| Konsistensi | Same quality on all cuts | Periksa keselarasan |
Praktik Terbaik Pemeliharaan
You need to take care of your machine and blades to keep them working well. These steps help you get zero-burr results every time:
- Clean your machine every day to get rid of dust and metal shavings.
- Check your blades often to see if they are dull or not lined up.
- Look at the hydraulic oil level every week if your machine uses hydraulics.
- Tighten bolts and fasteners often so nothing moves during cutting.
- Sharpen and grind blades with the right tools, but do not take off too much metal.
- Check and set the cutting clearance and alignment before each job.
- Change worn parts as soon as you see a problem.
- Handle and store blades carefully so they do not get damaged.
Regular maintenance keeps your cutting blade sharp and your machine working well. You will see fewer burrs and get better results.
Tabel Referensi Cepat
You want to set your shear blade clearance adjustment quickly and correctly. A quick-reference table helps you find the right gap for each material and thickness. You can use this table before you start cutting. It saves you time and helps you avoid mistakes.
Below, you see a table with common materials and their recommended clearance percentages. You also see examples for different sheet thicknesses. Use this table as a guide when you set up your cutting blade.
| Jenis Bahan | Recommended Clearance (%) | 1 mm Sheet (mm) | 2 mm Sheet (mm) | 3 mm Sheet (mm) | Catatan |
|---|---|---|---|---|---|
| Baja Ringan | 5% – 10% | 0.05 – 0.10 | 0.10 – 0.20 | 0.15 – 0.30 | Use lower end for thin sheets |
| Besi tahan karat | 8% – 12% | 0.08 – 0.12 | 0.16 – 0.24 | 0.24 – 0.36 | Increase for harder grades |
| Aluminium | 4% – 6% | 0.04 – 0.06 | 0.08 – 0.12 | 0.12 – 0.18 | Use smaller gap for soft metal |
| Baja Kekuatan Tinggi | 12% – 16% | 0.12 – 0.16 | 0.24 – 0.32 | 0.36 – 0.48 | Test on scrap before cutting |
| Plastics/Rubber | 2% – 4% | 0.02 – 0.04 | 0.04 – 0.08 | 0.06 – 0.12 | Start with smallest gap |
| Laminates/Composites | 10% – 14% | 0.10 – 0.14 | 0.20 – 0.28 | 0.30 – 0.42 | Watch for splitting |
Tip: Always measure your material thickness before you set the clearance. If you use a new material, test your settings on a scrap piece first.
You can follow these steps to use the table:
- Find your material type in the first column.
- Check the thickness of your sheet.
- Look at the recommended clearance percentage.
- Multiply your sheet thickness by the percentage to get the gap.
- Set your shear blade clearance adjustment using feeler gauges or shims.
If you see burrs or rough edges after cutting, adjust the gap slightly and try again. You may need to change the clearance for special materials or thicker sheets. Always check your results with a visual inspection.
You can print this table and keep it near your machine. This helps you set up faster and avoid errors.
Common Mistakes to Avoid:
- Setting the gap too small for hard metals. This can damage your cutting blade.
- Using the same clearance for every material. Each type needs its own setting.
- Forgetting to check blade alignment before cutting.
- Not testing on scrap before starting a big job.
You can use this quick-reference table every time you set up your shear blade clearance adjustment. It helps you get smooth cuts and zero-burr results.
You can learn how to adjust shear blade clearance by doing these steps: First, loosen the screws on the blade. Next, use a feeler gauge to check the gap on the left, middle, and right sides. Make sure the gap is even all the way across. If it is not, change the gap a little until it is right.
Check your blade clearance by hand often. This helps you get smooth cuts and keeps your machine working well. Good blades, like Metal Industrial blades, last a long time and give you accurate cuts:
| Keuntungan | Keterangan |
|---|---|
| Superior Material Selection | Blades built for hard work and long use. |
| Optimized Geometry | Special edge shape for easy, clean cutting. |
Need help? Hubungi teknisi penjualan kami for advice on your project.
Tanya Jawab Umum
What is shear blade clearance adjustment?
Shear blade clearance adjustment means setting the space between the top and bottom blades on your shear machine. You do this to make sure your cuts are smooth and to stop burrs from forming on metal sheets.
How often should you check blade clearance?
Check blade clearance before every job you do. If you switch materials or see burrs, check and fix the gap right away.
Why do burrs appear after cutting?
Burrs show up if the blade clearance is too tight or too wide. Dull blades and blades that are not lined up also make burrs. You can fix this by changing the gap and sharpening the blades.
What tools help you set blade clearance?
You use feeler gauges, shims, and dial indicators to measure and set the gap. These tools help you get the right shear blade clearance adjustment.
Can you use the same clearance for all materials?
No, you cannot use the same gap for every material. Softer metals need a smaller space. Harder metals need a bigger space. Always check the right percentage for your material.
How do you know if the blades are aligned?
You check blade alignment with a feeler gauge or a dial indicator. Make a test cut and look at the edge. If the cut is smooth and even, your blades are lined up.
What happens if you ignore regular maintenance?
If you skip maintenance, blades wear out faster. You will see more burrs and rough edges. Your machine might break down. Taking care of your machine keeps your shear blade clearance adjustment correct.
Is it safe to adjust blade clearance yourself?
Yes, you can adjust blade clearance by yourself. Always turn off the machine first. Use the right tools and follow safety rules. Test your settings on scrap metal before you start your main job.
Lihat Juga
Mencapai Potongan Nol Gerinda dengan Bilah Geser Guillotine Presisi
Bilah Geser D2: Mengapa Baja D2 adalah Raja untuk Pemotongan Logam Dingin
Bilah Guillotine vs. Bilah Geser: Apa Bedanya dan Mana yang Terbaik untuk Pekerjaan Anda?
Panduan Bahan Bilah Geser: D2 vs. A2 vs. 5160 vs. Karbida — Apa Pilihan Terbaik?
Cara Memecahkan Masalah Umum pada Bilah Pemotong Scrap Hidrolik di Tahun 2025
Tanggapan 3
I couldn’t resist commenting. Well written!
Terima kasih!