

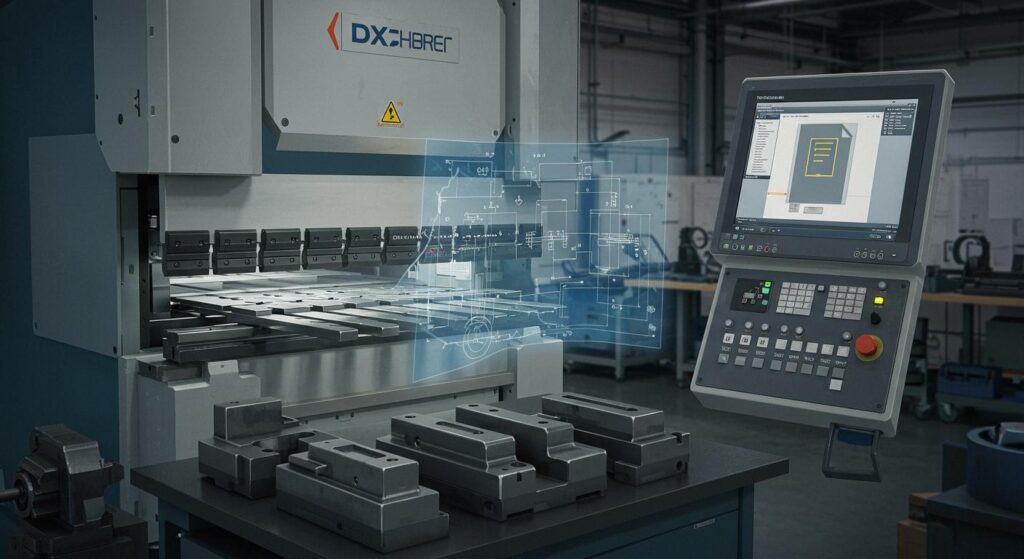
Você usa Arquivos DXF para ferramentas quando você precisa de resultados exatos no trabalho moderno com dobradeiras. Os arquivos DXF funcionam como um elo digital entre o seu software de projeto e o seu processo de fábrica. Você pode ver como o DXF adiciona etapas inteligentes ao seu trabalho. Ao usar o DXF, você torna cada etapa mais rápida e precisa. O DXF permite testar dobras e configurações antes de iniciar a fabricação. Isso ajuda a obter peças melhores e a reduzir erros.
Principais conclusões
- Os arquivos DXF ajudam a agilizar o trabalho ao vincular o software de projeto às dobradeiras. Isso economiza tempo e ajuda a evitar erros.
- Ao usar arquivos DXF, você pode testar dobras e configurações em um computador. Isso ajuda a identificar e corrigir problemas antes da fabricação.
- Os arquivos DXF funcionam como uma ponte de dados. Eles ajudam a garantir que os projetos correspondam à forma como as peças são fabricadas. Isso proporciona uma melhor qualidade das peças.
- Adicionar recursos inteligentes aos arquivos DXF permite que as máquinas selecionem ferramentas e se configurem sozinhas. Isso torna a fabricação mais inteligente e rápida.
- É muito importante preparar os arquivos DXF da maneira correta. Você precisa de nomes de camadas claros e geometrias exatas para que os sistemas CNC funcionem bem.
- As bibliotecas de ferramentas vinculadas aos arquivos DXF devem ser atualizadas com frequência. Isso garante que as ferramentas certas estejam sempre prontas para cada trabalho, ajudando os operadores a trabalhar melhor.
- As ferramentas de simulação podem mostrar como será a dobra usando os dados do DXF. Você pode alterar parâmetros antes de cortar qualquer material, economizando insumos.
- Aprender mais sobre arquivos DXF e aprimorar seu uso ajuda a reduzir erros. Isso também significa menos tempo de espera e um trabalho de dobra mais fluido.
Arquivos DXF para ferramentas

Transição para o fluxo de trabalho digital
Você percebe uma grande mudança na forma como as fábricas operam ao utilizar o DXF. Você passa de desenhos em papel e configurações manuais para um processo digital. Você começa com um arquivo de formato de intercâmbio de desenhos (Drawing Exchange Format) no seu software de projeto. Você envia esse arquivo diretamente para a sua dobradeira. Não é necessário copiar números ou geometrias manualmente. Você economiza tempo e evita erros. Você obtém um DXF pronto para a máquina que seu equipamento pode ler. Você torna seu fluxo de trabalho mais rápido e confiável. Você pode testar suas dobras e configurações em um computador antes de tocar em qualquer metal. Você identifica problemas mais cedo e os corrige rapidamente. Você usa arquivos DXF para o ferramental para facilitar seu trabalho e obter melhores resultados.
Dica: Ao mudar para um fluxo de trabalho baseado em DXF, você ajuda sua equipe a trabalhar de forma integrada. Projetistas e operadores compartilham os mesmos arquivos digitais. Todos sabem exatamente o que esperar.
Ponte de dados na fabricação
Você usa arquivos DXF como uma ponte entre o seu projeto e o seu processo de fabricação. Você começa com o seu desenho CAD. Você o importa para o seu software de fabricação. Você mapeia camadas, tipos de linha e cores para a configuração da sua dobradeira. Você cria caminhos de ferramenta que correspondem exatamente ao seu projeto. Você garante que o seu ferramental se ajuste à sua peça e à sua máquina. Você obtém dobras e formas mais precisas.
Veja como os arquivos DXF conectam seu projeto e fabricação:
| Recurso | Descrição |
|---|---|
| Importação de CAD 2D e 3D | Você importa vários formatos CAD, incluindo DXF, para o seu software de fabricação. |
| Recursos de mapeamento | Você mapeia camadas, tipos de linha e cores para o seu processo CAM. Isso ajuda a obter maior precisão. |
| Criação de caminhos de ferramenta | Você cria caminhos de ferramenta precisos para a sua dobradeira usando os dados CAD importados. |
Você usa arquivos DXF para o ferramental para garantir que sua dobradeira faça exatamente o que você deseja. Sem adivinhações. Você confia na sua ponte digital.
Inteligência de processo
Você adiciona etapas inteligentes à sua fabricação ao usar o DXF. Você insere informações sobre dobras, ângulos e ferramental diretamente nos seus arquivos DXF. Seu sistema CNC lê esses dados. Sua máquina seleciona as ferramentas certas e configura as dobras automaticamente. Você não precisa inserir números manualmente. Você obtém um ferramental para dobradeira inteligente que funciona integrado aos seus arquivos digitais. Você observa menos erros e configurações mais rápidas. Você usa o DXF para ajudar sua máquina a antecipar as etapas. Você torna seu processo de fabricação mais inteligente e eficiente.
- Você pode:
- Armazenar sequências de dobra no seu DXF.
- Adicionar notas para ferramentais especiais.
- Incluir detalhes do material para obter melhores resultados.
Você usa arquivos DXF para trazer inteligência de processo para a sua oficina. Você faz com que sua dobradeira funcione como uma parceira inteligente.
O que é um arquivo DXF?
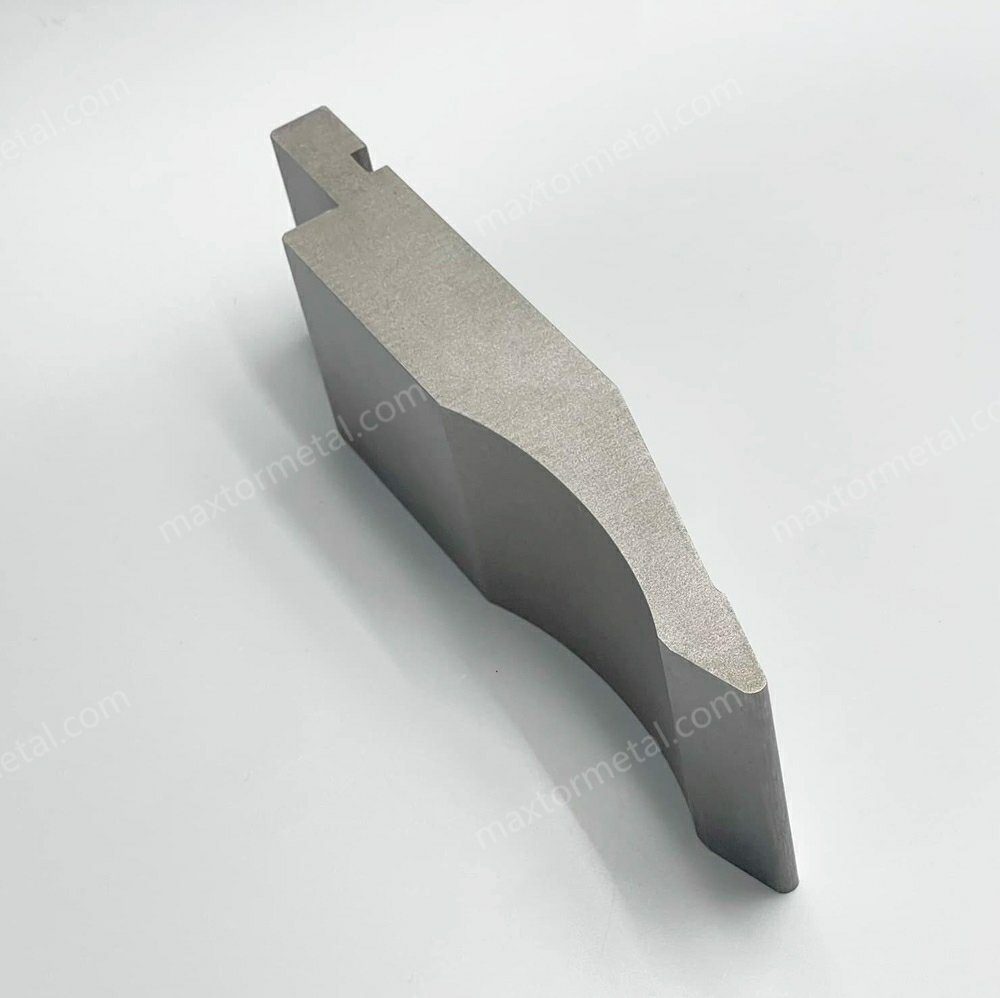
Um arquivo DXF é um formato de desenho digital que ajuda a transferir projetos do seu computador para a sua dobradeira. Você usa o DXF para compartilhar formas, linhas e informações de ferramentas entre diferentes softwares e máquinas. Esse formato facilita a manutenção da precisão dos seus projetos, deixando-os prontos para a produção.
Principais características
Você verá que o DXF possui recursos especiais para o ferramental para dobradeira. Esses recursos ajudam sua máquina a saber quais ferramentas usar e como configurá-las. Você pode incluir tipos de ferramentas, detalhes de adaptadores e até formatos de ferramentas especiais no seu DXF. Isso torna sua configuração mais rápida e confiável.
Abaixo está uma tabela que mostra alguns recursos importantes do DXF para ferramental:
| Tipo de ferramenta | String de texto obrigatória | Descrição |
|---|---|---|
| Ferramentas especiais | SABOR=XYX | Identifica diferentes tipos de ferramentas especiais. |
| Ferramentas superiores em Z | FLAVOR=PunçãoDobraEmZ | Ferramentas inferiores em Z. |
| FLAVOR=ZBendDie | Especifica o formato para uma ferramenta inferior em Z. | Especifica o formato para uma ferramenta inferior em Z. |
| Upper Tool Adapter | UPPER=PTrumpf, LOWER=PEHT, HEIGHT=64 | Identifies the upper and lower mounting types and the effective working height of the adapter. |
| Holder | SPLFLAVOR=HemPunch, PARAMS=-6,18,60 | Configured like an upper tool adapter, with extra details for folding tools. |
| Special Lower Tools | Radius=, Angle=, V-width= | Used when the tool shape cannot be analyzed, to specify radius, angle, and V-width. |
Note: When you add these details to your dxf, your press brake can read and use them right away.
CAD Compatibility
You can use dxf with many CAD programs. This helps you move your designs from one software to another without losing important details. You do not need to redraw your parts. You just save your work as a dxf and send it to your next tool or machine.
Here is a table showing some popular CAD software that works well with dxf:
| Software | DXF Compatibility | Additional Formats Supported |
|---|---|---|
| BendSim PRO | Sim | DXF, DWG, SLDPRT, STEP, SAT, IGS, X_T |
| Flux Bend | Sim | Preloaded with tools for various bending applications |
You can also transfer parts directly from programs like SolidWorks, Solid Edge, and AutoNest Invertor. You can use both 2D dxf and 3D models. This makes your workflow smooth and flexible.
Press Brake Integration
You use dxf to connect your design with your press brake. Your machine reads the dxf and sets up the right tools and bends. You do not need to enter data by hand. This saves you time and helps you avoid mistakes.
Some key ways dxf helps with press brake integration:
- You can create punches and dies easily by importing dxf.
- You can import part profiles as dxf files for quick setup.
- You can unfold 3D parts and use the dxf for bending.
Your CNC system can read the dxf and match it to the right tools. You get a faster setup and more accurate bends. You see how dxf makes your press brake smarter and your work easier.
Visão geral do ferramental para dobradeira
Tooling Types
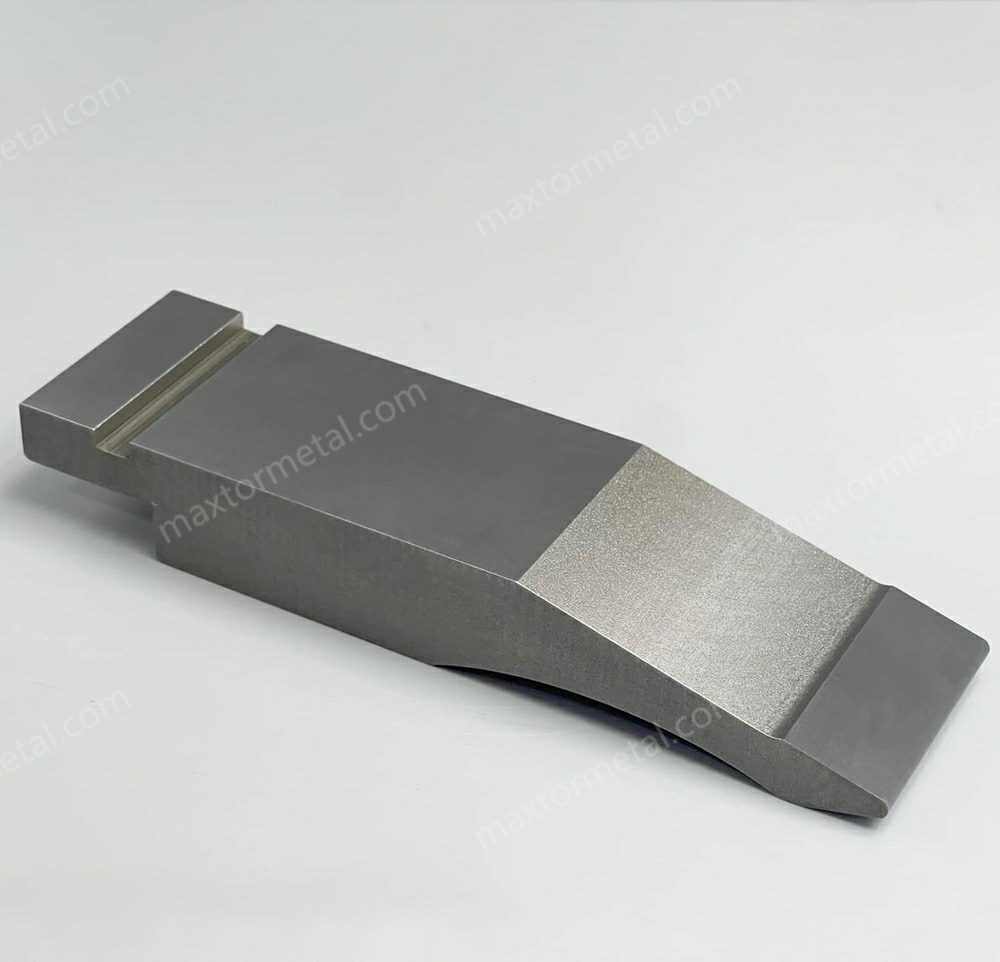
You use different tooling types in a press brake. Each type shapes metal in its own way. You pick a V-punch for simple bends. You use a gooseneck punch for tricky shapes. Some jobs need special tooling. You can design these and import them with a dxf file. With dxf, you send exact shapes from your CAD software to your press brake. This makes setup quick and correct.
You often see these tooling types in digital sheet metal work:
- V-punches: Great for regular bends.
- Gooseneck punches: Good for deep or offset bends.
- Radius tools: Help make smooth, round bends.
- Custom tools: Made for special shapes, often from a dxf file.
Nanjing Metal has many press brake tooling choices. You can order regular shapes or ask for custom ones. You send your dxf files, and they make the tooling you need.
Tip: Using dxf files for tooling helps you make fewer mistakes and work faster.
Material e Durabilidade
You want your press brake tooling to last long. The material you pick is important. Nanjing Metal uses 42CrMo alloy steel for its press brake tooling. This steel is strong and tough. It does not wear out fast, so your tooling stays accurate after many uses. You can see how materials compare in the table below:
| Material | Dureza (HRC) | Resistência ao desgaste | Durability Characteristics |
|---|---|---|---|
| 42CrMo | 48-52 (punches) | Excelente | Very strong, tough, and resists wear, good for high stress. |
| 42-45 (dies) | Less chance of tool breaking during use. | ||
| Cromoly | ~45 | Aprimorado | Strong, resists rust, and lasts long under heavy loads. |
Tooling made with 42CrMo gives you more value. It handles tough jobs and keeps bends exact. When you use dxf files, you can choose the material and shape you want.
Aplicações industriais
Press brake tooling is used in many industries. Each one uses dxf files to get the right tooling. You see dxf-driven press brake tooling in cars, planes, and medical devices. The table below shows where you use dxf files and press brake tooling:
| Indústria | Aplicações típicas |
|---|---|
| Aeroespacial | Making complex parts with high accuracy and safety. |
| Automotivo | Making parts like car frames and panels, with good finishes and exact sizes for safety. |
| Fabricação de dispositivos médicos | Making detailed designs with exact sizes for safety and reliability. |
| Construction and Infrastructure | Using custom tooling for building parts and structures. |
You also use press brake tooling in electronics, furniture, appliances, and farming. In every case, you use dxf files to move designs from CAD to the shop floor. You make sure each part matches your digital plan. This keeps your manufacturing process smooth and easy.
Nanjing Metal helps you with OEM and ODM services. You send your dxf files, and they make press brake tooling that fits your needs. You get quality, long-lasting tools, and the right fit for any sheet metal job.
Importação de arquivos DXF
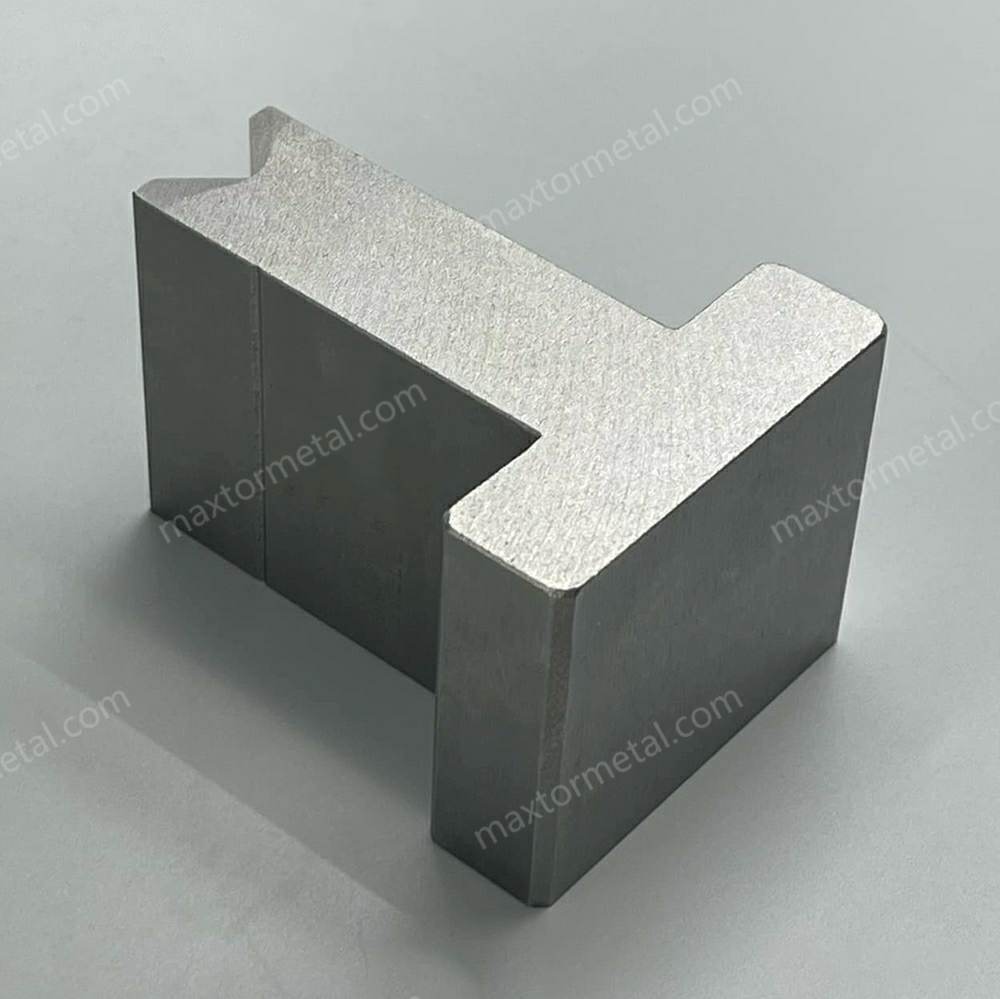
When you want to use dxf in press brake tooling, you need to follow a careful process. You start with CAD preparation, move to file transfer, and finish with data verification. Each step helps you avoid errors and keeps your manufacturing process smooth.
CAD Preparation
Getting your dxf ready in CAD is the first step. You want your file to be clean and easy for your press brake to read. Good preparation saves you time and prevents mistakes later.
Layer Management and Naming Conventions
You should organize your layers before you export your dxf. Give each layer a clear name. For example, use names like “BendLines,” “CutLines,” or “Tooling.” This helps your CNC software know what each line means. If you use the same naming rules every time, you make your workflow faster and more reliable.
Tip: Consistent layer names help everyone on your team understand the file.
Ensuring Geometric Precision
You want your dxf to show the exact shape you need. Follow these steps to make sure your geometry is precise:
- Remove all duplicate or overlapping lines, curves, and points.
- Close all open curves so your part outline is complete.
- Delete any title blocks, notes, or extra information.
- Keep only the outline of the part, scaled 1:1.
- Use cut lines only for quoting; upload a cut file, not a full drawing.
- Scale your drawing to the exact size of the final part.
- Set your units to millimeters or inches as needed.
- Put tolerance information in a separate file if you need it.
- Make sure all geometry is in the XY-plane and the file is 2D.
- Do not include inserts or assembled parts.
You follow these steps to make sure your dxf works well in manufacturing.
Dimensioning and Annotation Standards
You should keep your dxf simple. Remove all dimensions and notes from the file before you export. If you need to share tolerances or special instructions, send them in a separate document. This keeps your dxf clean and easy for your press brake to read.
File Transfer
After you prepare your dxf, you need to move it to your press brake or CNC system. You have several ways to do this.
Supported Transfer Methods (USB, Network, Direct Link)
You can use a USB drive, a network connection, or a direct link to transfer your dxf. Many modern machines let you send files over a network. Some older machines may need a USB stick. Pick the method that works best for your shop.
File Format Verification Before Transfer
Before you send your dxf, check the file format. Make sure you saved it as a 2D dxf file, not a 3D model or another format. Some machines only read certain dxf versions. Double-check the version your press brake supports.
Note: Always verify the file format to avoid import errors.
Handling Large or Complex Files
If your dxf is large or has many details, you may need to simplify it. Remove extra layers or unused geometry. Split very complex parts into smaller sections if possible. This helps your CNC system load the file faster and reduces the chance of errors.
Data Verification
Once you import your dxf into the CNC software, you need to check that everything is correct. This step protects your manufacturing process from costly mistakes.
Import Validation in CNC Software
You should use your CNC software’s tools to check the imported dxf. Many programs offer automated checks for geometry, layer consistency, and scale. Run these checks to catch problems early.
Checking for Data Loss or Corruption
Look at your part on the screen after import. Make sure no lines or shapes are missing. Run a toolpath simulation if your software allows it. This helps you see if the machine will follow the right path.
- Use automated checks for geometry and layers.
- Inspect the geometry visually.
- Run a toolpath simulation.
- Perform a test cut on scrap material if needed.
- Check the final part’s size and shape.
You can also use tools like AutoCAD’s AUDIT command or a dxf viewer to find hidden problems.
Ensuring Tooling and Bend Data Integrity
Check that your dxf includes all the tooling and bend information your press brake needs. Make sure the software reads the correct bend lines, angles, and tool types. Review a quality control checklist to confirm:
- Geometric accuracy
- Layer organization
- Scale confirmation
- Entity cleanup
- Version compatibility
You keep your manufacturing process accurate and efficient when you verify your dxf at every step.
Configuração de ferramental com DXF
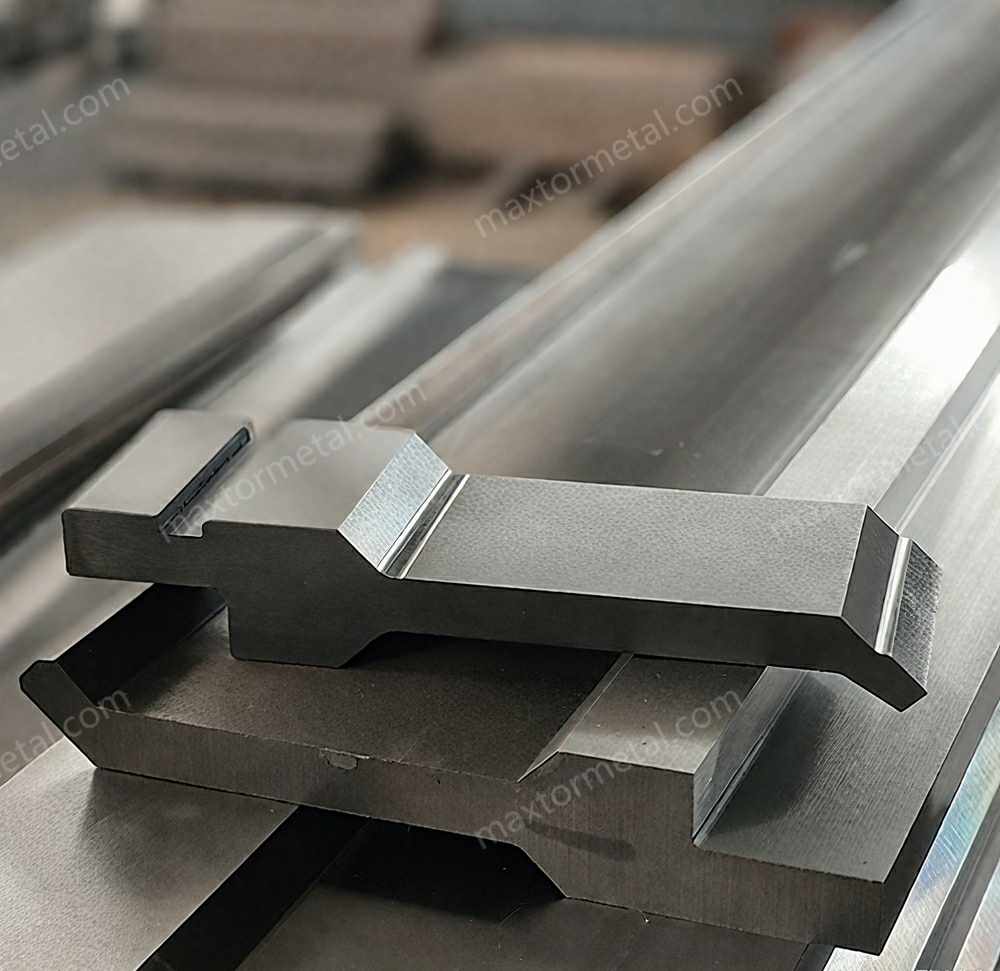
Automatic Tool Selection
DXF Data Extraction and Interpretation
When you use dxf files, your CNC system gets the job details fast. The dxf file has lines, curves, bend angles, and tool types. Your CNC software reads this information and uses it for the press brake. This means you do not have to type in data by hand. You make fewer mistakes and save time.
| Aspecto | Descrição |
|---|---|
| Objective | You want CNC codes that match your bending needs. |
| Methods | Software can make G-code for smooth finishes. |
| Ferramentas | Fusion 360 helps eou get CNC codes from dxf files. |
| Importância | CAM systems handle hard designs and keep things quick. |
Your dxf file is like a digital plan. The CNC system checks each line and shape. It decides how to set up the press brake for your job.
CNC System Integration Workflow
You start by loading your dxf file into the CNC system. The system matches layers and shapes to machine jobs. It looks for errors and checks the data. If everything is good, the CNC system goes to the next step. This makes sure your press brake tooling fits your part.
| Aspecto | Descrição |
|---|---|
| Data Format | You use dxf files to send shapes for CNC work. |
| Processo | The system takes out, fixes, and reads the data for G-code. |
| Eficiência | Automatic code makes fewer mistakes and is faster. |
This process saves you time and keeps your work correct.
Automated Tool Selection Logic
Your CNC system uses rules to pick the right tools from the dxf. It checks the shapes, material, and bend order in your file. The system chooses the best punch and die from its list. This makes sure you use the right tools for each job.
| Beneficiar | Descrição |
|---|---|
| Reduced Setup and Programming Time | Automatic tool picking means less time setting up, so you can switch jobs faster. |
| Error Minimization | Automation lowers the chance of mistakes, so results are better. |
| Tooling Optimization | Using dxf files helps pick the best tools for the job, making things work better. |
You get a setup that fits your part and press brake. You do not have to guess or check each tool yourself.
Practical Implementation Steps
You can follow these steps to use dxf files for automatic tool picking in real life:
- Make your dxf file in CAD and check all layers.
- Load the dxf file into your CNC system.
- Let the system match and check the data.
- The CNC software looks at the shapes and job info.
- The system picks the right press brake tools from its list.
- Check the setup and change anything if needed.
- Start bending your part with confidence.
Tip: Always check the setup before you bend. This helps you find any last problems.
Simulation and Bending
Simulation tools use your dxf data to show the whole bending job before you start. You can see your part in 3D and watch each bend on the screen. This helps you find problems early and fix them before you waste metal.
- Simulation tools let you:
- See the full bending steps in 3D.
- Use FEA to guess how the metal will bend and spring back.
- Bring in dxf files from CAD, which cuts down on mistakes and saves time.
You can try different setups and see what works best. This makes your work smarter and more dependable.
Ajustes
Common Adjustment Methods
Even with automatic tool picking, you might need small changes. You can move tools a little, swap them, or set values for material thickness or springback. These changes help you get the best results from your press brake.
- Common ways to adjust include:
- Moving the punch or die for better fit.
- Changing tools for a new size or shape.
- Setting values in the CNC for different materials.
Impacto na eficiência da produção
Good adjustments can really help your work go better. When you keep your press brake tuned up, you have less downtime and fewer repairs. This keeps your production moving well.
| Descrição da evidência | Impacto na eficiência da produção |
|---|---|
| A tuned press brake wears out slower and lasts longer. | Less downtime and repair costs, so work is faster. |
| Calibration keeps the press brake working great. | Needed for high productivity. |
| Good calibration means less time fixing mistakes. | Makes your work faster and better. |
Note: A well-kept press brake is important for good bending. You keep your shop running well when you check and adjust your machine often.
You can see how dxf files, automatic tool picking, simulation, and careful changes all help. They make your press brake work better and keep your manufacturing fast and correct.
Benefícios dos arquivos DXF
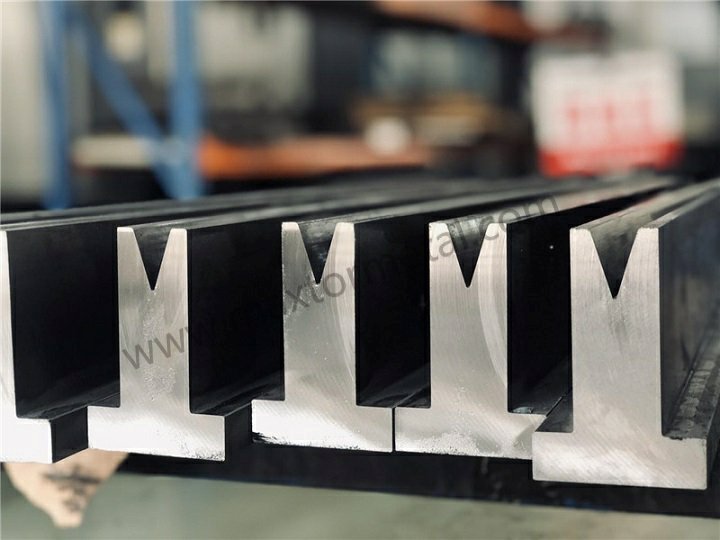
Eficiência
Automated Tool Setup
You can use dxf files to set up your press brake tooling automatically. The dxf gives your CNC system all the shapes and process data it needs. You do not have to enter numbers or tool types by hand. The machine reads the dxf and picks the right tools for each bend. This step saves you time and helps you avoid mistakes. You get a setup that matches your design every time.
Reduced Setup and Changeover Time
When you use dxf files for tooling, you spend less time getting ready for each job. The machine reads the dxf and knows what to do. You do not need to stop and check each tool or setting. You can switch from one part to another quickly. This speed helps you finish more jobs in less time. Your shop runs smoother, and you keep up with tight schedules.
Streamlined Data Transfer
Dxf files make it easy to move your designs from the office to the shop floor. You save your work in dxf format and send it straight to the press brake. The digital file keeps all the details clear. You do not lose information or make errors when copying by hand. This smooth transfer boosts efficiency and keeps your manufacturing process on track.
Tip: A dxf-driven workflow lets you move from design to production without delays or confusion.
Precisão
Elimination of Manual Data Entry Errors
You remove many chances for mistakes when you use dxf files. The machine reads the data directly from the file. You do not have to type in numbers or copy shapes. This step cuts out human error. Your press brake tooling matches your design exactly. You get better results and fewer problems during bending.
Consistent Reproducibility
Dxf files help you make the same part over and over with no changes. Each time you run the job, the machine uses the same data. You do not have to worry about someone setting up the tooling differently. This consistency means your parts fit together and work as planned. You can trust your process to deliver high accuracy every time.
Enhanced Precision in Tooling and Bending
You get sharper bends and cleaner shapes when you use dxf files. The file holds all the exact lines, angles, and tool details. Your press brake follows these instructions closely. You see better part quality and tighter tolerances. This precision helps you meet customer needs and pass quality checks.
Workflow Improvement
Improved Collaboration Between Design and Production
You can work better with your team when you use dxf files. Designers and operators share the same digital files. Everyone sees the same shapes and notes. You can talk with your customers early in the design process. This teamwork helps you spot problems before production starts. You can also use value-added design services to make sure your equipment fits and works well.
- Early customer input leads to better results.
- Sharing files helps everyone understand the job.
- Good file prep makes quoting and production easier.
- Talking with manufacturers about file formats reduces errors.
Enhanced Traceability and Documentation
Dxf files keep a clear record of your work. You can track each part from design to finished product. If you need to check a job later, you can look at the original dxf. This traceability helps with audits and quality control. You always know what data you used for each bend and tool.
Support for Continuous Process Optimization
You can keep improving your manufacturing process with dxf files. The digital data lets you review each job and find ways to work better. You can update your files and tooling as you learn. This support helps you adapt to new jobs and keep your shop running at top efficiency.
Note: Dxf files for tooling help you build a smarter, faster, and more reliable press brake operation.
Desafios e soluções
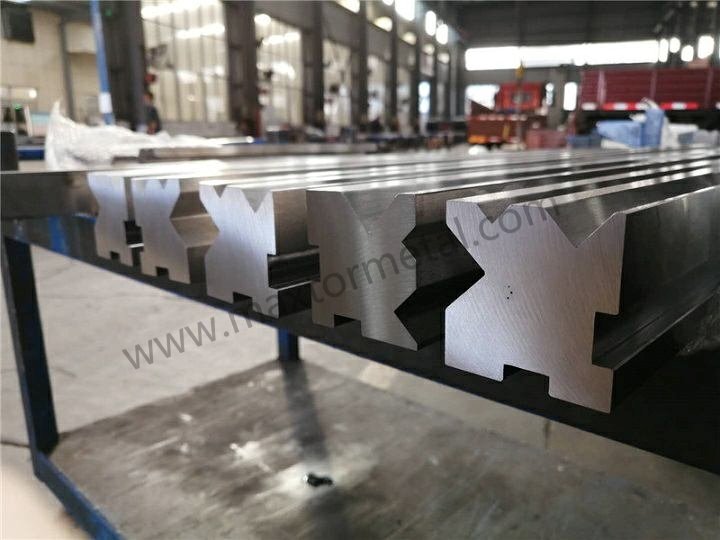
Import Errors
When you use dxf files with press brake tooling, you might get import errors. These errors can slow you down and mess up your work. If you know what problems to look for, you can fix them fast and keep things running well.
Common Import Issues (Layer Loss, Unrecognized Features)
You might notice missing layers or features your CNC system cannot read. Sometimes, the dxf file has points that are too far away, or some shapes do not show up. These problems can make your press brake miss important parts when bending.
Here is a table with some common dxf import errors:
| Error Type | Descrição |
|---|---|
| Number of points outside modeling limits | This happens when spline or crosshatch points go beyond -500.00 to +500.00 meters. |
| Number of entities that could not be imported | Some shapes or lines fail to import, and the system tells you why. |
| Number of dimensions whose displayed values differ | The numbers you see on the screen do not match the real measurements in the file. |
You should find these errors early so your bending jobs stay correct and fast.
Troubleshooting and Correction Methods
You can fix most dxf import errors by doing a few easy things. Here are some good ways to solve problems:
- Check for material springback. Change the overbend setting in your CNC program to get the right shape.
- Measure your material’s real thickness. Put this number into your CNC controller for better results.
- Make sure your dxf file has smooth curves. Do not use lots of tiny lines for curves. Redraw or export again if you need to.
- Look at your press brake and tooling. Check for worn parts and make sure everything is set right.
You can also use this table to match problems with fixes:
| Possible Cause | Solução |
|---|---|
| DXF Version Too Recent | Save your file in an older format, like AutoCAD 2004/2005/2006. |
| ASCII vs. Binary Encoding | Always use ASCII format for better compatibility. |
| Incorrect Units or Scale | Match the units in your CAD software and CNC controller. |
| Complex or Corrupted Geometry | Clean your file using CAD commands like PURGE and OVERKILL. |
Tip: Always check your dxf file before you import it. This step saves time and helps you work better.
Pre-Import Validation Steps
You can stop many errors by checking your dxf file before you use it. Try these steps:
- Look at all layers and give them clear names.
- Make sure all shapes are inside the allowed area.
- Delete extra or unused shapes.
- Check that the file uses the right units and scale.
- Save the file in a dxf version your machine can read.
These steps help you avoid problems during bending and keep your work on track.
Software-Specific Error Handling
Different CNC and CAD programs show errors in their own way. Learn how your system tells you about problems. Some programs highlight missing layers or show a list of things that did not import. Others might warn you about features they cannot use. Always read these messages carefully. They help you find the exact problem in your dxf file.
Note: Keep a list of common errors and fixes for your team. This habit helps everyone work faster and learn more.
Compatibilidade
Your dxf files need to work with different CAD, CAM, and CNC systems. If they do not match, you can get delays and mistakes in your bending jobs.
Version Mismatches Between CAD/CAM/CNC Systems
Sometimes, your dxf file comes from a new CAD program, but your CNC only reads old versions. This can make features go missing or stop the import. Always check which dxf versions your machines use. Save your files in that version to stop problems.
File Format Conversion Tools and Best Practices
You can use tools to change your dxf files to the right format. Many CAD programs let you pick the dxf version when you save. Choose ASCII encoding for the best results. Do not use binary format, because some CNC systems cannot read it.
Tip: Test your dxf files on a sample part before you start a big job. This helps you find problems early.
Maintaining Data Integrity Across Platforms
When you move dxf files between programs, you want to keep your data safe. Always check that your layers, lines, and notes stay the same after each move. Use CAD tools like PURGE and OVERKILL to clean your files. This keeps your shapes simple and stops errors during bending.
Standardization of DXF File Settings
Make rules for saving and naming your dxf files. Use the same layer names, units, and file versions every time. Share these rules with your team. Standard rules help you work faster and get the same results each time.
Treinamento
You need skilled workers to get the best from dxf-driven press brake tooling. Training helps your team avoid mistakes and work better.
Operator and Engineer Skill Requirements
Operators should know how to load and check dxf files on the CNC. Engineers need to make clean and correct dxf files in CAD. Both should know the basics of bending and how dxf data changes the process.
Training on DXF Handling and Software Configuration
Set up regular training for your team. Teach them how to prepare, check, and import dxf files. Show them how to use CAD and CNC software settings for the best results. Practice fixing common errors together.
- Use hands-on workshops for real practice.
- Share guides and checklists for dxf file prep.
Ongoing Education and Process Updates
Keep your team learning about new software and best ways to work. Encourage them to learn about new dxf standards and bending tricks. Review your process often and update your training as needed.
Building a Knowledge-Sharing Culture
Make a place where your team shares tips and solutions. Set up a shared folder or board for common dxf errors and fixes. Ask everyone to help each other. This teamwork helps your shop work better and faster.
Callout: When you invest in training and teamwork, you get better accuracy, less downtime, and a more efficient press brake shop.
Boas práticas para DXF
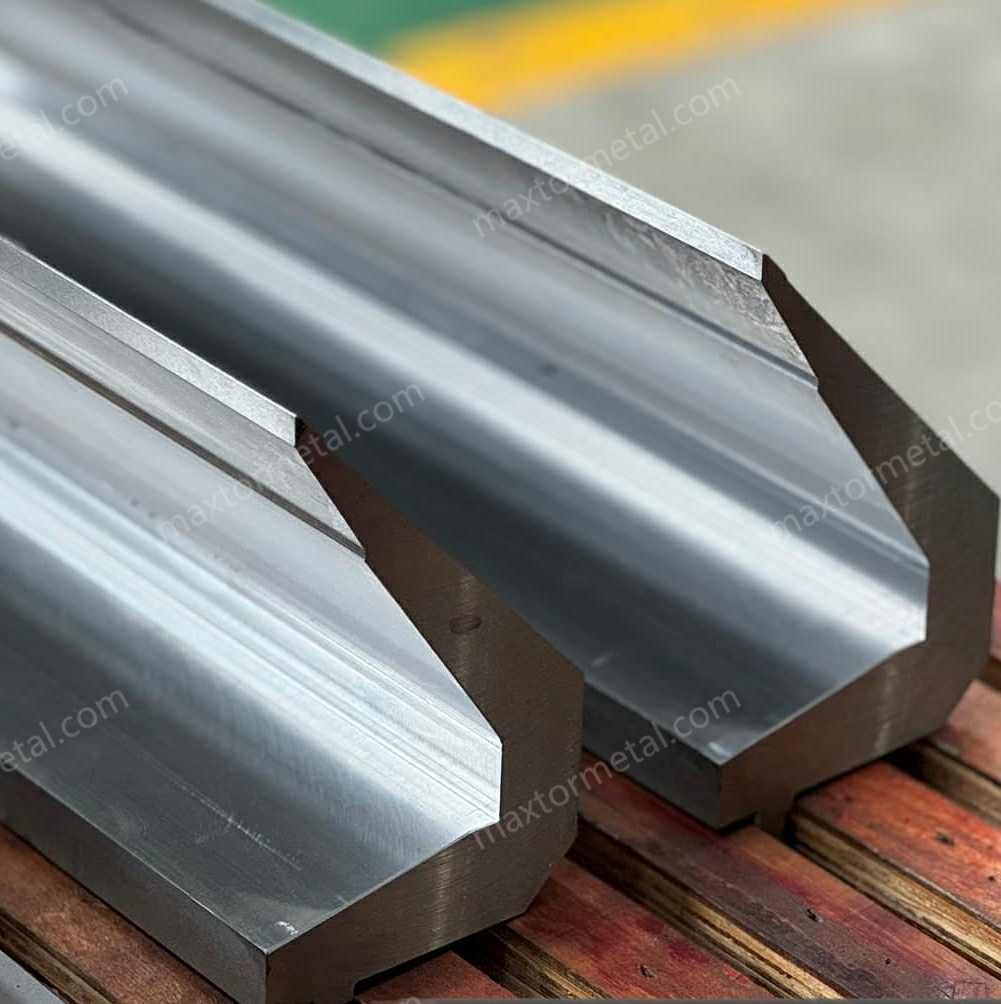
File Preparation
You get the best results when you prepare your dxf files carefully. Start by using clear layer names. This helps your team and your machines understand each part of the drawing. Always check that your dxf file uses the right units, like millimeters or inches. Remove any extra lines or shapes that do not belong in the final part. Keep your dxf files simple and clean. This makes it easier for your press brake to read the data.
Tip: Save your dxf files in a version that matches your CNC system. This step helps you avoid import errors.
You should also check your dxf for open curves or broken shapes. Fix these before you send the file to the shop floor. When you follow these steps, you make your workflow smoother and your results more accurate.
Tooling Libraries
You can save time by keeping your tooling libraries up to date. A tooling library is a digital list of all the tools your shop uses. Add new tools to your library as soon as you get them. Remove old or damaged tools from the list. When you link your dxf files to your tooling library, your CNC system can pick the right tool for each job.
Here is a simple table to help you track your tooling:
| Tool Name | Tipo de ferramenta | Last Checked | Status |
|---|---|---|---|
| V-Punch 12mm | Punch | 2024-05-01 | Active |
| Gooseneck 20mm | Punch | 2024-04-15 | Active |
| Die 16mm | Die | 2024-05-10 | Active |
You should review your tooling library often. This keeps your dxf-driven process fast and reliable.
Process Improvement
You can always make your process better. Use simulation tools to test your dxf files before you start bending metal. These tools show you how the part will look after each bend. You can spot problems early and fix them before you waste material.
Try to learn from each job. After you finish a project, look at what worked well and what did not. Update your dxf file preparation steps if you find a better way. Share your tips with your team. This helps everyone improve.
Note: Continuous improvement makes your shop more efficient and helps you deliver better parts every time.
You build a strong workflow when you follow these best practices. Your dxf files become a powerful tool for quality and speed.
You notice DXF files make press brake jobs easier. Using digital files helps you set up faster and work more accurately. Your workflow gets smoother and you make fewer mistakes. If you use good tooling, like press brake tools from Nanjing Metal, your bends are strong and exact. To make your shop better, start using DXF files and keep learning new ways to improve your digital process.
Tip: Check your DXF workflow often. Even small changes can help your production a lot.
Perguntas frequentes
What is a DXF file and why do you use it for press brake tooling?
You use a DXF file to share digital drawings between design and manufacturing. DXF files help your press brake read shapes and bend lines. This makes your setup faster and more accurate.
How do you prepare a DXF file for press brake jobs?
You clean up your drawing in CAD. You use clear layer names and remove extra lines. You save your file in the right DXF version. This helps your CNC system read the file without errors.
Can you use DXF files with any press brake machine?
Most modern press brakes accept DXF files. You check your machine’s manual to see which DXF versions work best. Older machines may need a file conversion before you start.
What materials does Nanjing Metal use for press brake tooling?
Nanjing Metal uses 42CrMo alloy steel for press brake tooling. This steel gives you high strength and long-lasting durability. You get tools that resist wear and keep your bends precise.
How do DXF files help you reduce setup time?
DXF files send all the bend and tool data straight to your CNC system. You do not enter numbers by hand. Your machine sets up faster, and you switch jobs quickly.
What industries use press brake tooling?
You find Nanjing Metal tooling in automotive, aerospace, appliances, construction, electronics, furniture, and agriculture. These industries need strong, accurate bends for many metal parts.
What should you do if your DXF file will not import correctly?
You check for missing layers or wrong file versions. You clean your file in CAD and use ASCII format. You ask your team for help or look at your CNC software’s error messages.
Can you customize press brake tooling with your own DXF files?
Yes, you send your DXF file to Nanjing Metal. They make custom tooling based on your design. You get the exact shape and size you need for your project.
Veja também
Como Decidir Entre Ferramentas de Prensa Dobradeira Novas, Usadas e Personalizadas
Soluções Práticas para Armazenamento Eficiente de Ferramentas de Prensa Dobradeira
Por Que os Conjuntos de Matrizes de Prensa Dobradeira São Importantes para Proteger Seus Materiais
Graus de Aço para Ferramentas de Prensa Dobradeira e Desempenho

 English
  Spanish
  Italian
  French
  Portuguese
  Russian
  German
  Arabic
  Hindi
Hindi  Vietnamese
  Indonesian
  Japanese
  Korean