

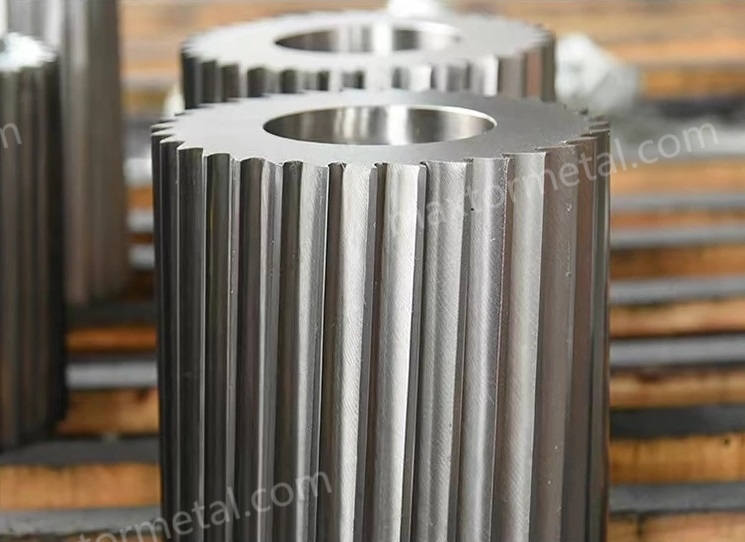
مقدمة
تعتمد جودة الحبيبات المربعة والنظيفة على عامل واحد أكثر من أي عامل آخر: مدى دقة ضبط الفجوة بين السكين الثابتة والدوار. اضبط هذا الأمر بشكل صحيح وستضمن استقرار شكل الحبيبات، وتقليل المواد الناعمة، وإطالة الفترة بين عمليات الصيانة. أما إذا أخطأت في ضبطها، فستواجه مشاكل الذيول، والغبار، والتوقفات غير المخطط لها.
تعمل آلات تحبيب الخيوط (Strand pelletizers) بنظام خلوص قريب من الصفر؛ حيث تمر السكاكين الحادة بجانب سكين ثابتة بمسافة فاصلة مجهرية وموحدة. وعلى النقيض من ذلك، تعتمد الكسارات التقليدية على نطاق خلوص أوسع ومحدد بوضوح لقص التغذية الأكثر سمكاً وتنوعاً. هذا الاختلاف في آلية العمل يحدد القيم المستهدفة وطريقة التحقق منها.
ما ستحتاج إليه: اتباع إجراءات الإغلاق وتثبيت اللافتات (LOTO) ومعدات الوقاية الشخصية (PPE) الخاصة بالموقع، والاحتفاظ بدليل الشركة المصنعة (OEM) وسجلات الفجوات السابقة في متناول اليد، وتجهيز مقاييس التحسس (feeler gauges) بتدرجات دقيقة، ومؤشر قياس بقرص (dial indicator) ذي قاعدة مغناطيسية، ومفتاح عزم معاير، ومقياس حرارة بالأشعة تحت الحمراء (IR)، ومناشف نظيفة خالية من الوبر.
أهم النقاط
- يعد ضبط الفجوة بين السكين الثابتة والدوار هو العامل الأساسي الذي يتحكم في شكل الحبيبات، ونسبة المواد الناعمة، ووقت التشغيل؛ حيث تعمل آلات تحبيب الخيوط بخلوص قريب من الصفر، بينما تستخدم الكسارات نطاقات أوسع.
- ابدأ بالنطاق الموصى به لنوع آلتك، واضبطه باستخدام مقاييس التحسس، ثم قم بالضبط الدقيق بخطوات صغيرة تبلغ 0.0005 in للحصول على مقاومة سحب موحدة على طول الحافة.
- طبق عزم الدوران بنمط متقاطع على مراحل، وأعد دائماً فحص الفجوة بعد الشد للكشف عن أي انحناء أو إزاحة، وفقاً لتوجيهات الشركة المصنعة (OEM).
- قم بتوثيق القياسات في الحالتين الباردة والساخنة؛ وتوقع حدوث تمدد حراري واستقرار للأجزاء أثناء الإنتاج الأولي، ثم حدد دورة فحص أسبوعية روتينية.
- اجعل إجراء التشغيل القياسي (SOP) هذا موحداً باستخدام قائمة فحص وسجل تشغيل، لتمكين المشغلين من الضبط والتحقق والتوقيع بشكل متسق عبر جميع نوبات العمل.
ملاحظة السلامة ومواصفات الشركة المصنعة (OEM) (اقرأ أولاً): تختلف الفجوات المستهدفة، وعزم دوران البراغي، وآليات الضبط حسب طراز آلة التحبيب/الكسارة، وهندسة السكاكين، وتصميم الحامل، ودرجة متانة أدوات التثبيت. استخدم الأرقام الموضحة أدناه كإرشادات أولية فقط، و ارجع دائماً إلى دليل الشركة المصنعة (OEM) في حال وجود أي تعارض. للحصول على معلومات عامة حول إجراءات الإغلاق وتثبيت اللافتات (Lockout/Tagout)، راجع معيار إدارة السلامة والصحة المهنية (OSHA) الخاص بالتحكم في الطاقة الخطرة (29 CFR 1910.147). إذا لاحظت وجود احتكاك، أو حرارة غير طبيعية، أو ضوضاء، أو قطع غير مستقر، فتوقف فوراً وأعد فحص المحاذاة وأسطح التثبيت بموجب إجراءات LOTO.
الفجوات المستهدفة والتفاوتات المسموح بها
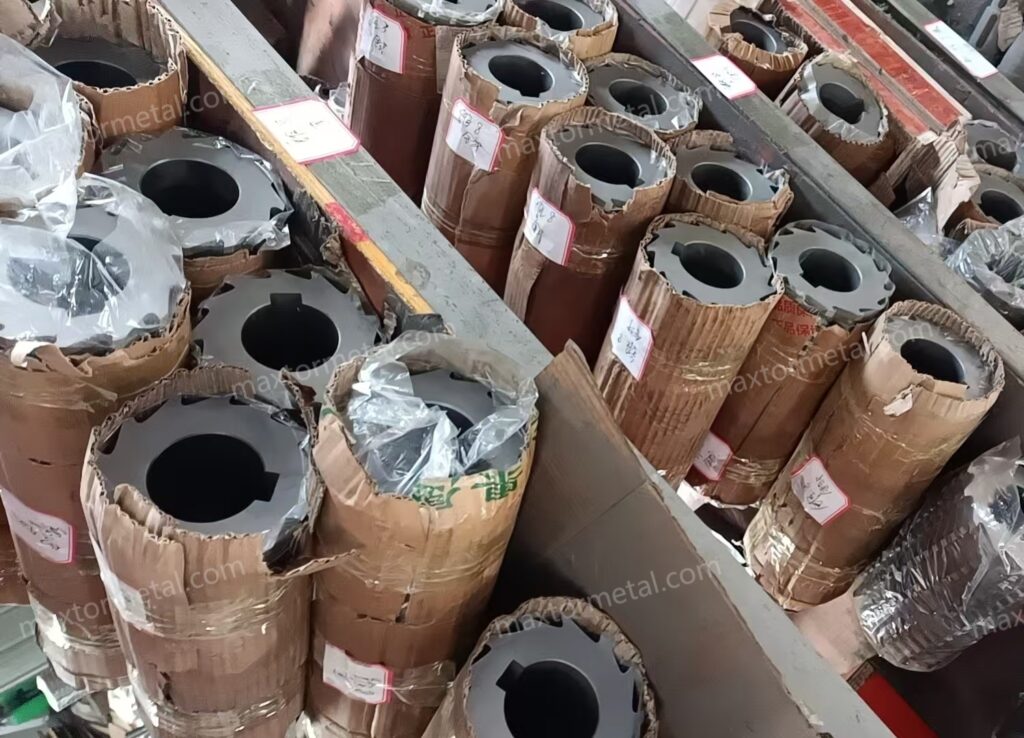
آلات تحبيب الخيوط: نطاقات خلوص قريبة من الصفر (0.0005–0.003 in / 0.012–0.076 mm)
تتطلب آلات تحبيب الخيوط خلوصاً ضيقاً وموحداً لقطع الخيوط شبه الصلبة بدقة وسرعة. النطاق العملي للبدء هو 0.0005–0.003 in (0.012–0.076 mm) للأدوات الحادة. اعتبر هذا النطاق بمثابة ممارسة فضلى وتأكد منه من خلال تجارب إنتاج قصيرة ومعايير الشركة المصنعة (OEM) المسموح بها. لمعرفة المزيد حول أهمية الفجوات الضيقة والقابلة للتحكم وكيف تختلف أنظمة تحبيب الخيوط عن طرق التحبيب الأخرى، راجع نظرة عامة على شفرات آلات تحبيب الخيوط من Fernite وإرشادات إعداد الخيوط من MAXTOR METAL.
- مراجع السياق: Fernite حول “إعدادات الفجوة القابلة للتحكم” لشفرات آلات تحبيب الخيوط: https://fernite.co.uk/plastics-and-recycling/strand-pelletizer-blades/
- مراجع السياق: MAXTOR METAL حول نطاقات البدء النموذجية للفجوة بين الدوار والسكين الثابتة لآلات تحبيب الخيوط وإرشادات الضبط: https://maxtormetal.com/masterbatch-pelletizer-blades-ultimate-guide/
الكسارات التقليدية: النطاقات النموذجية (0.008–0.020 in / 0.20–0.50 mm)
تحدد الكسارات التقليدية نطاقات رقمية أكثر وضوحاً نظراً لاختلاف ميكانيكا القطع وتنوع التغذية لديها. تحدد العديد من أدلة الشركات المصنعة (OEM) ما يقرب من 0.006–0.008 in (≈0.15–0.20 mm) للأعمال العامة، مع وجود نطاقات أضيق أو أوسع حسب التطبيق. ووفقاً لـ دليل تشغيل Rotogran PH‑RO, ، اضبط الفجوة على 0.006–0.008 in وتحقق منها باستخدام مقاييس التحسس، ثم أعد الفحص بعد الشد. كما يوجه دليل مستخدم Conair LP/JC إلى نطاقات مماثلة ويطلب صراحة من المشغلين إعادة فحص الفجوة بعد ربط البراغي بالعزم المطلوب. ويتوافق دليل خدمة ACS C‑Series مع نطاق 0.006–0.008 in ويوصي بإجراء فحوصات أسبوعية روتينية.
القواعد العامة وتعديلات التمدد الحراري
- التوحيد أهم من مجرد رقم واحد: افحص الجانب الداخلي، والمنتصف، والجانب الخارجي. إذا اختلفت مقاومة السحب، فإن الحافة ليست متوازية؛ اضبطها قبل الإغلاق النهائي.
- طبق عزم الدوران على مراحل: 30% ← 60% ← 100% من عزم الدوران النهائي بنمط متقاطع، ثم أعد قياس النقاط نفسها. تحذر العديد من الشركات المصنعة (OEMs) من أن الشد النهائي قد يزيح الفجوة؛ وتوصي إرشادات Conair بـ “إعادة الفحص بعد الشد”.”
- الحرارة تغير القياسات: سجل القيم الباردة، وشغل الآلة لفترة وجيزة عند الحمل المستهدف، ثم سجل الملاحظات الساخنة. إذا كانت الفجوة الساخنة تضيق أو تتسع باستمرار، فقم بتعديل نقطة الضبط الباردة ضمن الحدود المسموح بها من الشركة المصنعة (OEM) لضمان بقاء الفجوة في النطاق المطلوب أثناء التشغيل المستقر.
| عنصر الفحص السريع | آلات تحبيب الخيوط (إرشادات البدء) | الكسارات التقليدية (النطاقات النموذجية للشركات المصنعة) |
|---|---|---|
| نطاق الفجوة للبدء | 0005–0.003 in (0.012–0.076 mm) | 006–0.008 in (≈0.15–0.20 mm) شائع؛ وتسمح بعض الأدلة بنطاق أوسع حسب التطبيق |
| مكان القياس | الجانب الداخلي، والمنتصف، والجانب الخارجي (النقاط الثلاث نفسها في كل مرة) | الجانب الداخلي، والمنتصف، والجانب الخارجي (النقاط الثلاث نفسها في كل مرة) |
| طريقة الضبط | مقياس تحسس بمقاومة سحب خفيفة وموحدة؛ مع الضبط الدقيق بخطوات صغيرة | مقياس تحسس وفقاً لنطاق الشركة المصنعة (OEM)؛ والتأكيد بعد الشد |
| استراتيجية عزم الدوران | التطبيق على مراحل 30% ← 60% ← 100% بنمط متقاطع/نجمي، ثم إعادة الفحص | التطبيق على مراحل 30% ← 60% ← 100% بنمط متقاطع/نجمي، ثم إعادة الفحص |
| التحقق الإلزامي | Recheck immediately after final torque; log cold vs hot observations | Recheck immediately after final torque; adopt weekly verification cadence per OEM |
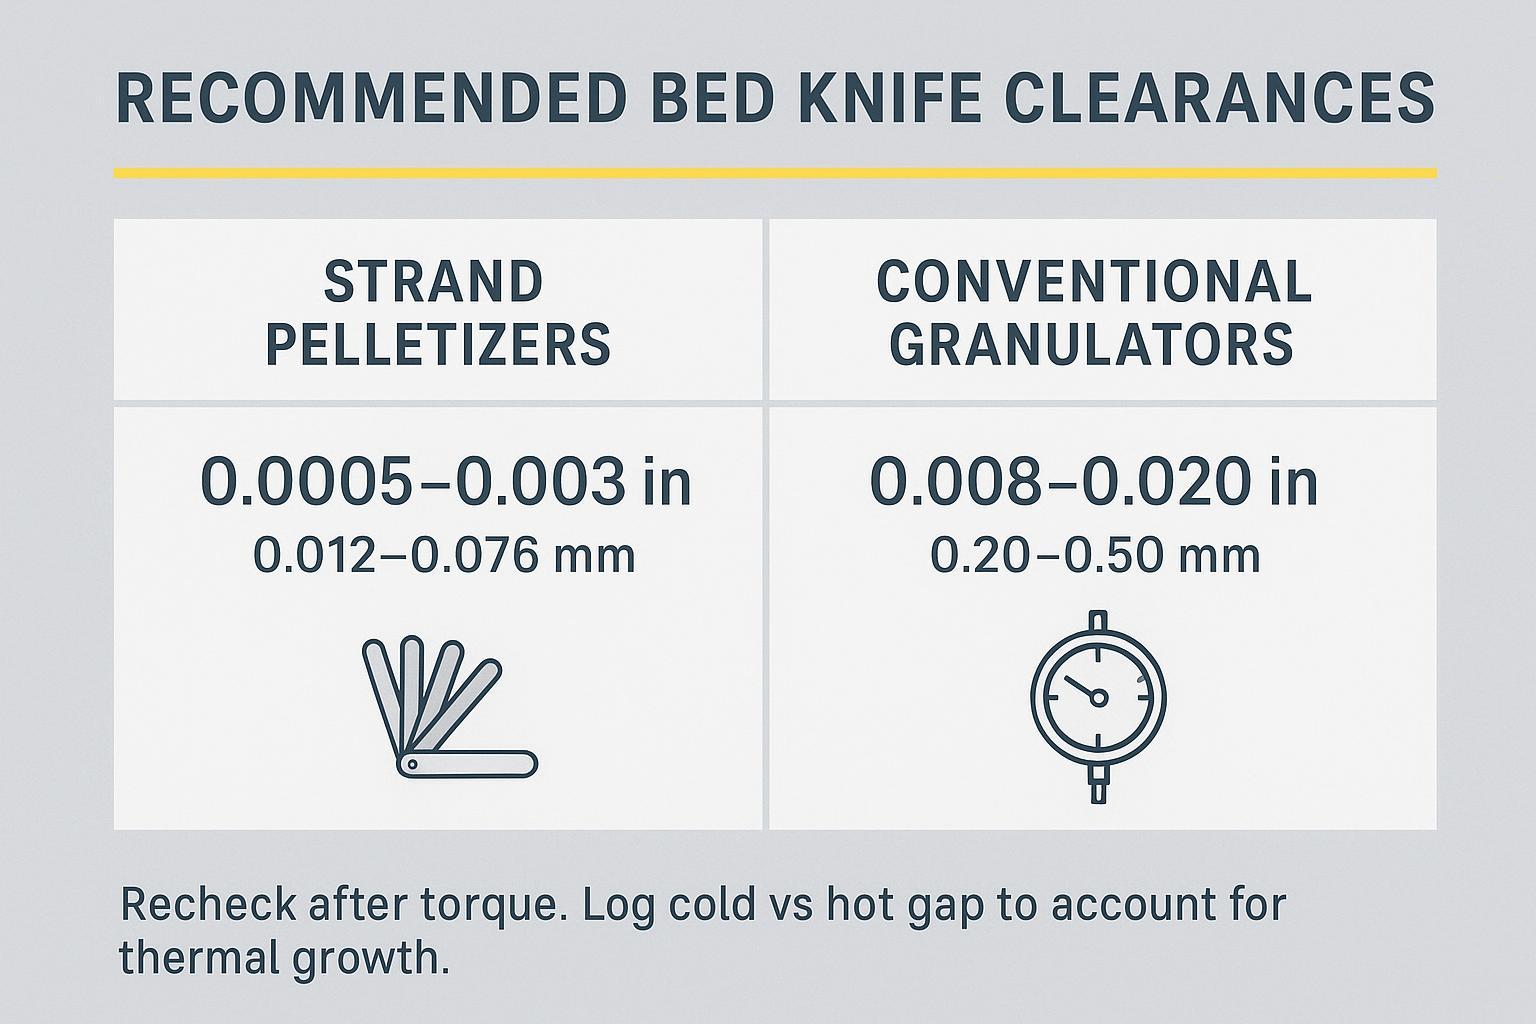
إجراء التشغيل القياسي (SOP) لضبط الفجوة بين السكين الثابتة والدوار
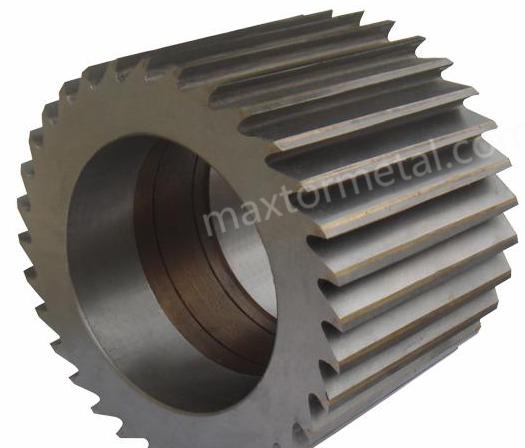
Pre‑alignment and safety lockout
- Lockout/Tagout: isolate power, verify zero energy, and post signage. Wear cut‑resistant gloves and eye protection.
- Clean and inspect: wipe mounting faces and the bed knife pocket; remove burrs, chips, and polymer residue. Any debris will translate into taper or bow.
- Document baseline: record machine ID, rotor position, knife lot/condition, ambient and rotor surface temperatures, and last known gap values.
- Confirm specs: note target gap window and fastener torque from the OEM manual. Prepare feeler gauges in 0.0005 in increments.
Initial set with feeler gauges; fine‑tune in 0.0005 in steps
- Lightly snug the bed knife so it can still shift with controlled taps.
- Insert the target feeler gauge between the rotor knife path and the bed knife at three radial positions— inboard, midspan, outboard. You’re aiming for a consistent, slight drag feel along the entire cutting length.
- Adjust the bed knife position in micro‑increments. If one end is looser, bias the adjustment until drag equalizes. Move in 0.0005 in steps; smaller moves prevent overshoot and keep the edge parallel.
- Sweep through the arc: roll the rotor slowly by hand to feel intermittent tight spots that indicate runout or contamination. Correct cleanliness or alignment before proceeding.
Torque in cross pattern; lock, then recheck for bowing and gap shift
- Stage torque: bring fasteners to ~30% of spec in a cross/star pattern, then 60%, then 100%. Avoid tightening one side fully before the other.
- Re‑measure immediately at the same three points. If the gap tightened or opened unevenly, back off slightly, re‑square the knife, and repeat the staged torque.
- Record your final cold values. Paint‑mark fasteners for visual shift detection and note torque wrench serial/cal date on your log.
دورة التحقق والصيانة
Measurement toolkit: feeler gauges, dial indicators, foil shear, optical options
- Feeler gauges: primary tool; keep a clean set with 0.0005 in resolution. Replace bent or oily leaves.
- Measurement uncertainty matters: feeler leaves have their own tolerances, and burrs/residue on the knife faces can “fake” a tighter gap. For critical setups, wipe the gauge and faces, then take repeat readings at the same point (e.g., three passes) and use the most consistent feel/reading before you lock torque. With dial indicators, ensure the magnetic base is rigid and the tip is square to the surface to avoid cosine error.
- Dial indicator: magnetic‑base setup to check holder parallelism or rotor runout when symptoms suggest taper.
- Foil shear/strip tests: quick confirmation when gauges are impractical at certain positions.
- IR thermometer: capture ambient and rotor surface temps for cold vs hot logging.
- Torque wrench: calibrated, with certificate/date on the handle or card; use extensions carefully to avoid torque error.
Hot‑run verification and documenting cold vs hot gap
- Start‑up check: after initial cuts, run at target throughput for 30–60 minutes. Lock out, then measure and log the “hot” readings at the same three points.
- Compare deltas: if the hot gap consistently shifts (e.g., tightens by ~0.0005–0.001 in), note the direction and magnitude. Adjust your next cold set‑point so the hot steady‑state sits mid‑band, provided this aligns with OEM guidance.
- Keep context: log notes on material, fill load (e.g., GF/mineral), and line speed. These factors affect wear and thermal growth patterns.
Daily weekly checks, post‑change validation, and logging
- Each shift: perform a quick feel check and visual edge inspection when quality drifts (tails, fines, smear). Log observations even if no adjustment is needed.
- Weekly: verify knife clearance and fastener torque per OEM practice. The دليل خدمة ACS C‑Series calls for routine weekly checks; adopt the same discipline on your line.
- After any change: blade swap, regrind, or holder maintenance requires a full SOP reset and sign‑off. Attach the regrind report or sharpness check to the log.
المواد، وعزم الدوران، والتوافق
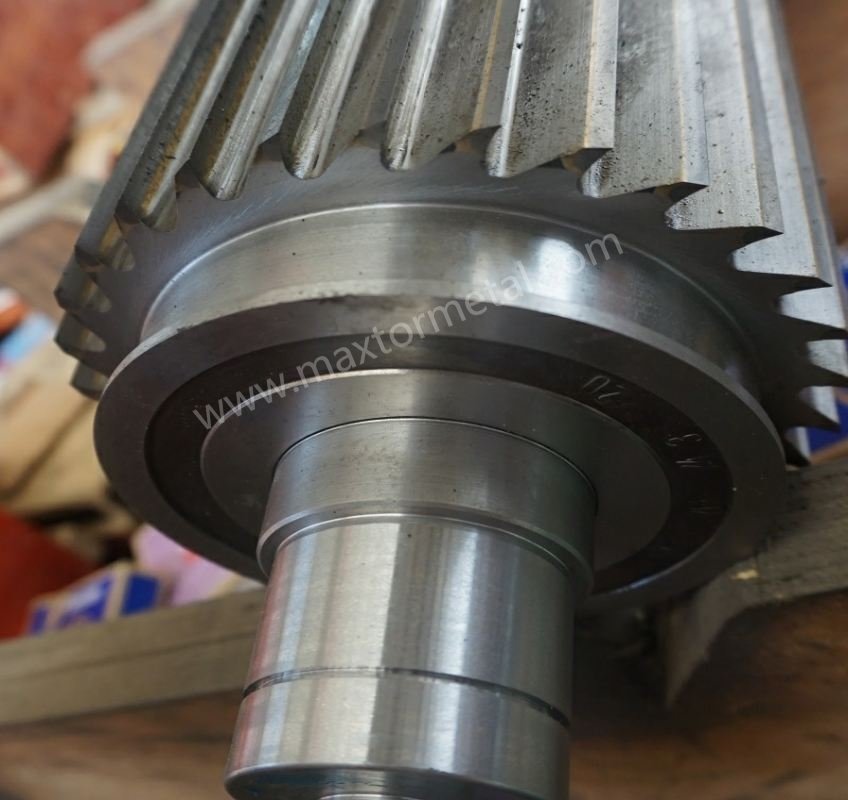
Material pairings: tool steel vs carbide bed knife for abrasive service
Abrasive, high‑fill recipes (glass fiber, mineral) eat edges fast. Tool steels such as D2 or M2/HSS offer good baseline hardness and toughness; cemented carbide bed knives deliver significantly higher wear resistance and edge retention for harsh service, at higher upfront cost. Match material to duty and confirm hardness/geometry with your OEM allowances to avoid chipping.
Fasteners, torque ranges, and avoiding holder bow
Follow your OEM torque values exactly and use staged cross‑pattern tightening to avoid bowing the holder or shifting the gap. Many manuals explicitly require a recheck after tightening because the final pull can move the knife—treat this as mandatory.
Brand insertion guidance
For sourcing and fitment, MAXTOR METAL supports OEM and ODM fitments for mainstream strand pelletizers and conventional granulators, helping match bed knife geometry to the holder pattern and model family. See ماكستور ميتال for compatibility support. Use your site’s approval process to validate drawings and trial fits before committing to volume.
استكشاف الأخطاء وإصلاحها
Excess fines or dust after adjustment
- Likely causes: gap too large or uneven; dull or micro‑chipped edges; strand conditioning issues upstream that cause breakage into fines. For defect‑cause context, see Plastics Technology’s overview of common pelletizing problems: https://www.ptonline.com/articles/solve-seven-common-pelletizing-problems
- Actions: Verify uniform gap at three points; inspect cutting edges under bright light; confirm perpendicular strand presentation and feed‑roll condition; if knives and gaps are correct, stabilize upstream cooling/strand guidance.
Tails, elongation, or strand linking
- Likely causes: insufficient nip or excessive gap; knife dulling; feed‑roll misalignment; inconsistent strand temperature/diameter. Plastics Technology discusses tails/longs and strand presentation: https://www.ptonline.com/articles/solve-seven-common-pelletizing-problems
- Actions: Reduce gap in 0.0005 in steps toward the tight end of the band; sharpen or replace knives; align feed rolls and cutter plane; balance cooling and haul‑off speed.
Uneven cut, smear, or thermal stick
- Likely causes: excessive gap combined with dull edges; thermal softening of strands; knife or holder bow after torque.
- Actions: Re‑set gap, confirm parallelism with indicator if needed; repeat staged torque and recheck; adjust throughput or cooling; consider harder knife material for abrasive fills.
الخاتمة
Aim for the correct window, set it methodically, and verify like clockwork. For strand pelletizers, that means a near‑zero, uniform band; for conventional granulators, it’s a defined clearance window suited to heavier cuts. Use feeler gauges to set and fine‑tune in 0.0005 in steps, torque in a cross pattern, and always recheck after tightening.
Close the loop like a safety-critical SOP: record cold and hot values (with temps), keep weekly checks on schedule, and require operator + supervisor sign‑off when you change knives or holders. If rubbing, abnormal heat, or noise persists after re-setting the gap, stop and escalate to alignment/runout inspection under LOTO before returning to production.
مؤلف
تومي تانغ — Senior Sales Engineer, Nanjing METAL Industrial
- 12 years of hands-on experience supporting pelletizing and granulation blade applications
- الشهادات: CSE، CME، الحزام الأخضر في منهجية ستة سيجما، PMP
التحرير والإفصاح
- Sourcing standard: Numeric gap targets and torque values should be verified against your specific OEM manual first. Where practical, this guide cites OEM manuals and established industry publications.
- Review cadence: This article is reviewed and refreshed when key OEM documentation changes or at least annually as part of internal technical-content QA.
- إخلاء مسؤولية: MAXTOR METAL is the brand name of نانجينغ ميتال الصناعية. This article may reference MAXTOR METAL for fitment/compatibility context; the technical setup and safety guidance are intended to remain brand-neutral and reproducible across OEMs.
Selected sources for operators
- Rotogran PH‑RO Series — 0.006–0.008 in window; gauge method; recheck after tightening: https://rotogran.com/newsite/wp-content/uploads/2020/11/PH-RO-SERIES-OPERATIONS-MANUAL.pdf
- Conair LP/JC User Guide — windows; “recheck after tightening”: https://www.conairgroup.com/mx/wp-content/uploads/sites/4/2018/02/UGG002-0998.pdf
- ACS C‑Series Service — weekly verification discipline: https://www.acscorporate.com/wp-content/uploads/2023/08/d-53310_c-series.pdf

 English
  Spanish
  Italian
  French
  Portuguese
  Russian
  German
  Arabic
  Hindi
Hindi  Vietnamese
  Indonesian
  Japanese
  Korean
استجابة واحدة