

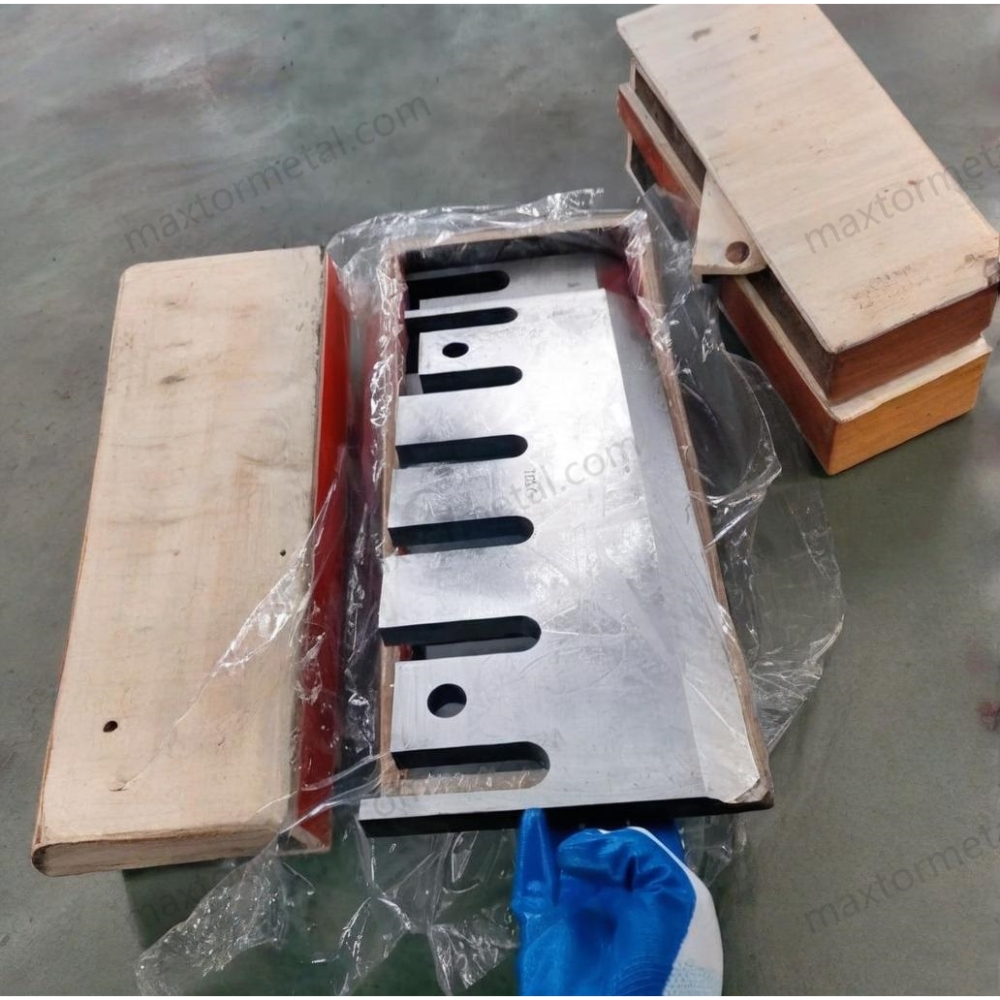
Replacing wood chipper blades may look easy, but it is not. Your safety depends on doing every step the right way. If you hurry or miss a step, you can get hurt. Here are some facts to know:
- Every year, about 200 people die in landscaping accidents.
- Wood chippers cause about 3 deaths and 200 injuries each year.
- These injuries can be very bad, like losing fingers or arms.
This is why you need good blades and the right way to do things. When you pick high-quality blades like those from Nanjing Metal Industrial, you get real benefits:
| Besonderheit | Nutzen |
|---|---|
| Precision Grinding | Gives sharp, even cuts and less work for your chipper. |
| Dynamic Balance Design | Lowers shaking and helps protect your machine. |
| Dual-Edge Design | Makes blades last longer and saves you money. |
| Corrosion Defense | Helps blades last longer, even in hard weather. |
If you want to stop accidents and keep your machine working well, you must take Austausch von Häcksler-Messern seriously.
Die wichtigsten Erkenntnisse
- Always stay safe by using the lockout-tagout steps before you start work on the wood chipper. Wear the right safety gear like gloves, eye protection, and strong boots to stop injuries. Keep your work area neat and tidy to help avoid accidents and work better. Use the right tools and set the torque as your chipper’s manual says to stop damage and stay safe. Check all parts for wear or damage before you put in new blades to stop future issues. Make sure blades are lined up right when you put them in to stop shaking and help the chipper run smoothly. After you change the blades, check everything to make sure all parts are tight and the area is free of trash. Change blades and check them often to keep your wood chipper safe and working well.
Safety Protocols for Wood Chipper Blades Replacement
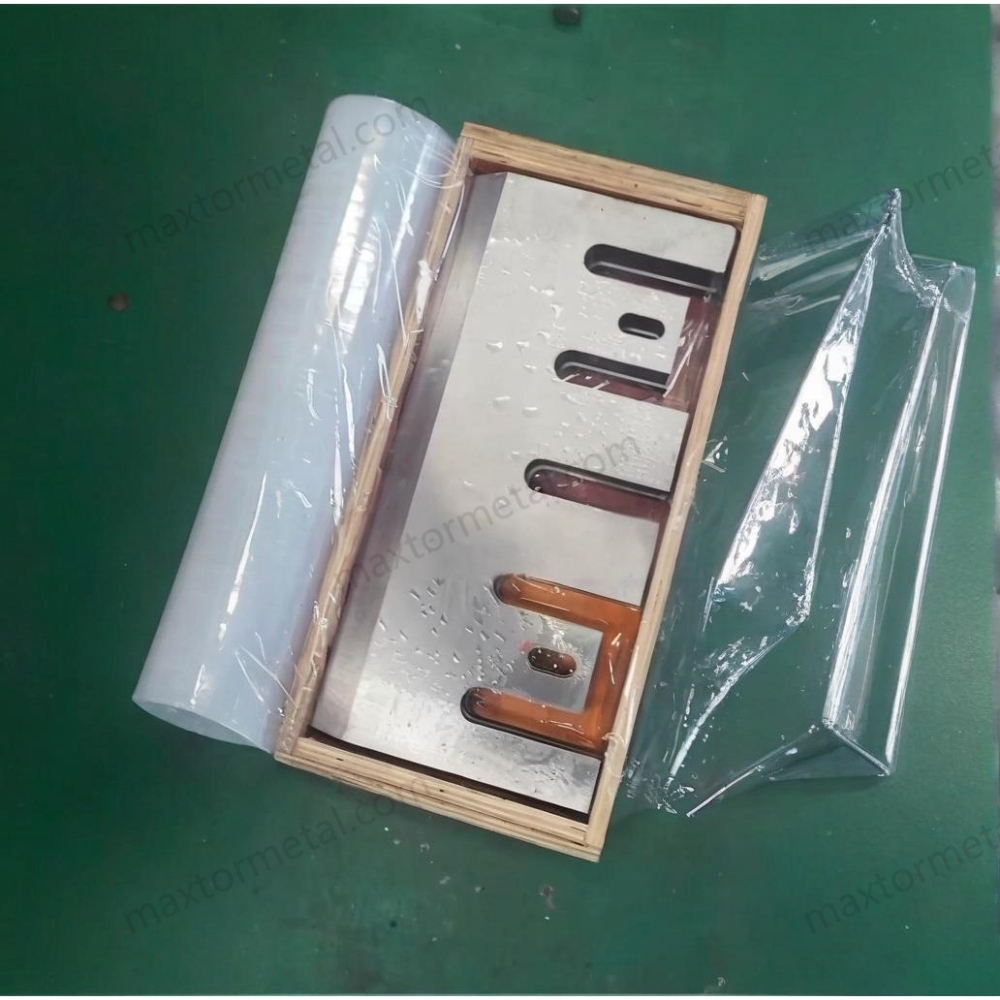
Before you start any wood chipper blades replacement, you need to make safety your top priority. Taking the right steps can keep you and everyone around you safe from serious injuries. Let’s break down what you need to do.
Lockout-Tagout and Power Off
Power Isolation Steps
You never want the chipper to start while you’re working on it. Here’s how you can make sure it stays off:
- Tell everyone nearby that you’re about to work on the chipper.
- Check your company’s safety rules to know what kind of energy the machine uses and how to control it.
- If the chipper is running, turn it off using the normal stop button or switch.
- Shut off all energy sources. This might mean unplugging it or turning off a breaker.
- Put a lock on the power switch or plug so nobody can turn it back on by mistake.
- Get rid of any leftover energy. Sometimes machines store energy in springs or moving parts, so make sure everything is safe.
- Double-check that the chipper is really off by trying the start button or control. It should not turn on.
- Only after you finish the job and everyone is clear, remove your lock and turn the power back on.
Zero-Energy Verification
Always test the controls after locking out the machine. If nothing happens, you know it’s safe to work. This step can save your fingers or even your life.
Persönliche Schutzausrüstung
Safety Gear Checklist
You need the right gear to protect yourself. Here’s a quick table to help you remember what to wear:
| Persönliche Schutzausrüstung | Why You Need It |
|---|---|
| Eye Protection | Stops wood chips from hitting your eyes. |
| Hearing Protection | Keeps your ears safe from loud noise. |
| Dust Mask | Blocks wood dust from your lungs. |
| Heavy-Duty Work Gloves | Protects your hands from sharp blades. |
| Sturdy Work Boots | Shields your feet from falling parts. |
Proper Use of PPE
Put on all your gear before you start. Make sure your gloves fit well so you can grip the blades safely. Tuck in loose clothing and tie back long hair. If your safety glasses fog up, clean them right away. You want to see clearly at all times.
Arbeitsplatzvorbereitung
Clearing Hazards
A clean workspace helps you avoid slips and trips. Pick up any tools, wood chips, or trash around the chipper. Wipe up oil or water spills. Good lighting helps you see what you’re doing.
Organizing Tools
Lay out all the tools you’ll need before you begin. Keep wrenches, new blades, and cleaning rags within easy reach. This way, you won’t have to search for anything while you work. Staying organized helps you finish the job faster and safer.
Tip: Always follow these safety steps every time you do a wood chipper blades replacement. Skipping even one step can lead to accidents.
Tools and Materials for Blade Replacement
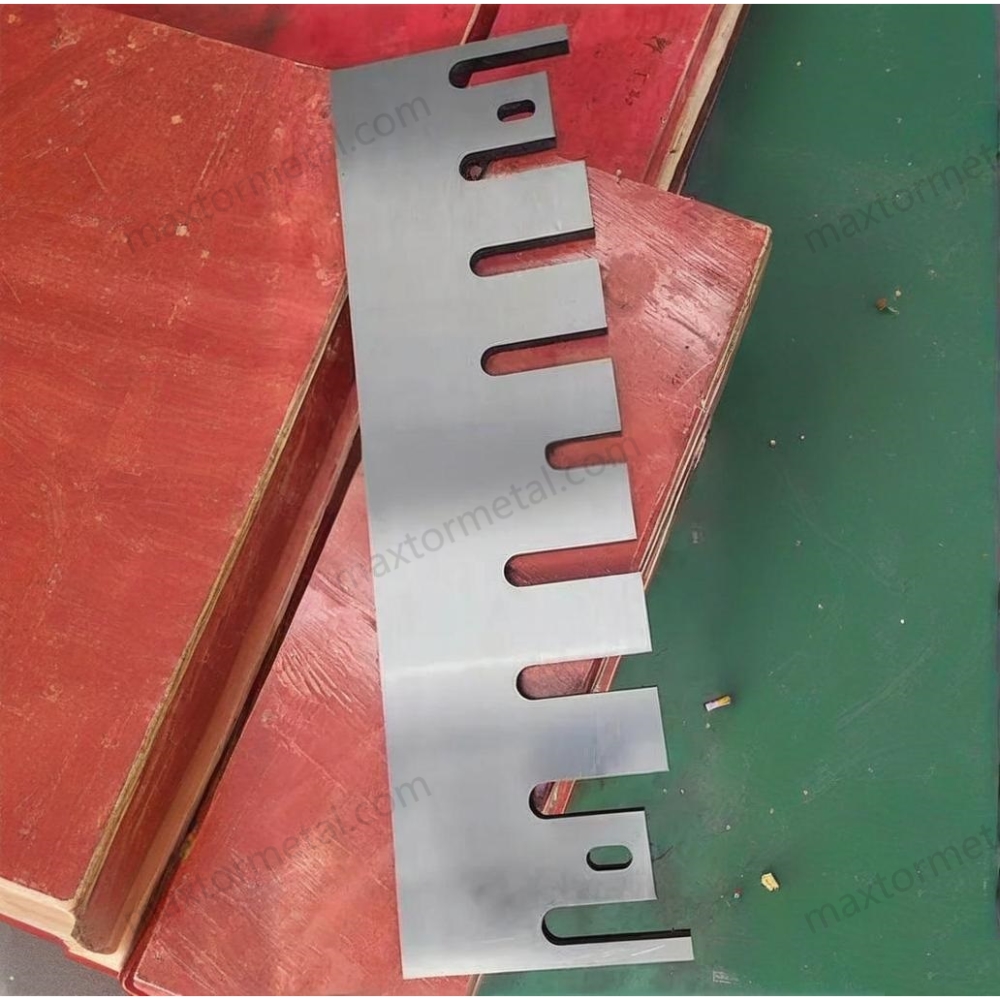
Getting ready for wood chipper blades replacement means you need the right tools and materials. If you prepare well, you can work faster and safer. Let’s look at what you need and how to pick the best things for your chipper.
Required Tools
Wrenches and Torque Tools
You need strong wrenches to loosen and tighten bolts. Torque wrenches help you make bolts tight enough. If you use too much force, you can break the blade or chipper. Always check your chipper’s manual for the right torque.
Specialty Tools for Models
Each chipper model is a little different. Some need special tools to reach blades or take off guards. Here is a list to help you get started: standard wrenches and sockets, torque wrench, Allen keys or hex drivers for some models, blade removal tool if your chipper has one, screwdrivers, and replacement knives. Keep extra knives so you do not have to stop working. If you do not know which tools fit your chipper, check the manual or ask your dealer. Sharp knives help you cut better, so always have extras.
Choosing Replacement Blades
OEM vs. Aftermarket
Picking the right blade is important for wood chipper blades replacement. You can pick OEM blades or aftermarket blades. Here is a table to help you compare:
| Typ | Vorteile | Nachteile |
|---|---|---|
| OEM-Klingen | Exact fit, quality assurance, longer lifespan, warranty protection | Higher price, harder to find during peak seasons |
| Nachrüstklingen | Lower cost, wider availability, useful for older machines | Quality varies, fit may not be precise, may void warranty |
OEM blades fit perfectly and have a warranty. Aftermarket blades cost less, but you need to check if they fit and work well. If you want a special blade for your chipper, you can look at Kundenspezifische Klingen for specific needs.
Material Options (D2, DC53, HSS, Tungsten Carbide)
Blade material changes how long blades last and how well they cut. Nanjing Metal Industrial has many choices for your job. Here is a table to help you pick:
| Klingenmaterial | Eigenschaften | Pro | Nachteile | Anwendungsvorschlag |
|---|---|---|---|---|
| D2 Werkzeugstahl | High-carbon, high-chromium steel with great wear resistance. | Great wear resistance; saves money. | Medium toughness; can chip. | Good for clean, soft to medium-hard wood. |
| DC53 Werkzeugstahl | Strong steel with high toughness and hardness. | Tougher; better against small cracks. | Costs more than D2. | Good for longer blade life in different wood types. |
| HSS-Einlage | Bi-metal with high toughness and red hardness. | Handles big hits; keeps edge sharp. | Wears out faster than carbide; costs more to make. | Best for heavy-duty chippers with dirty feedstock. |
| Wolframkarbid | Very hard, almost like diamond, for best wear resistance. | Lasts a long time; less downtime. | Very easy to break; costs a lot at first. | Best for big jobs with lots of clean wood. |
If you want blades that last and cut well, pick high-quality ones from Nanjing Metal Industrial. Match the blade material to your wood and work. For hard jobs, DC53 or HSS inlay blades are good. For soft, clean wood, D2 steel works well. Tungsten carbide blades are best for big jobs with clean wood.
Safety and Cleaning Supplies
Lubricants and Rags
You need lubricants to help bolts and mounts move easily. Rags help you clean off old grease, wood chips, and dust. Clean parts make blade installation safer.
Disposal Containers
Do not forget a strong container for old blades and used rags. Sharp blades can cut trash bags, so use a metal bin or tough box. Safe disposal keeps your workspace clean and stops injuries.
Tip: Always check your tools and supplies before you start wood chipper blades replacement. If you have everything ready, you can do the job right and stay safe.
Step-by-Step Wood Chipper Blades Replacement
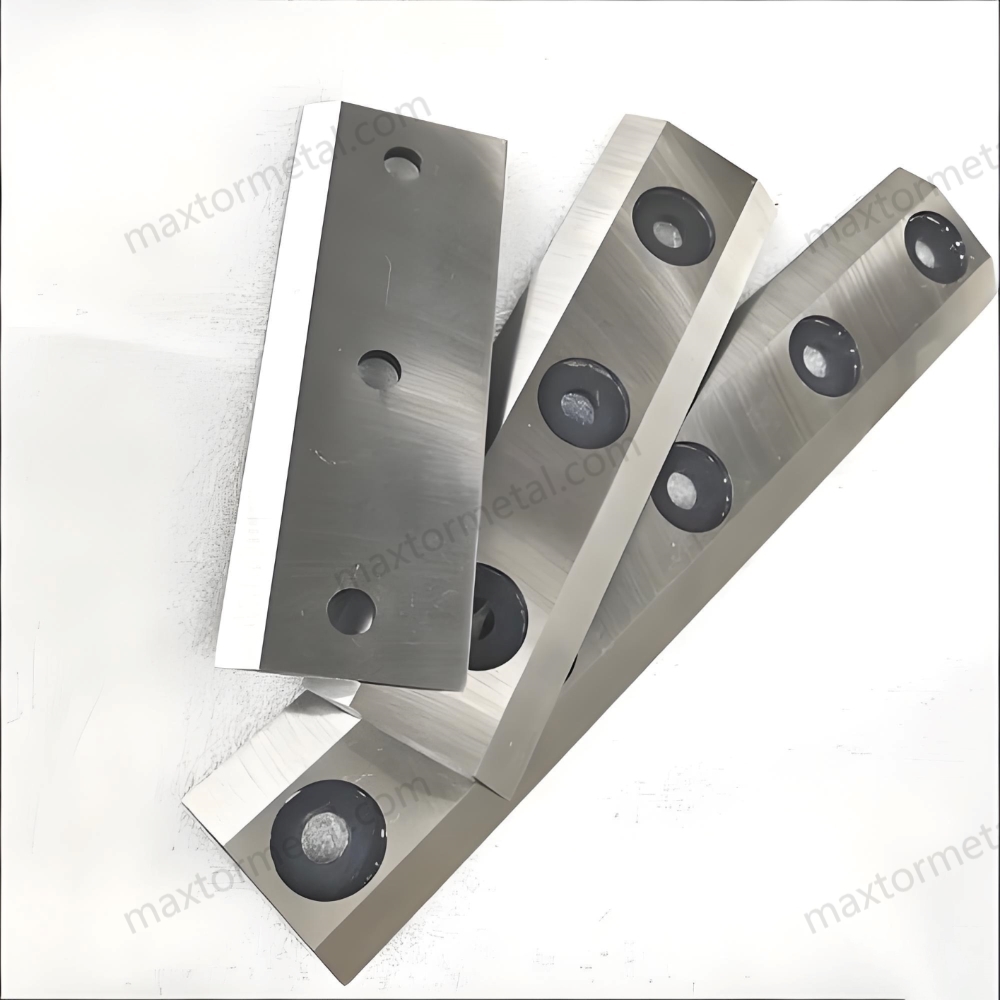
Zugang zur Messerbaugruppe
Entfernen der Schutzabdeckungen
Stellen Sie zunächst sicher, dass der Häcksler ausgeschaltet und gegen Wiedereinschalten gesichert ist (Lockout). Während der Arbeit dürfen sich keine Teile bewegen. Legen Sie Ihre Handschuhe, Schutzbrille und Gehörschutz an. Suchen Sie nun nach den Schutzabdeckungen, die den Messerbereich abdecken. Diese Abdeckungen dienen Ihrer Sicherheit im Betrieb des Häckslers und müssen entfernt werden, bevor Sie an die Messer gelangen.
Verwenden Sie das richtige Werkzeug, wie einen Schraubenschlüssel oder Schraubendreher, um die Schrauben oder Verschlüsse der Schutzabdeckungen zu lösen. Einige Häcksler besitzen Stifte oder spezielle Befestigungselemente. Bewahren Sie alle demontierten Teile an einem sicheren Ort auf, damit sie nicht verloren gehen. Wenn die Abdeckung klemmt, wenden Sie keine Gewalt an. Suchen Sie nach verdeckten Schrauben oder bitten Sie um Hilfe. Legen Sie die Abdeckung nach dem Ausbau auf einer sauberen Oberfläche ab.
Tipp: Warten Sie immer, bis alle beweglichen Teile vollständig zum Stillstand gekommen sind, bevor Sie die Haube öffnen oder Schutzabdeckungen entfernen. Dieser Schritt hilft, schwere Verletzungen zu vermeiden.
Identifizieren der Messeraufnahmen
Blicken Sie nun in das Innere des Häckslers. Sie sehen die Messerbaugruppe. Die Messer sind mit Bolzen, Schrauben oder Klemmen an einer Scheibe oder Trommel befestigt. Diese werden als Messeraufnahmen bezeichnet. Nehmen Sie sich einen Moment Zeit, um zu prüfen, wie die Messer sitzen und wie sie von den Aufnahmen gehalten werden. Einige Häcksler verwenden Arretierstifte, um ein Mitdrehen der Scheibe oder Trommel zu verhindern. Wenn Ihr Häcksler damit ausgestattet ist, setzen Sie diese jetzt ein. Dadurch wird verhindert, dass sich die Messerbaugruppe während der Arbeit bewegt.
Wenn Sie sich nicht sicher sind, welche Teile gelöst werden müssen, schlagen Sie im Handbuch Ihres Häckslers nach. Sie können vor dem Start auch ein Foto mit Ihrem Smartphone machen. So behalten Sie im Kopf, wie alles wieder zusammengehört.
Removing Old Blades
Lösen der Befestigungselemente
Sie können nun die alten Messer ausbauen. Nehmen Sie Ihren Schraubenschlüssel oder das passende Werkzeug für die Schrauben zur Hand. Drehen Sie jede Schraube langsam und vorsichtig. Einige Schrauben können durch Schmutz oder Rost festsitzen. Verwenden Sie bei Problemen etwas Kriechöl oder Schmiermittel, um sie zu lösen. Arbeiten Sie an jedem Messer einzeln. Entfernen Sie nicht alle Schrauben auf einmal, da das Messer sonst herunterfallen könnte.
Sicherheitshinweis: Stellen Sie sicher, dass Sie vor dem Start das Lockout-System und die Arretierstifte verwenden. Dies verhindert eine Bewegung des Häckslers und schützt Ihre Hände.
Safe Blade Handling
Messer können scharf sein, selbst wenn sie stumpf aussehen. Tragen Sie beim Umgang mit ihnen immer strapazierfähige Schutzhandschuhe. Halten Sie das Messer an den Seiten und nicht an der Schneide. Legen Sie jedes alte Messer sofort in einen stabilen Behälter. Lassen Sie Messer nicht auf dem Boden oder der Werkbank liegen. Jemand könnte darauf treten oder sich verletzen.
Hier ist eine kurze Übersicht der Sicherheitsvorkehrungen, die Sie beachten sollten, wenn Sie alte Messer entfernen:
| Sicherheitsvorkehrung | Beschreibung |
|---|---|
| Persönliche Schutzausrüstung | Tragen Sie Handschuhe, Augen- und Gesichtsschutz sowie Gehörschutz. |
| Arretierstifte | Verwenden Sie Stifte, um die Scheibe oder Trommel vor Bewegung zu sichern. |
| Lockout-System | Stellen Sie sicher, dass der Häcksler nicht eingeschaltet werden kann. |
| Inspektion | Vor dem Start auf Risse oder Beschädigungen prüfen. |
| Stillstand der Teile | Warten Sie, bis alle beweglichen Teile stillstehen, bevor Sie den Häcksler öffnen. |
Inspektion und Vorbereitung der Messeraufnahmen
Überprüfung auf Verschleiß
Untersuchen Sie nach dem Ausbau der alten Messer die Aufnahmen und den Messersitz genau. Achten Sie auf Risse, Dellen oder Verschleißspuren. Wenn Sie Beschädigungen feststellen, montieren Sie noch keine neuen Messer. Beschädigte Aufnahmen können dazu führen, dass die neuen Messer brechen oder sich lösen. Wenn Sie ein Problem feststellen, wenden Sie sich an einen Vorgesetzten oder einen Reparaturspezialisten.
Sie sollten den Häcksler täglich vor dem Gebrauch inspizieren. Achten Sie auf beschädigte oder fehlende Verschlüsse, Stifte oder verschlissene Scharniere. Diese Routine hilft Ihnen, Probleme frühzeitig zu erkennen.
Reinigen der Oberflächen
Reinigen Sie die Aufnahmen und die Messersitze, bevor Sie neue Messer einsetzen. Wischen Sie Staub, Holzspäne und altes Fett mit einem Tuch ab. Wenn Sie Rost feststellen, entfernen Sie diesen mit einer Drahtbürste. Saubere Oberflächen sorgen dafür, dass die neuen Messer flach und fest sitzen. Dieser Schritt erleichtert auch das Ausrichten der Messer bei der Montage.
Eine saubere und glatte Messeraufnahme schützt Ihre neuen Messer und sorgt für eine bessere Leistung Ihres Häckslers.
Indem Sie diese Schritte befolgen, machen Sie den Austausch der Häckslermesser sicherer und effektiver. Zudem verlängern Sie die Lebensdauer Ihrer Maschine und sichern eine optimale Leistung.
Einbau neuer Messer
Klingenausrichtung
Sie haben die Aufnahmen gereinigt und auf Beschädigungen geprüft. Nun können Sie die neuen Messer einbauen. Eine präzise Ausrichtung ist entscheidend. Wenn Sie die Messer nicht korrekt ausrichten, kann der Häcksler vibrieren oder Schaden nehmen.
Setzen Sie das Messer zunächst auf die Aufnahme. Achten Sie darauf, dass die Schneidkante in die richtige Richtung zeigt. Die meisten Messer sind zur Orientierung mit Markierungen oder Pfeilen versehen. Wenn Sie unsicher sind, schlagen Sie im Handbuch Ihres Häckslers nach oder orientieren Sie sich an der Position des alten Messers.
So können Sie die Ausrichtung einfach überprüfen:
- Halten Sie das Messer flach gegen den Sitz.
- Achten Sie auf Spaltmaße zwischen Messer und Aufnahme. Es dürfen keine Lücken vorhanden sein.
- Verwenden Sie ein Haarlineal oder ein Lineal, um zu prüfen, ob das Messer eben aufliegt.
- Wenn Ihr Häcksler mehrere Messer verwendet, stellen Sie sicher, dass alle Messer auf die gleiche Weise ausgerichtet sind.
Tipp: Nehmen Sie sich Zeit für die Ausrichtung. Ein schief sitzendes Messer kann zu Blockaden, ungleichmäßigem Hackgut oder sogar zu Schäden an Ihrer Maschine führen.
Korrektes Drehmoment
Sobald das Messer richtig sitzt, müssen Sie die Schrauben festziehen. Schätzen Sie das Anzugsmoment nicht ab. Verwenden Sie einen Drehmomentschlüssel. Das Handbuch Ihres Häckslers gibt den korrekten Drehmomentwert vor.
Hier ist eine kurze Übersicht, warum das richtige Drehmoment wichtig ist:
| Schritt | Warum es wichtig ist |
|---|---|
| Nach Vorgabe anziehen | Verhindert das Lösen der Messer |
| Nicht zu fest anziehen | Verhindert das Abscheren oder Abreißen der Schrauben |
| Drehmomentschlüssel verwenden | Gewährleistet eine gleichmäßige Druckverteilung auf alle Schrauben |
Start with one bolt and tighten it halfway. Move to the next bolt and do the same. Keep going in a crisscross pattern. This helps the blade sit flat. When all bolts are snug, use the torque wrench to finish tightening each one to the correct setting.
Sicherheitshinweis: If you do not use the right torque, blades can fly off or break during use. Always double-check your work.
Reassembly and Final Checks
Securing Guards
You have installed the new blades. Now, you need to put the guards back on. Guards protect you and others from moving parts. Line up the guard with its mounts. Insert the bolts or pins you removed earlier.
Tighten each fastener until the guard feels secure. Do not leave any bolts loose. If you see any damage on the guard, fix it before you finish. A strong guard keeps everyone safe.
Notiz: Never run the chipper without all guards in place. This step is key for accident prevention.
Double-Checking Connections
Before you finish, check every connection. Look at each bolt, pin, and latch. Make sure nothing is missing or loose. Wiggle the guards and blade mounts gently. They should not move.
Here is a checklist to help you:
- All blades sit flat and tight.
- Every bolt is at the right torque.
- Guards are secure and undamaged.
- No tools or rags left inside the chipper.
You have now completed the wood chipper blades replacement. Take a moment to review your work. Careful checks help you avoid problems when you start the machine.
✅ You are ready for the next step: post-replacement checks and testing.
Kontrollen nach dem Austausch
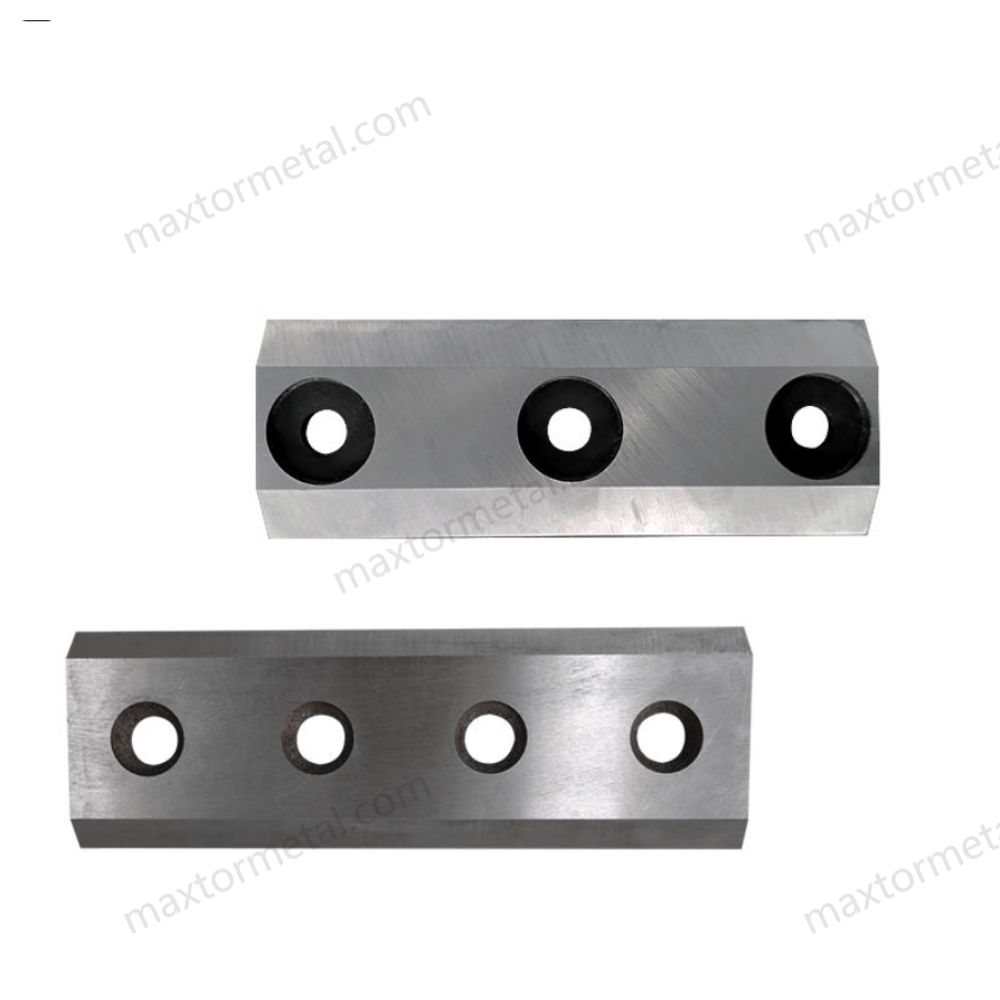
You finished installing the new blades. Now, you need to make sure everything is safe and ready. This step is just as important as the rest of the wood chipper blades replacement process. Let’s walk through what you should do before you start the machine.
Visuelle Inspektion
Blade Security
First, look at the blades. Check if each blade sits flat against the mount. Try to wiggle the blades with your gloved hand. They should not move at all. If you see any gaps or loose bolts, grab your torque wrench and tighten them again. Secure blades keep you safe and help your chipper work better.
Debris Removal
Next, check the inside of the chipper. Look for any leftover tools, rags, or wood chips. Even a small piece of debris can cause big problems. Use a flashlight to see into dark corners. Pick up anything that does not belong. A clean chipper means fewer jams and less risk of damage.
Tipp: Always count your tools before and after the job. If you are missing a wrench, it might be inside the chipper!
Funktionstests
Low-Speed Test
You want to test the chipper, but do it safely. Stand clear of the feed chute and discharge area. Turn the power on and run the chipper at the lowest speed. Watch and listen. The machine should start smoothly. If you hear strange noises or see shaking, turn it off right away.
Observing for Issues
Keep your eyes and ears open. Look for these warning signs:
- Unusual vibration or shaking
- Rattling or grinding sounds
- Blades not spinning evenly
- Any smoke or burning smell
If you notice any of these, stop the chipper. Check the blades and mounts again. Fix any problems before you try another test.
🚩 Never ignore strange sounds or movements. They can mean something is wrong.
Final Safety Review
Protocol Confirmation
Go through your safety checklist one more time. Ask yourself:
- Did I lock out the power before starting?
- Did I wear all my safety gear?
- Are all guards and covers back in place?
- Did I check every bolt and connection?
If you answer “yes” to all, you are ready to use the chipper.
Maintenance Documentation
Write down what you did. Record the date, the type of blades you installed, and any problems you found. Good records help you track blade life and spot patterns. If you work with a team, let others know the chipper is ready.
Here’s a simple table you can use for your records:
| Datum | Aufgabe ausgeführt | Klingentyp | Issues Found | Next Check Due |
|---|---|---|---|---|
| 2024-06-10 | Klingenwechsel | DC53 Werkzeugstahl | Keiner | 2024-07-10 |
Notiz: Keeping good records helps you plan future maintenance and keeps everyone safe.
You have now finished all the post-replacement checks. You can feel confident that your chipper is safe and ready for work.
Common Mistakes in Blade Replacement
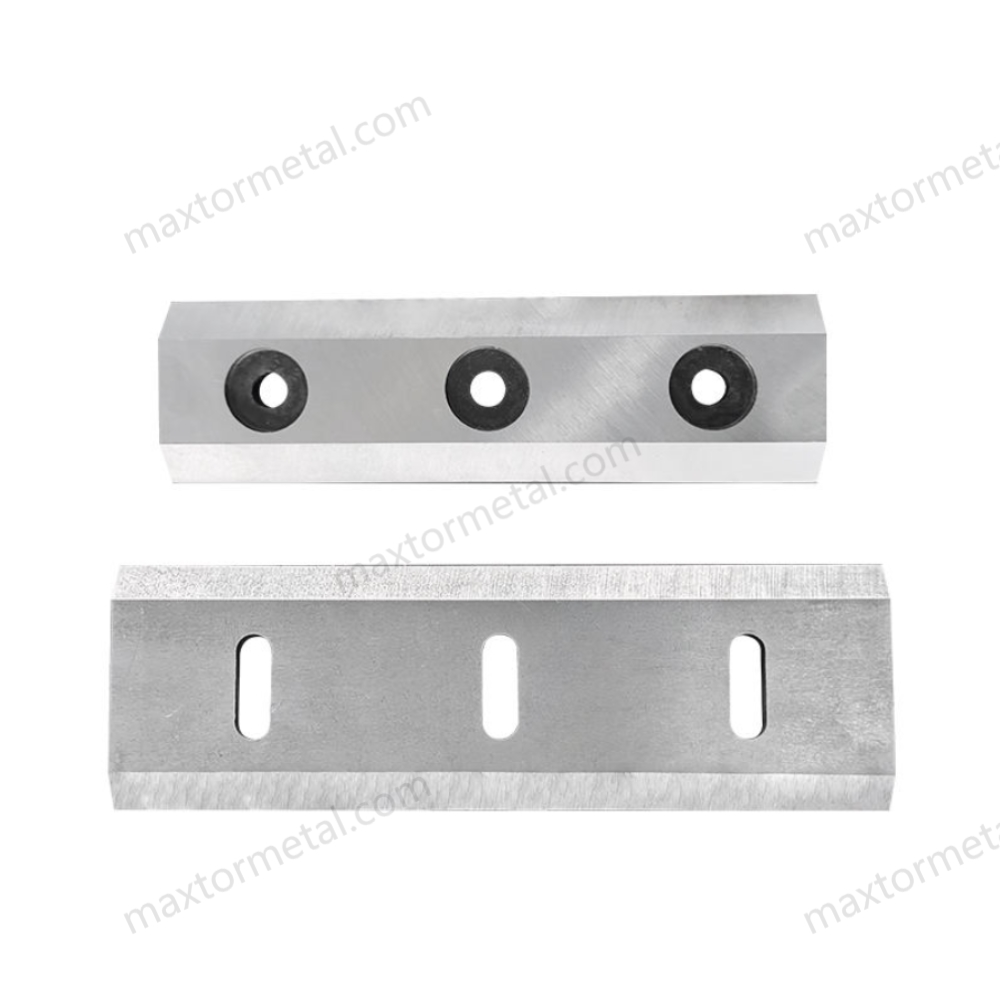
Skipping Power Off Steps
You might feel tempted to skip turning off the power when you do a wood chipper blades replacement. Maybe you think it will save time. This is a big mistake. If you leave the chipper plugged in or powered up, it can start by accident. Even a small movement can cause the blades to spin. That can lead to serious injuries.
Here’s what often happens when you skip this step:
- You reach for a blade, and the machine moves.
- Someone else turns on the chipper without knowing you are working.
- You forget to lock out the power, and the chipper starts while your hands are inside.
Alarm: Always use the lockout-tagout method. Turn off the power, unplug the machine, and lock the switch. Put a tag on it so everyone knows you are working. Never trust that the chipper is off just because it looks quiet.
Wrong Tools or Fasteners
Using the wrong tools or fasteners can cause big problems during wood chipper blades replacement. If you grab a wrench that does not fit, you might strip the bolts. If you use the wrong size fastener, the blade can come loose while the chipper runs.
Häufige Fehler sind:
- Using pliers instead of the right wrench
- Mixing up metric and standard bolts
- Forgetting to check the torque setting
- Reusing old, worn-out bolts
Here’s a quick table to help you remember what to check:
| Tool or Fastener | What Can Go Wrong | How to Avoid It |
|---|---|---|
| Wrong wrench size | Stripped bolts, loose blades | Match tool to bolt size |
| Old or damaged bolts | Blades may fall out | Use new, high-quality bolts |
| Wrong torque setting | Over-tighten or under-tighten | Use a torque wrench |
Tipp: Always read your chipper’s manual before you start. Lay out all the right tools and fasteners before you begin. Double-check each bolt and nut for size and condition.
Poor Blade Alignment
Blade alignment matters more than you might think. If you do not line up the blades correctly during wood chipper blades replacement, the chipper can shake, jam, or even break. Poor alignment also makes the blades wear out faster.
You might make these mistakes:
- Rushing and not checking if the blade sits flat
- Ignoring the marks or arrows on the blade
- Forgetting to use a straight edge to check the level
Here’s how you can avoid poor alignment:
- Place the blade flat against the mount.
- Look for any gaps between the blade and the seat.
- Use a straight edge or ruler to check if the blade is level.
- Make sure all blades line up the same way.
Notiz: Take your time with alignment. A well-aligned blade keeps your chipper running smoothly and safely.
By watching out for these common mistakes, you make wood chipper blades replacement safer and more effective. You also help your machine last longer and work better.
Ignoring Post-Checks
You might feel ready to use your chipper right after you finish a wood chipper blades replacement. Skipping post-checks can seem like a way to save time. This is a risky move. Post-checks help you catch mistakes before they turn into accidents.
When you ignore post-checks, you miss things like loose bolts, leftover tools, or misaligned blades. Even a small problem can cause big trouble once the machine starts. You could damage your chipper, ruin your new blades, or even get hurt.
Here’s a simple checklist you should always follow after replacing blades:
- Make sure every bolt is tight.
- Check that all guards are back in place.
- Look for any tools or rags left inside the chipper.
- Spin the drum or disc by hand (if safe) to check for smooth movement.
- Inspect the area for any debris.
Tipp: Always do a slow-speed test before running the chipper at full power. Listen for odd noises and watch for shaking.
If you skip these steps, you risk more than just a broken machine. You put yourself and others in danger. Take a few extra minutes for post-checks. You will save time and trouble in the long run.
Overlooking Wear or Damage
You might think new blades mean your chipper is ready to go. That is not always true. If you ignore signs of wear or damage on the mounts, bolts, or blade seats during wood chipper blades replacement, you set yourself up for problems.
Worn or damaged parts cannot hold blades tightly. This can make blades come loose or break while the chipper runs. You might hear strange noises, see uneven chips, or notice extra vibration. These are warning signs you should never ignore.
Look for these signs of wear or damage:
| Part to Check | Worauf Sie achten sollten | Warum es wichtig ist |
|---|---|---|
| Blade Mounts | Cracks, dents, or rust | Weak mounts can fail |
| Bolts and Fasteners | Stripped threads, bending | Loose blades or sudden failure |
| Klingensitze | Uneven surfaces, pitting | Poor alignment and blade wobble |
| Wachen | Bent or broken parts | Less protection from moving parts |
If you spot any of these problems, stop and fix them before you finish the wood chipper blades replacement. Sometimes you need to replace a bolt or clean off rust. Other times, you may need a new mount or help from a professional.
Alarm: Never install new blades on damaged parts. This can lead to accidents and costly repairs.
Taking time to check for wear and damage keeps your chipper safe and working well. You protect yourself, your team, and your equipment.
Troubleshooting and Efficiency Tips
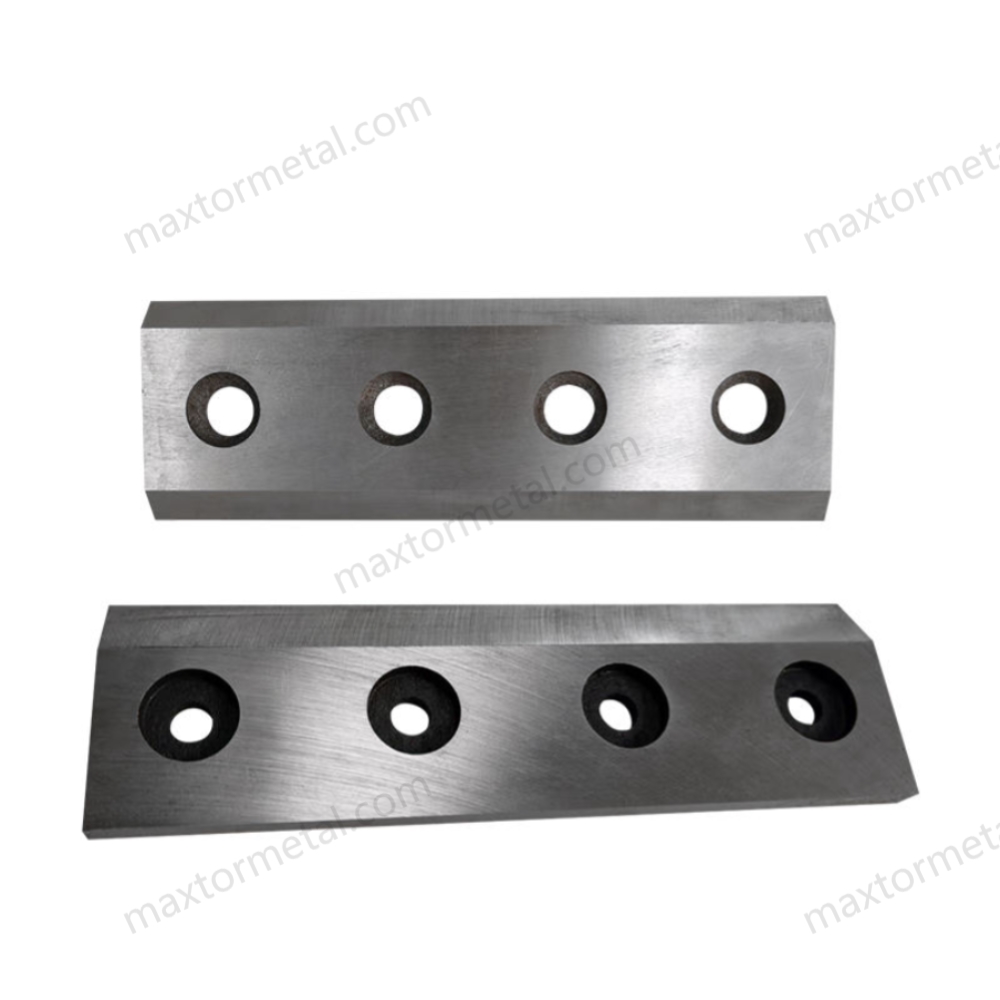
Damaged Mounts or Seats
You might notice your wood chipper does not run as smoothly after a blade change. Sometimes, the problem comes from damaged mounts or blade seats. These parts hold the blades in place. If they get bent, cracked, or worn out, your new blades will not sit flat. This can cause uneven cuts or even dangerous accidents.
Here’s how you can spot trouble:
- Look for cracks, dents, or rust on the mounts.
- Check if the blade seat feels rough or uneven.
- Try to wiggle the blade after tightening. It should not move.
If you find damage, do not install the new blade. You risk the blade coming loose or breaking. You should replace the damaged part before you finish the wood chipper blades replacement. Sometimes, you need a new mount or a custom part. If you are not sure what to do, call a professional or your chipper’s manufacturer for advice.
Tipp: Always inspect the mounts and seats every time you change blades. Fixing small problems early keeps your chipper safe and saves money in the long run.
Stuck or Stripped Fasteners
Stuck or stripped bolts can slow you down during wood chipper blades replacement. You might run into a bolt that will not turn or one with a rounded head. Forcing it can break your tools or damage the chipper.
Here’s what you can try:
- Spray a little penetrating oil on the bolt. Wait a few minutes.
- Use the right size wrench or socket. Make sure it fits snug.
- Tap the bolt gently with a hammer to loosen rust.
- If the bolt is stripped, try a bolt extractor tool.
If you still cannot remove the bolt, do not force it. You could break the mount or strip the threads even more. Sometimes, you need to drill out the bolt or ask a repair shop for help.
Here’s a quick table to help you remember your options:
| Problem | What to Try First | When to Get Help |
|---|---|---|
| Stuck bolt | Penetrating oil, tapping | If bolt will not budge |
| Stripped bolt head | Extractor tool | If extractor does not work |
| Broken bolt | Drill out, re-tap hole | If unsure, call a pro |
Alarm: Never reuse damaged bolts. Always use new, high-quality fasteners during wood chipper blades replacement.
Blade Imbalance or Vibration
You might feel your chipper shaking or hear odd noises after a blade change. This often means the blades are not balanced. Blade imbalance can wear out your chipper fast and make it unsafe.
Here’s how you can check for balance:
- Make sure all blades are the same size and weight.
- Check that each blade sits flat and tight on the mount.
- Spin the drum or disc by hand (if safe) and watch for wobbles.
If you notice vibration, stop the chipper right away. Double-check your alignment and torque. Sometimes, you need to swap out a blade for one that matches better. For best results, use blades from the same set or order custom-matched blades from your supplier.
Notiz: If your chipper keeps vibrating after you check everything, you may have a bent shaft or damaged drum. In this case, call a professional for help.
By following these troubleshooting tips, you can solve most problems during wood chipper blades replacement. You will keep your chipper running smoothly and avoid costly downtime.
Schnellwechselsysteme
Have you ever wished you could finish a wood chipper blades replacement in less time? Quick-change systems make that possible. These systems let you swap out blades faster and with less hassle. You do not need to remove as many bolts or parts. Some chippers even have special levers or clamps that hold the blades in place.
Here’s why you might want to use a quick-change system:
- Weniger Ausfallzeiten: You spend less time with your chipper out of service. That means you get back to work sooner.
- Fewer Tools Needed: Most quick-change systems only need one or two tools. Sometimes, you do not need any tools at all.
- Safer Blade Changes: You do not have to reach deep inside the machine. This lowers your risk of cuts or pinched fingers.
Tipp: Always read your chipper’s manual before using a quick-change system. Each brand and model works a little differently.
If you use your chipper a lot, a quick-change system can save you hours over the year. You also make fewer mistakes because the process is simpler. Some systems even have color-coded parts or built-in guides to help you line up the blades just right.
But remember, even with a quick-change system, you still need to follow all safety steps. Lock out the power, wear your safety gear, and double-check your work. Never rush, even if the system seems easy.
If your chipper does not have a quick-change system, you might want to ask your dealer or manufacturer about upgrade options. Sometimes, you can add a retrofit kit to your current machine. This can make future wood chipper blades replacement jobs much easier.
Wartungsplanung
You want your wood chipper to last a long time and work its best. Regular maintenance is the key. If you set up a schedule, you will not forget important tasks like wood chipper blades replacement.
Here’s a simple way to plan your maintenance:
- Check the Manual: Your chipper’s manual tells you how often to replace blades and check other parts.
- Make a Calendar: Write down when you last changed the blades. Mark the next date on your calendar or phone.
- Inspect Often: Look at the blades, mounts, and guards every time you use the chipper. Catching problems early saves money and keeps you safe.
- Aufzeichnungen führen: Use a table or notebook to track each maintenance job.
| Datum | Aufgabe | Klingentyp | Hinweise |
|---|---|---|---|
| 2024-06-10 | Klingenwechsel | DC53 Werkzeugstahl | No issues found |
| 2024-07-10 | Inspektion | – | Minor rust cleaned |
Notiz: Good records help you spot patterns. If you see blades wearing out faster than usual, you might need to change your schedule or try a different blade material.
If you notice the chipper vibrating, making odd noises, or cutting poorly, do not wait for the next scheduled maintenance. Stop and check the blades right away. Sometimes, you need to do a wood chipper blades replacement sooner than planned.
For busy worksites, you can set reminders on your phone or use maintenance apps. Some companies even use color-coded tags or stickers to show when the next blade change is due.
If you ever feel unsure about your maintenance plan, talk to a professional or your chipper’s manufacturer. They can help you set up a schedule that fits your needs and keeps your machine running safely.
You now understand how to change wood chipper blades safely. Always do these things: First, make sure you follow your chipper’s rules and blade instructions. Next, pay attention to the weather because it can change how your machine works. Keep track of how long you use your knives. Before you start, check if you have enough blades. Make sure your chipper knives are sharp and ready to use. Stay careful, pick good blades, and never forget safety checks. If you want special help or have questions, talk to a sales engineer at Nanjing Metal Industrial. Your safety and how well your machine works are very important!
Häufig gestellte Fragen
How often should you do wood chipper blades replacement?
You should check your blades after every 20 hours of use. If you see chips, cracks, or dull edges, replace them right away. Regular checks help you avoid accidents and keep your chipper working well.
What signs show you need new blades?
Look for dull edges, chips, cracks, or uneven wood chips. If your chipper vibrates or jams often, it’s time for wood chipper blades replacement. Sharp blades make your job safer and easier.
Can you use any blade for your wood chipper?
No, you need blades that fit your chipper model. Always check your manual or ask your dealer. For specific needs, you can order custom blades to match your machine.
What’s the safest way to handle old blades?
Wear heavy-duty gloves and eye protection. Place old blades in a sturdy container. Never leave blades on the ground or workbench. Safe handling prevents cuts and injuries.
Do you need special tools for wood chipper blades replacement?
Most jobs need wrenches, torque wrenches, and sometimes specialty tools. Check your chipper’s manual for the right tools. Using the correct tools helps you avoid mistakes and keeps you safe.
Warum ist die Ausrichtung der Rotorblätter wichtig?
Proper alignment stops vibration and uneven cuts. Misaligned blades can damage your chipper and cause accidents. Always check alignment before tightening bolts.
Where can you get help with blade selection?
You can contact a aftersales engineer for advice. They help you pick the best blade material and design for your wood chipper blades replacement.
What should you do if you find damage during replacement?
Stop and fix the problem before installing new blades. Replace damaged mounts or bolts. If you feel unsure, ask a professional for help. Safety comes first every time.
Siehe auch
D2, HSS, Hartmetall: Die Wahl des besten Stahls für Guillotinemesser im Druckwesen
Sichere Dokumentenvernichtung: Wie Aktenvernichter-Klingen Ihre Daten schützen
Shredder-Klingenwechsel-Anleitung für Anfänger und Profis
Auswahl von industriellen Hacker-Messern: Einseitig oder beidseitig geschliffen?

 English
  Spanish
  Italian
  French
  Portuguese
  Russian
  German
  Arabic
  Hindi
Hindi  Vietnamese
  Indonesian
  Japanese
  Korean