


È possibile sostituire le lame per trituratori seguendo alcuni semplici passaggi. Innanzitutto, spegnere la macchina. Successivamente, utilizzare gli strumenti corretti. Seguire sempre le istruzioni del produttore. La sicurezza è fondamentale. Se si utilizzano lame di alta qualità, il trituratore funziona meglio. Inoltre, le lame durano più a lungo. Ecco alcuni rapidi vantaggi:
- Le lame di alta qualità aiutano il trituratore a funzionare meglio.
- Durano più a lungo e non richiedono un'affilatura frequente.
- Si risparmiano tempo e denaro per la riparazione del trituratore.
Questo Guida alla sostituzione delle lame del trituratore aiuta a garantire la sicurezza. Inoltre, aiuta il trituratore a funzionare correttamente.
Punti chiave
- Spegnere e scollegare sempre il trituratore prima di iniziare.
- Utilizzare lame di qualità per far funzionare meglio il trituratore e farlo durare più a lungo.
- Controllare spesso le lame per verificare la presenza di usura, crepe o altri danni al fine di evitare inceppamenti.
- Seguire le istruzioni del produttore durante la sostituzione delle lame per garantire la sicurezza e il corretto funzionamento.
- Indossare dispositivi di protezione come guanti e occhiali di sicurezza per proteggersi durante la sostituzione delle lame.
- Pulire e lubrificare spesso il trituratore per mantenerlo efficiente ed evitare il surriscaldamento.
- Non inserire troppa carta nel trituratore per prolungare la durata delle lame ed evitare inceppamenti.
- Pianificare un programma di manutenzione per mantenere il trituratore in ottime condizioni e individuare tempestivamente i problemi.
Quando sostituire le lame
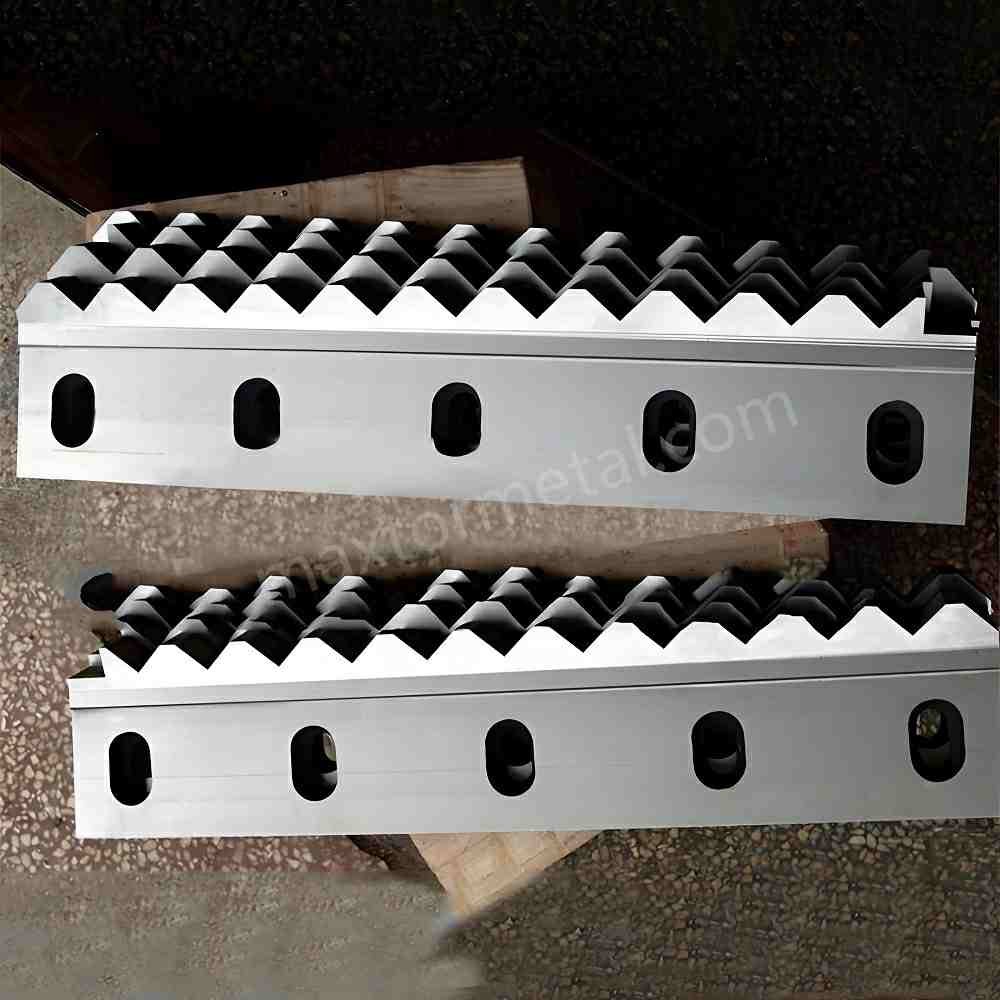
Sapere quando sostituire le lame del trituratore mantiene la macchina in perfetto funzionamento. Se si aspetta troppo a lungo, si rischiano inceppamenti, una triturazione inefficiente o persino danni al trituratore. Vediamo nel dettaglio i segnali da monitorare.
Segni di usura
Ottusità
Si potrebbe notare che il trituratore fatica a tagliare i materiali. Le lame usurate costringono a processare lo stesso lotto più di una volta. Ciò significa che i taglienti hanno perso la loro affilatura. Se si notano tagli irregolari o grossolani, questo è un altro indizio. I pezzi frastagliati dimostrano che le lame non tagliano più in modo netto.
Mancia: Controllare regolarmente l'eventuale riduzione delle prestazioni di taglio. Se è necessaria una forza maggiore o si nota un output irregolare, è il momento di ispezionare le lame.
Crepe
Le crepe possono comparire dopo un uso intensivo o se si triturano materiali duri. Queste crepe indeboliscono la lama e possono causare problemi maggiori. Anche scheggiature o ammaccature sono considerate danni. Se se ne riscontra qualcuna, sostituire immediatamente la lama.
Efficienza ridotta
Il trituratore potrebbe impiegare più tempo per completare un lavoro. Si potrebbe notare che la macchina lavora sotto sforzo, consuma più energia o si surriscalda. Se si riscontrano questi segnali, è probabile che le lame siano usurate.
Indicatori comuni della necessità di nuove lame:
- Riduzione delle prestazioni di taglio.
- Tagli irregolari o grossolani.
- Danni visibili come scheggiature o crepe.
- Problemi di surriscaldamento.
- Rumori insoliti o vibrazioni eccessive.
Problemi di prestazioni
Inceppamenti
Inceppamenti frequenti indicano che le lame non svolgono il loro lavoro. Le lame usurate strappano e schiacciano invece di tagliare. Questo sollecita il motore e può causare guasti. Se gli inceppamenti si verificano spesso, controllare le lame.
Rumore
Prestare attenzione a rumori nuovi o più forti. Livelli elevati di rumore o vibrazioni possono segnalare un disallineamento o un'usura grave. Se il trituratore emette un suono diverso, ispezionare le lame.
- Le lame usurate aumentano il consumo energetico.
- La qualità dell'output diminuisce, lasciando materiali frastagliati.
- La macchina potrebbe richiedere più potenza per funzionare.
Ispezione visuale
Danni
Esaminare attentamente le lame. Intagli, scheggiature e crepe sono facili da individuare. I taglienti usurati indicano che la lama non taglierà bene. Anche i segni di sollecitazione vicino ai supporti o alle staffe possono indicare problemi.
Ruggine
La ruggine indebolisce la lama e influisce sulla triturazione. Se si nota ruggine, sostituire la lama. Le lame pulite durano più a lungo e funzionano meglio.
Nota: I produttori raccomandano ispezioni regolari. Pianificare un programma per controllare l'usura delle lame. Questo aiuta a evitare inceppamenti e mantiene il trituratore in ottime condizioni.
Seguendo questi consigli della guida alla sostituzione delle lame per trituratori, si individueranno i problemi in anticipo. Il trituratore funzionerà meglio e si eviteranno costose riparazioni.
Guida alla sostituzione delle lame per trituratori: Preparazione
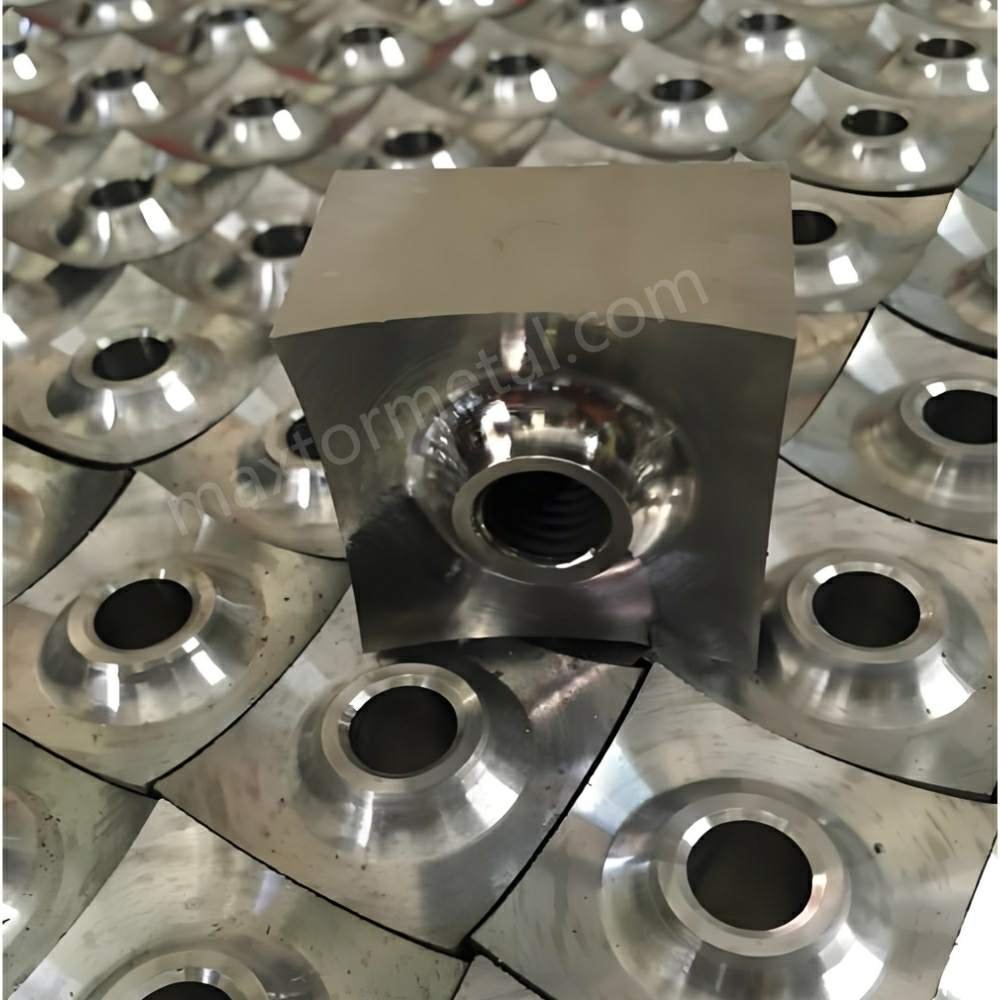
Prepararsi alla sostituzione delle lame è molto importante. È necessario operare in sicurezza e lavorare con precisione. Questo garantisce il corretto funzionamento del trituratore al termine dell'operazione. Ecco i passaggi da seguire prima di iniziare.
Strumenti e materiali
È fondamentale disporre degli strumenti e dei materiali corretti. Questi consentono di sostituire le lame senza problemi. Ecco ciò di cui si ha bisogno:
Cacciaviti
Scegliere cacciaviti adatti alle viti del trituratore. La maggior parte dei trituratori utilizza viti a croce (Phillips) o a testa piatta. Lo strumento errato può danneggiare le viti o la scocca del trituratore. Tenere a portata di mano un set di cacciaviti per essere pronti.
Attrezzatura di sicurezza
Indossare guanti e occhiali di sicurezza per proteggersi. I guanti proteggono le mani dai bordi taglienti. Gli occhiali proteggono gli occhi da polvere e piccoli frammenti. Se l'area di lavoro è rumorosa, utilizzare anche protezioni acustiche.
Lame di ricambio
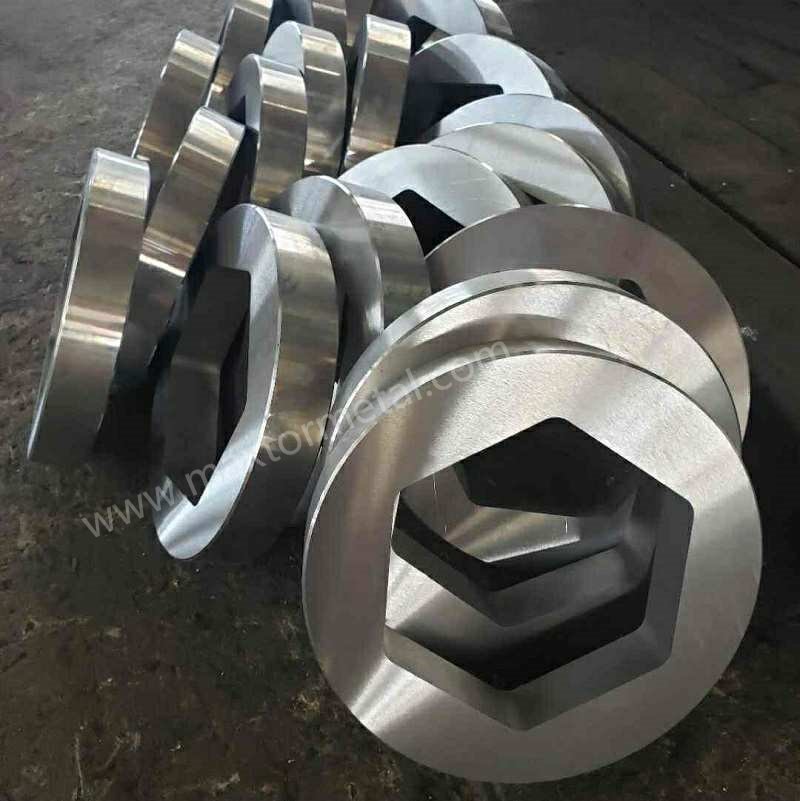
Scegliere lame di ricambio di alta qualità per il trituratore. Le lame di Nanjing Metal Industrial sono robuste e offrono un ottimo taglio. Assicurarsi che le lame siano compatibili con il modello di trituratore. Se si necessita di una dimensione o forma speciale, verificare il pagina delle lame personalizzate. Store new blades in a dry place with air flow to stop rust. If your blades are expensive, think about professional sharpening or heat treatment to make them last longer.
Mancia: Check your blades often to find wear early. Store and care for your blades to keep them working well.
Misure di sicurezza
Safety is the most important part of any shredder blade replacement guide. You want to stop accidents and keep your area safe.
Spegni
Unplug the shredder before you do anything. This keeps the machine from turning on by mistake. Taking out the power cord is the safest way. If your shredder has an emergency stop button, use it if something goes wrong.
Secure Area
Make sure you have enough space to work. Keep kids and pets away from your work area. Take off loose clothes and jewelry that could get caught. Put your tools and parts in order. Learn about safety features like auto shutoff and emergency stops.
- Never use your hands to clear jams. Use tools for this job.
- Do not put too much in the shredder to stop jams and motor problems.
- Tell others if you have trouble.
Review Instructions
Read the instructions for your shredder before you start. Each shredder is different, so you need the right steps.
Manuale
Read your shredder’s user manual. The manual shows how to put in blades, use the shredder safely, and fix common problems. Follow the rules for what and how much you can shred. This helps you avoid breaking the shredder or getting hurt.
Online Resources
If you do not have the manual, look for guides or videos online. Many companies post helpful tips on their websites. You can also ask your blade supplier if the blades fit. Different shredders need different blade sizes, shapes, and materials. The wrong blade can break your shredder. Always check before you buy or put in new blades.
Nota: Change your shredder settings for the blade material. This helps your shredder work better and makes blades last longer.
Being ready is very important in any shredder blade replacement guide. When you have the right tools, follow safety steps, and read instructions, you can change blades safely. Good blades and careful planning help your shredder last longer.
Guida alla sostituzione delle lame per trituratori: Passo dopo passo
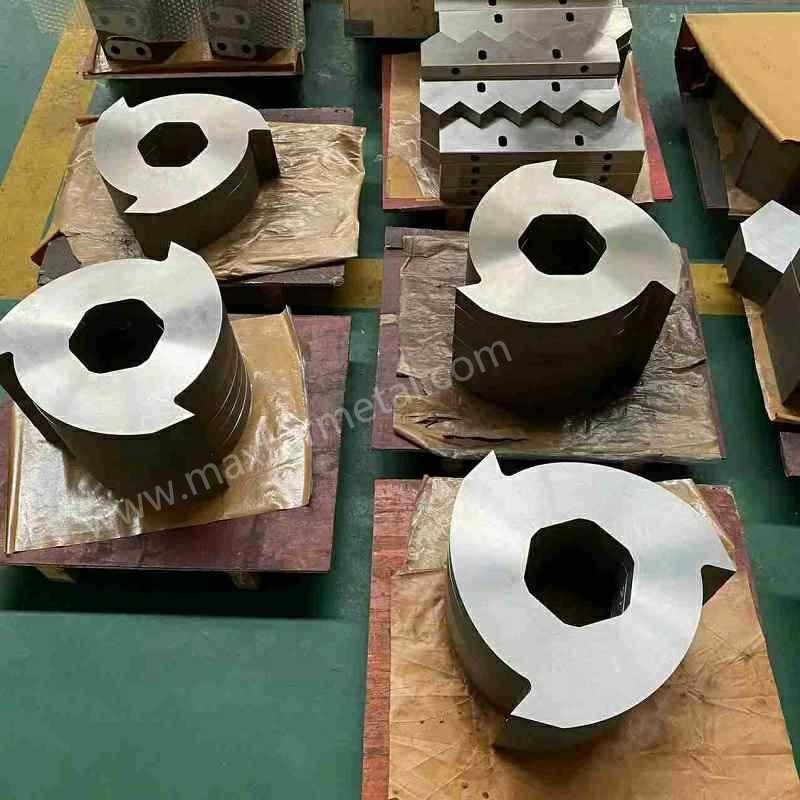
Changing shredder blades might sound tricky, but you can do it if you follow each step. This part of the shredder blade replacement guide walks you through the process, whether you have a single-shaft or multi-shaft shredder.
Remove Old Blades
Access Compartment
First, make sure your shredder is unplugged and all moving parts have stopped. Safety comes first. Put on cut-resistant gloves before you start. If you have a single-shaft shredder, open the main access panel. For multi-shaft shredders, check your manual for special instructions. You might need to remove scraper combs or casing plates. Use the right tools, like an 8mm Allen key, to unscrew bolts and nuts. Keep all screws and small parts in a safe spot so you don’t lose them.
Loosen Screws
Once you reach the blades, start loosening the screws or bolts that hold them in place. Work slowly and carefully. If you have a double or four-shaft shredder, you’ll need to remove nuts from both shafts. Slide the front plate toward you to expose the blades. Always use the correct screwdriver or Allen key to avoid stripping the screws.
Extract Blades
Now, you can take out the old blades and spacers one by one. Hold each blade firmly and pull it out gently. Watch out for sharp edges. If any blade feels stuck, don’t force it. Check for hidden screws or clips. Keep the workspace clean and organized. This makes it easier to install new blades later.
Mancia: Wear gloves at all times. Blades can be sharp, even if they’re dull from use.
Install New Blades
Allinea le lame
Before you put in new blades, make sure they match your shredder model. Precision blades from Nanjing Metal Industriale work well for many shredders. If you need a special size or shape, you can find custom options on the pagina delle lame personalizzate. Check your manual for the correct blade orientation. For multi-shaft shredders, follow the diagram closely. Proper alignment helps prevent jams and keeps your shredder running smoothly.
Tighten Screws
Secure each blade with the right bolts or nuts. Tighten them evenly so the blades don’t wobble. Don’t over-tighten, or you might damage the threads. Here’s a quick table to help you with torque values:
| Component | Size | Torque Value (Nm) |
|---|---|---|
| Shredder Blade Nut | M8 | 30-35 |
| Chipper Blade Bolt/Nut | M8 | 30-35 |
Check each screw as you go. If you’re unsure, use a torque wrench to get the right tightness.
Check Fit
After installing all blades, double-check that each one sits firmly in place. There should be no movement. Adjust the clearance between blades if needed. Reinstall any covers or safety guards you removed earlier. Take a moment to inspect for loose parts or anything out of place.
Nota: A good fit means your shredder will cut cleanly and last longer.
Test Operation
Power On
Plug your shredder back in and make sure all safety guards are in place. Turn on the machine. Start with a low speed if your shredder allows it.
Test Shredding
Run a small batch of material through the shredder. Watch and listen closely. Here’s a table to guide your test:
| Fare un passo | Azione |
|---|---|
| 1 | Run the shredder at low speed for 5–10 minutes. |
| 2 | Listen for unusual vibrations. |
| 3 | Check for uneven noise levels. |
| 4 | Look for irregular cutting performance. |
| 5 | Adjust blade alignment if needed. |
If you hear strange noises or see uneven cuts, stop the machine and check the blades again.
Inspect Results
Look at the shredded output. The pieces should be even and clean. If you notice rough edges or jams, you might need to adjust the blades. Make sure everything works smoothly before you start shredding larger batches.
Mancia: Always follow your manufacturer’s safety rules during testing. If you spot any problems, turn off the shredder and fix them before using it again.
This shredder blade replacement guide helps you change blades safely and efficiently. Using precision blades and following each step keeps your shredder in top shape.
Suggerimenti per la manutenzione
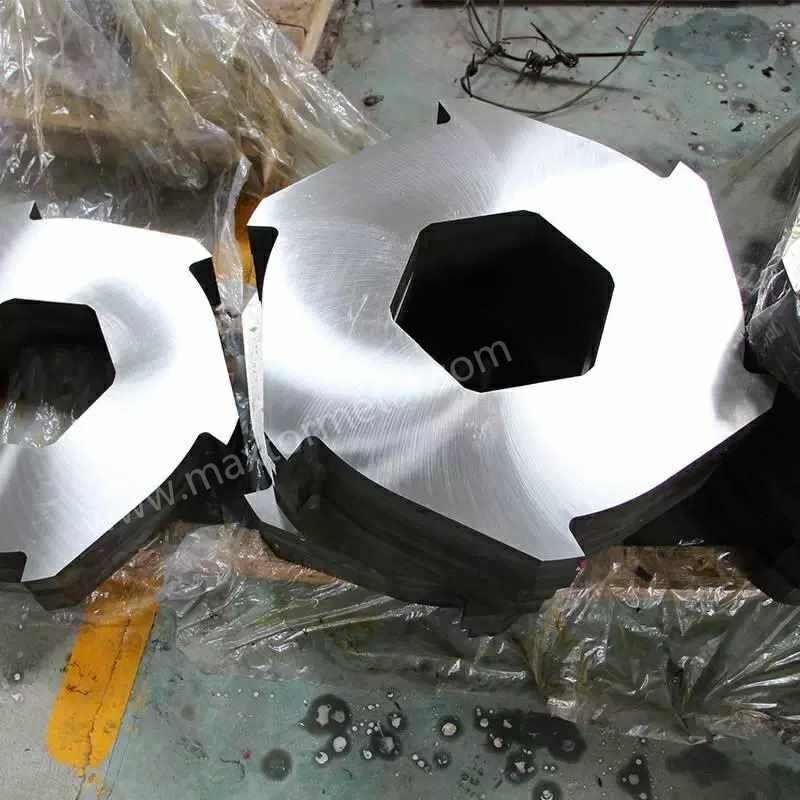
Taking care of your shredder is more than changing blades. Regular care helps your shredder work well. It also keeps your workspace safe. Here are easy ways to look after your shredder blades and stop problems.
Pulire e lubrificare
Cleaning Methods
You want your shredder to work smoothly. Cleaning the blades removes dust and sticky bits. This helps the shredder run better.
- Clean your shredder after every use. This is important if you shred sticky things like labels.
- Use a soft brush or compressed air to clean the blades and chamber.
- Wipe the outside and inside with a dry cloth. Do not use water or strong chemicals.
Mancia: Cleaning often stops jams and keeps your shredder working well.
Lubrificazione
Oiling your shredder blades is very important. Lubrication makes blades move easily. It keeps blades sharp and stops overheating. The right oil helps a lot. Light straight mineral oil (SAE 10) works for most shredders. You can use light oil or wax for sticky jobs. Do not use aerosol sprays because they are unsafe.
How often should you oil your shredder? It depends on how much you use it and what kind you have. Look at this table for help:
| Tipo di trituratore | Frequency of Oiling |
|---|---|
| Cross-Cut Shredder | Every 1/2 hour of shredding time |
| Light Use | Every 1-2 months |
| Daily Use | Every 4-6 weeks |
| Micro-Cut Shredder | Every 15-20 minutes of operation |
| High-Volume Use | After every bin is full |
If you use your shredder a lot, do these steps:
- Oil after every bin is full.
- For micro-cut shredders, oil every 15-20 minutes.
- For cross-cut shredders, oil every time you empty the bin.
Nota: Always follow your manufacturer’s rules for best results.
Prevent Damage
Evitare il sovraccarico
Do not push your shredder too hard. Overloading wears out the blades quickly. Running the machine too fast causes stress. This makes blades dull and can cause jams. Only shred as much as your shredder can handle. If you put in too much, you can break the blades and shorten their life.
Rimozione di oggetti estranei
Things like staples or paper clips can hurt your blades. Always check your papers before shredding. Take out anything that does not belong. Even small things can chip or crack the blades.
Here are easy ways to stop blade damage:
- Empty the bin often so it does not clog.
- Use a soft brush or compressed air to clean the blades.
- Put shredder oil on the blades to keep them sharp.
- Let the shredder cool down after heavy use.
- Never shred more than the rated amount.
- Teach everyone how to use the shredder the right way.
Richiamo: Clean your shredder often to remove stuck paper and dust. This helps the blades work their best.
Extend Blade Life
Use Quality Blades
Picking good blades helps your shredder last longer. High-quality blades made from strong metals stay sharp and resist damage. Custom blades last over 40 days. Standard blades may last only 10 days. You save time and money on replacements and repairs.
| Confronto | Lama standard | Lama personalizzata |
|---|---|---|
| Durata della lama | 10 giorni | Oltre 40 giorni |
| Tempo di inattività mensile | 16 ore | 5 ore |
| Costo di sostituzione annuale | $25,000 | $9,500 |
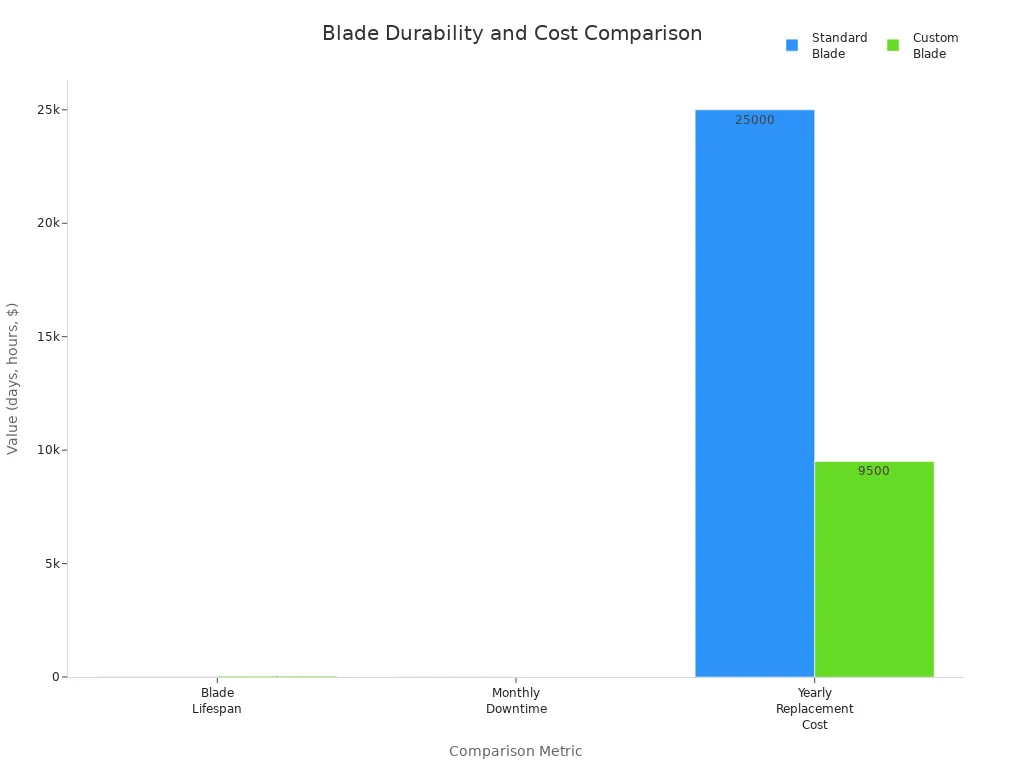
Custom blades use strong metals and special heat treatments. This means they stay sharp and handle tough jobs without breaking.
Schedule Maintenance
A good maintenance plan keeps your shredder working well. It also helps blades last longer. Here is a simple schedule you can use:
- Quotidiano: Clear debris from the chamber, check oil, listen for odd sounds, and check safety features.
- Settimanale: Look for cracks or loose blades, check belt tension, clean vents, and check the conveyor.
- Mensile: Oil all moving parts, tighten bolts, check hydraulic systems, and test safety locks.
- Servizio professionale: If you use your shredder a lot, get professional help every 6 months. If you use it less, once a year is enough.
Keep a log of your maintenance. Use only parts and supplies the manufacturer recommends. Fix small problems before they get worse.
Mancia: Regular checks and quick fixes help you avoid expensive repairs. They also make your shredder blade replacement guide easy and worry-free.
Errori comuni e risoluzione dei problemi
Changing shredder blades can seem easy, but you might run into problems if you skip steps or rush. Let’s look at common mistakes people make and how you can fix issues fast.
Errori da evitare
Skipping Safety
Safety matters every time you work with shredder blades. If you forget safety steps, you put yourself at risk. You might get cuts or other injuries. Not wearing gloves or goggles can lead to accidents. You also risk hurting others in your workspace.
- You could get hurt by sharp blades.
- Accidents happen when you don’t unplug the shredder.
- Skipping safety checks can cause machine damage.
Mancia: Always unplug your shredder and wear protective gear before you start. Safety first keeps you and your shredder safe.
Wrong Tools
Using the wrong tools makes the job harder. You might damage screws or the shredder case. If you use tools that don’t fit, you can strip bolts or break parts. This leads to wasted time and extra costs.
- Accidents happen when tools slip.
- Damaged screws make reassembly tough.
- The wrong tools slow you down and cause frustration.
| Tool Problem | Cosa può succedere |
|---|---|
| Wrong screwdriver | Stripped screws |
| Cheap pliers | Parti piegate o rotte |
| No torque wrench | Loose or overtightened bolts |
Nota: Pick tools that match your shredder’s hardware. Double-check before you start.
Disallineamento
Blade alignment is key for smooth shredding. If you install blades the wrong way, you get jams and poor cuts. Misaligned blades can damage the motor or other parts. You might hear strange noises or see uneven output.
- Jams happen when blades don’t line up.
- Poor cuts mean you need to redo work.
- Misalignment can shorten blade life.
Richiamo: Follow your shredder’s manual for blade placement. Take your time to check each blade before tightening screws.
Risoluzione dei problemi
You might face problems after replacing blades. Here’s how you can solve the most common issues.
Taglio scadente
If your shredder cuts poorly after blade replacement, try these steps:
- Turn off and unplug your shredder.
- Clean the blades with a soft cloth. Remove dust and paper bits.
- Use compressed air to blow away stuck debris.
- Check the type of paper you’re shredding. Standard paper works best. Avoid glossy or thick cardboard.
- Feed smaller batches of paper. Don’t overload the shredder.
| Problema | Soluzione |
|---|---|
| Dull cuts | Clean blades, check alignment |
| Paper jams | Reduce paper amount |
| Uneven output | Use standard paper |
Mancia: If you still see rough cuts, check blade alignment and make sure all screws are tight.
Persistent Jams
Jams can happen even after you install new blades. Here’s what you can do:
- Unplug the shredder before you clear jams.
- Use the reverse function to release stuck paper.
- Gently pull out paper with tweezers or pliers.
- Lubricate blades with shredder oil to help prevent jams.
- Avoid shredding too many sheets at once.
- Remove staples and paper clips before shredding.
- Empty the bin often and oil the blades regularly.
You should also check the power supply. Replace blown fuses if needed. Look for error messages on your shredder’s display.
Nota: Keep your shredder clean and store it in a cool, dry place. Regular cleaning and inspection help stop jams before they start.
Access Issues
Sometimes you can’t reach the blades or parts inside your shredder. This can slow down your blade replacement process.
- Check your manual for the right way to open panels.
- Organize screws and small parts so you don’t lose them.
- If you can’t access a part, don’t force it. Look for hidden clips or screws.
- Schedule regular inspections to spot loose or stuck parts early.
Richiamo: If you still can’t access the blades, ask for help from a professional or contact your shredder’s support team.
Solving problems quickly keeps your shredder working well. If you follow this shredder blade replacement guide, you’ll avoid mistakes and fix issues fast. Your shredder will stay safe, efficient, and ready for work.
You now understand the main steps to change shredder blades safely. Watch for blades that look dull or broken. Notice if your shredder jams a lot or works differently. Clean your shredder often and sharpen the blades when needed. Use good blades to help your shredder last longer.
| Compito | Quante volte | Perché è importante |
|---|---|---|
| Inspect blades | Settimanale | Find damage before it gets worse |
| Lame pulite | Dopo l'uso | Stop blades from getting dull |
| Sharpen blades | Mensile | Make sure cuts stay smooth |
| Replace blades | Secondo necessità | Keep your shredder working |
Need help or want a special solution? Contact our sales engineer Qui. Do you have questions or tips? Please share them below!
Domande frequenti
How often should I replace shredder blades?
You should check your blades every month. Replace them when you see dull edges, cracks, or poor shredding. If you use your shredder a lot, you might need new blades more often.
Can I sharpen shredder blades instead of replacing them?
Yes, you can sharpen some blades. Use a file or sharpening tool. If the blade has deep cracks or chips, replace it. Always follow your shredder’s manual for sharpening tips.
What tools do I need for shredder blade replacement?
You need screwdrivers, safety gloves, and new blades. Some shredders need an Allen key or pliers. Check your manual for the exact tools. Keep everything organized for easy reassembly.
How do I know if my new blades fit my shredder?
Check your shredder’s model number. Match it with the blade’s size and shape. Look at the manual or ask your supplier. Using the wrong blade can damage your shredder.
Is it safe to replace blades myself?
Yes, you can do it safely. Unplug the shredder first. Wear gloves and goggles. Follow each step in the shredder blade replacement guide. If you feel unsure, ask a professional for help.
Why does my shredder jam after blade replacement?
Jams happen if blades are misaligned or screws are loose. Double-check the blade placement. Make sure all bolts are tight. Test with a small batch before regular use.
What should I do if I lose a screw during replacement?
Don’t panic. Check the floor and workspace. Use a magnet to find metal screws. If you can’t find it, get a replacement screw that matches the size. Never run your shredder with missing parts.
Can I use any oil for shredder blade maintenance?
No, use light mineral oil or shredder-specific oil. Avoid sprays or heavy oils. The right oil keeps blades sharp and prevents jams. Always follow your manufacturer’s recommendations.
Vedi anche
Come Scegliere le Lame per Trituratori di Plastica per un Riciclo Efficiente
La Guida Definitiva ai Design delle Lame per Trituratori Monorotore
Guida alle lame per trituratori industriali e alle loro applicazioni

 English
  Spanish
  Italian
  French
  Portuguese
  Russian
  German
  Arabic
  Hindi
Hindi  Vietnamese
  Indonesian
  Japanese
  Korean