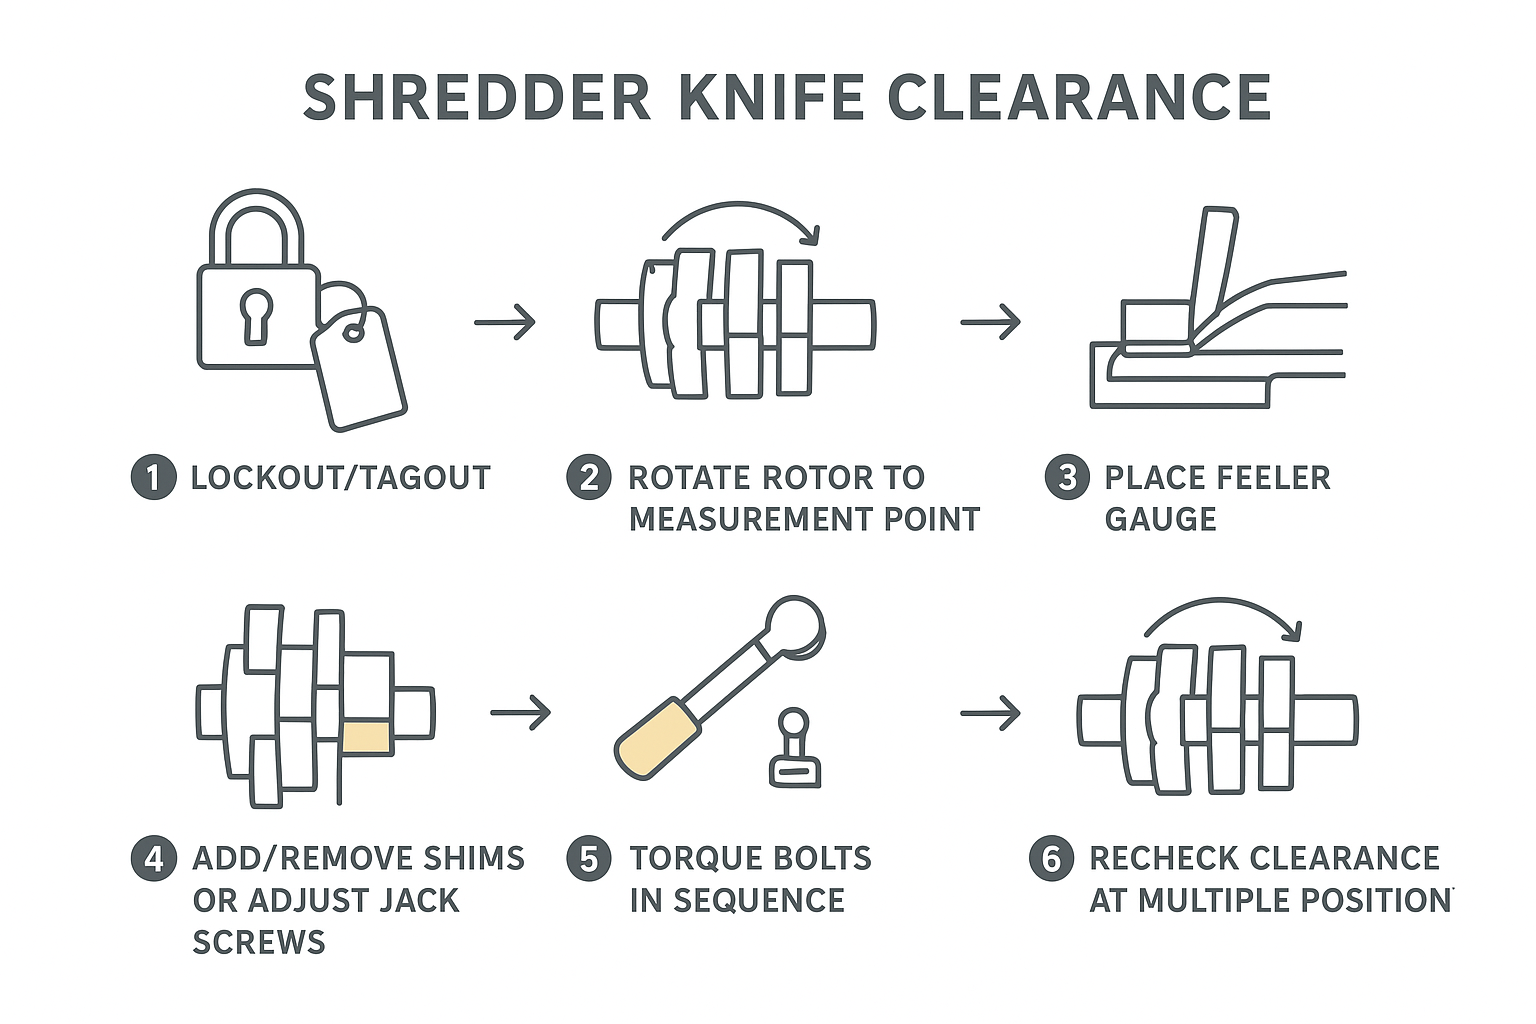
Shredder blade clearance (the gap between the rotor knives and the fixed bed/stator knife) is one of those settings that quietly controls everything you care about on a single-shaft shredder: cut quality and output size, throughput, energy draw, and how long your knives survive before they chip, roll, or start “polishing” instead of cutting.
Set the gap too wide and material tends to bend, fold, and smear through the cutting zone. That often shows up as more heat, higher amps, inconsistent particle size, and extra recirculation time. Set it too tight and you risk metal-to-metal contact, sudden edge damage, vibration, and a bolt-on failure that turns a planned stop into an unplanned one.
In this article, you’ll follow a step-by-step process to set rotor–stator knife gaps safely and accurately—then verify the setting after torque and after a hot run. The goal is repeatable shredder blade clearance that stays inside OEM tolerance across the full knife length.
Always verify the exact numbers, sequence, and torque values against your shredder’s OEM manual before you proceed.
Important (Safety & Liability Notice): This article provides a general maintenance workflow for setting shredder knife clearance. Your machine’s OEM manual, site-specific LOTO/SOP, and applicable EU machinery safety requirements take priority. If there is any conflict, follow the OEM and your site procedures.
Safety First
Lockout/Tagout Steps
- Notify operations and isolate the machine for maintenance.
- Follow your site LOTO procedure: lock off the main disconnect and any auxiliary feeds.
- Apply tags that identify the person responsible and the work scope.
- If your shredder has hydraulics or pneumatics (pusher, screen lift, hood clamps), isolate and lock those energy sources too.
PPE and Guards
- Cut-resistant gloves suited for knife handling, plus safety glasses and protective footwear.
- Consider forearm protection when reaching into the cutting chamber.
- Remove and reinstall guards exactly as designed. Don’t defeat interlocks.
Verify Zero Energy
- Verify the rotor cannot start: try-start test after lockout (per your procedure).
- Confirm rotor standstill.
- Relieve stored energy:
- bleed down hydraulic pressure where applicable,
- discharge any stored pneumatic pressure,
- block or mechanically support any raised components (hoods/screens) so they can’t drop.
⚠️ Warnung: Never “bump” the drive to check clearance. All rotation checks should be done with power isolated and controlled, using OEM-approved methods.
Tools and Measurements
Measuring Instruments
Have your measurement tools ready before you loosen any knife fasteners:
- Feeler gauge set that covers your expected clearance range
- Torque wrench (and any torque multipliers specified by OEM)
- Straightedge and feeler gauges (for checking seating faces)
- Dial indicator with magnetic base (useful for runout/endplay checks)
- Cleaning tools: solvent, lint-free rags, brass brush/scraper
- Marker/paint pen and a simple clearance record sheet (paper or digital)
OEM Specs and Tolerances
Clearance is not “one size fits all.” It depends on:
- knife geometry (inclination/shear angle),
- rotor diameter and knife count,
- bed knife design and adjustment mechanism,
- screen size and duty,
- and, most importantly, what you’re shredding.
Use your OEM manual for:
- target rotor-to-bed knife clearance (often specified as a range),
- measurement points and pattern (how many locations across the knife length),
- torque values and tightening order,
- and any run-in / hot recheck requirements.
OEM Specs and Assistance
If your knife gap keeps drifting or you can’t hold uniform clearance even with careful adjustment, the issue is often upstream: worn seats, inconsistent knife thickness, damaged shims, or hardware that can’t maintain clamp load.
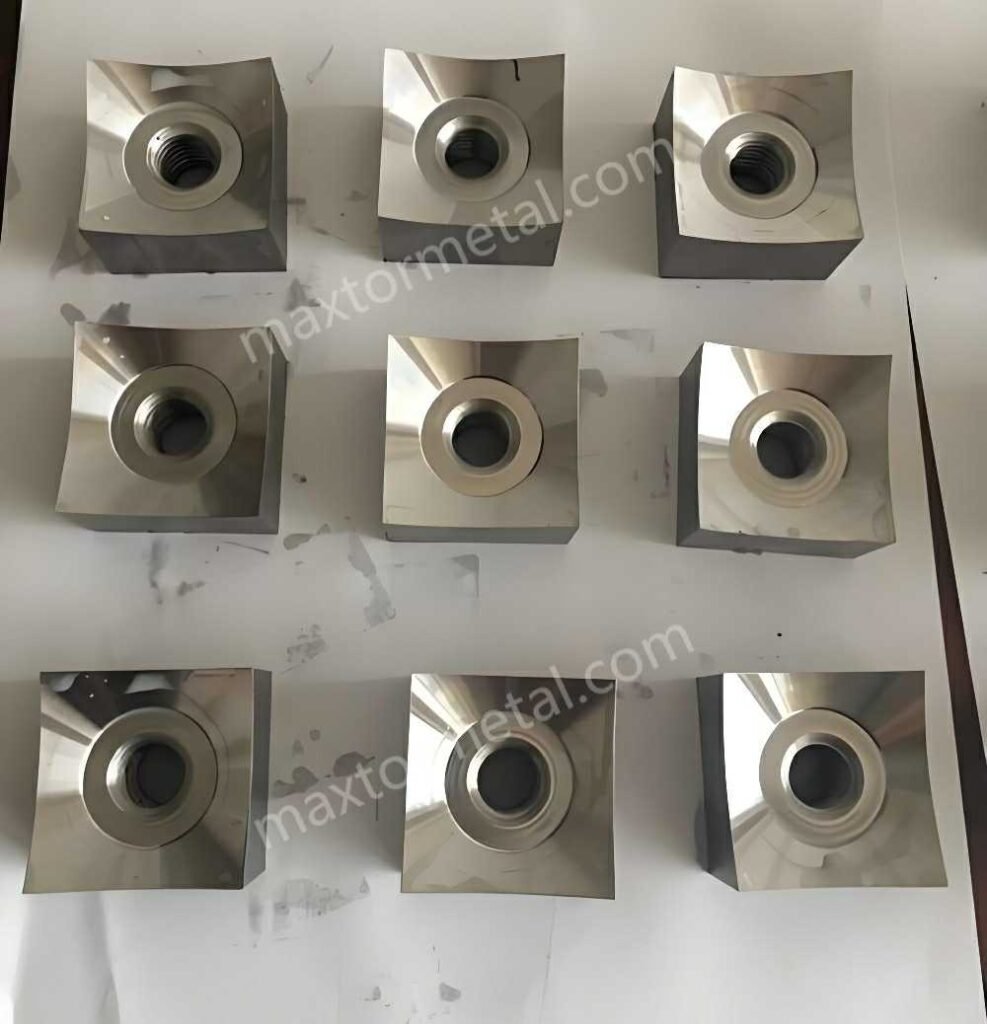
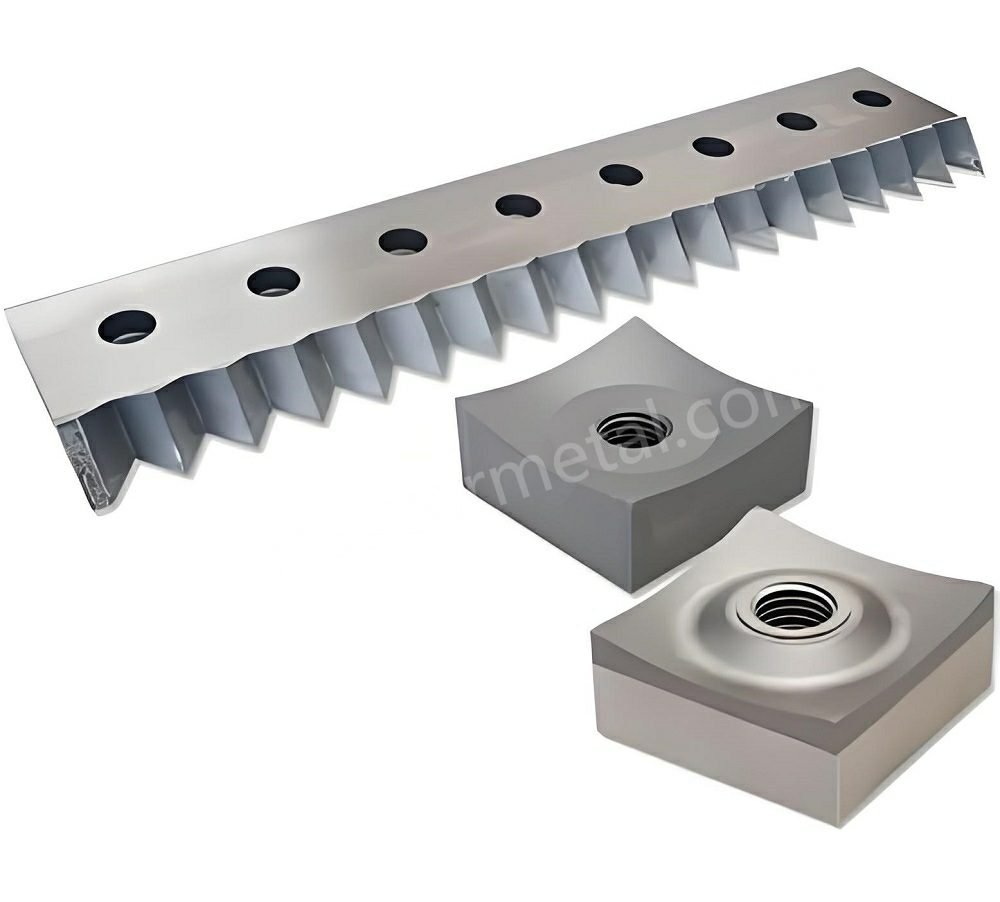
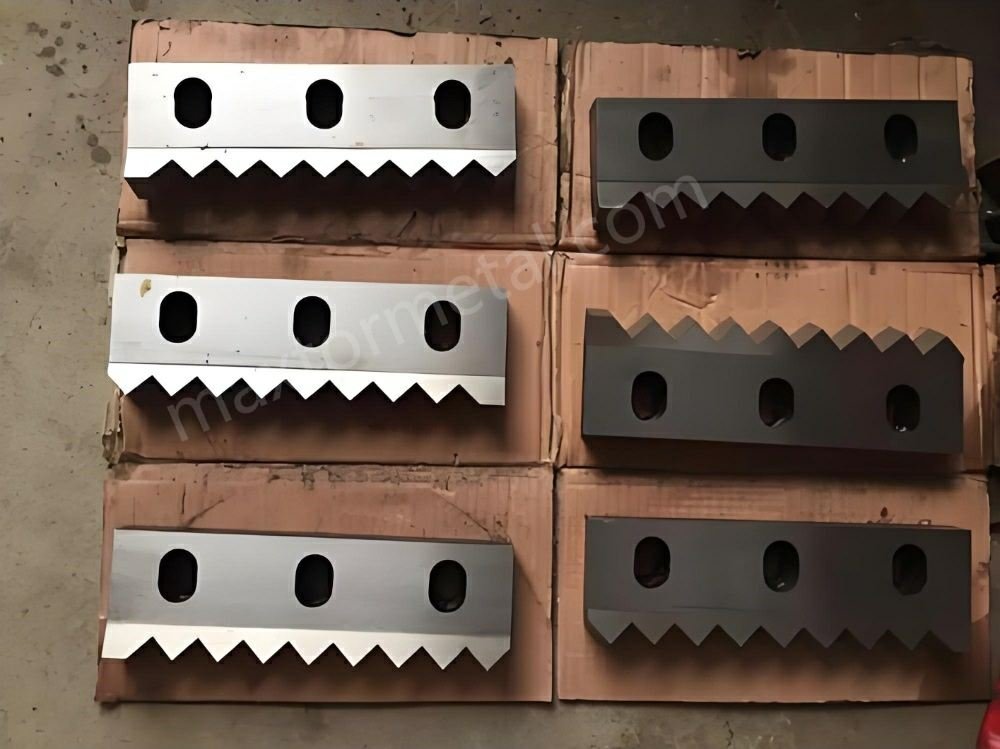
This is where sourcing matters. Precision-ground replacement knives and properly sized shim kits help you maintain consistent clearances with less trial-and-error. When you’re buying replacements, suppliers such as MAXTOR METAL commonly support custom, precision-ground knives and matching shim packs—useful when you need repeatable thickness and predictable adjustment steps across a fleet.
Inspect and Prepare
Clean and Edge Condition
Before you chase a number with a feeler gauge, make sure the knife edges and seats are worth measuring:
- Clean rotor pockets, bed knife seats, and fastener seats (no trapped debris, rust scale, or smeared polymer).
- Inspect knife edges:
- chipping, roll-over, or heavy rounding changes the “effective” clearance,
- localized damage can cause intermittent contact at one rotor position.
- Inspect fasteners and washers for stretch, galling, or damaged threads.
Done when: seats are clean metal-to-metal, knives sit flush, and fasteners are in known-good condition.
Check Runout and Endplay
Uniform clearance is impossible if the rotor doesn’t run true.
- Check rotor runout if you have indicator access.
- Check bearing condition and rotor endplay per OEM method.
- If endplay is excessive, clearance at one side may look “good” while the rotor shifts under load and closes the gap.
Done when: runout/endplay are within OEM tolerance (or you’ve paused the clearance job to correct the mechanical cause).
Quick decision guide (before you keep adjusting clearance):
- If the gap changes noticeably at different rotor positions, pause and check rotor runout/endplay and bearing condition first—clearance tuning won’t hold until rotation is true.
- If left/center/right readings are not parallel, inspect for a burr/high spot, contamination, or damaged shim on the tighter area; correct the seat/shim issue before opening the whole knife.
- If clearance “moves” after final torque, suspect fastener/washer condition, uneven knife thickness, or seating contamination; clean, torque in stages, and replace questionable hardware.
- If rubbing is detected during controlled hand rotation, stop immediately and locate the tight point; remove the cause (burr/distortion/misalignment) rather than “running it in.”
Bed Knife and Mounting Surfaces
Most “mystery” clearance problems come from the mounting surfaces:
- Check the bed/stator knife seat for burrs, dents, or raised edges.
- Verify the bed knife is not bent or seated on contamination.
- Confirm the adjustment system (shims, jack screws, wedges) moves smoothly and isn’t bottomed out.
Done when: bed knife seats flat, adjustment range is available, and there are no high spots that would fake a tight gap.
Set Shredder Blade Clearance
Choose Target Gap by Material
Your OEM manual is the only authority for the final number. If you need a starting point while you’re waiting on OEM confirmation, use material-based ranges only as a rationality check—and treat them as examples, not universal specs.
Notiz: The material-based ranges below are non-OEM examples only. Use them only to avoid obviously incorrect setups while awaiting OEM confirmation. Final clearance must be set to your shredder’s OEM specification.
One illustrative reference is Energycle’s guide on feeler-gauge verification and example shredder blade gap ranges by material (accessed 2026-04-06). They note example gaps such as:
- Films / woven bags: ~0.3–0.5 mm
- Rigid plastics lumps/purge: ~0.5–1.0 mm
- Hollow containers/bottles: ~1.0–2.0 mm
- Wood/pallets: ~1.5–3.0 mm
Erinnerung: The values above are third-party, non-OEM examples. Do not treat them as specifications. Final clearance, measurement locations, and acceptance criteria must come from your shredder’s OEM manual for your exact rotor/knife geometry and duty.
Adjust with Shims/Jack Screws
The goal isn’t just “hit the number once.” It’s to achieve a uniform gap across the knife length and across multiple rotor positions.
A practical sequence:
- Install/confirm rotor knives first (per OEM). Ensure each knife is fully seated and fasteners are snug but not over-torqued.
- Bring the bed/stator knife into position using your machine’s adjustment method:
- Add/remove shims in controlled thickness steps, or
- Turn jack screws/wedges evenly so the knife advances parallel to the rotor.
- Measure with a feeler gauge:
- Check multiple points across the knife length (left/center/right is a common minimum).
- Record what gauge thickness “just drags” versus what won’t pass.
- Correct unevenness:
- If one end is tighter, correct that end rather than “opening” the whole knife.
- If the center is tight with loose ends (or the reverse), suspect a seat issue, burr, or knife distortion.
Done when: the same target feeler gauge fits with consistent light drag at each specified point.
Torque Sequence and Recheck
Torque changes clearance. Clamp load settles the knife and can pull it slightly as you tighten.
- Tighten fasteners in the OEM-prescribed pattern (often center-out or a cross pattern).
- Torque in steps (for example: 30% → 60% → 100% of final torque), rechecking after the final pass.
- After tightening, recheck clearance at:
- the same points along the bed knife,
- and multiple rotor positions (rotate the rotor slowly by hand per OEM method).
A general best practice—reinforced even in adjacent cutting applications—is to verify clearance after tightening and then do controlled hand-rotation checks before powering the machine. BladesG notes the importance of rechecking clearance after tightening fasteners and rotating through several cycles (accessed 2026-04-06) (granulator context, but the verification principle still applies).
Done when: the clearance remains within tolerance after final torque, and there is no contact through a full controlled rotation.
Verify, Run-In, and Maintain
Rotate and Contact Check
Before you introduce material:
- Rotate the rotor by hand (or with OEM-approved tooling) through at least one full revolution.
- Listen and feel for contact.
- If you detect rubbing, stop and find the tight point—don’t “run it in.”
Done when: rotation is smooth, with no contact and no tight spots.
Trial Run and Hot Recheck
Clearance can shift after the first thermal cycle and initial settling.
- Start with a no-load trial run (per OEM): listen for abnormal noise and monitor vibration.
- Bring the machine up to normal operating condition.
- Stop safely and perform a hot recheck if your OEM specifies it (thermal growth can close the gap).
Energycle also advises a run-in period followed by a stop and re-torque of bolts in their shredder blade maintenance guidance, noting that fasteners can loosen slightly after initial settling and heat cycling.
Done when: fasteners are confirmed at spec after run-in, and clearance remains within tolerance at operating temperature (when applicable).
Maintenance Intervals and Records
For operations teams, the win is consistency—not hero troubleshooting. Stable shredder blade clearance is one of the easiest leading indicators to trend before cut quality and amps drift.
- Record:
- material run (what you processed),
- target clearance, measured clearances (by point),
- torque values, and date/time,
- any shim thickness changes.
- Set inspection intervals based on duty:
- abrasive or contaminated streams need more frequent checks,
- clean, consistent feedstock can often run longer between verifications.
- Track trends: if you’re opening the gap more often to keep amps stable, that’s a wear signal you can plan around.
Done when: you have a repeatable log that lets you predict when the next adjustment or knife change is due.
Clearance / Torque / Run-In Log (Template)
Copy and reuse this table for each adjustment event:
| Item | Entry |
|---|---|
| Shredder model / serial | |
| Material processed | |
| Rotor knife set ID / hours | |
| Bed knife ID / hours | |
| Target clearance (OEM spec) | |
| Measured clearance points (cold) | Left: __ / Center: __ / Right: __ |
| Measured clearance points (hot, if required) | Left: __ / Center: __ / Right: __ |
| Rotor positions checked | __ positions / __ revolutions |
| Fastener torque spec (OEM) | __ Nm |
| Torque method / pattern | __ (e.g., staged 30–60–100%, cross/center-out) |
| Run-in duration / conditions | __ minutes, no-load / light-load / full-load |
| Re-torque completed after run-in | Yes / No |
| Notes (noise, amps, vibration, shims changed) | |
| Technician / date-time |
Troubleshooting Matrix: Symptoms → Likely Causes → Fix
Use this table to speed up diagnosis when performance drifts. Always apply your site LOTO procedure and follow OEM instructions before adjusting.
| Symptom | Likely clearance-related cause | What to check (quick tests) | Corrective action |
|---|---|---|---|
| Higher motor amps / power draw | Gap too tight; uneven gap causing intermittent contact; rotor endplay closing the gap under load | Feel for rub during controlled hand rotation; recheck clearance at multiple rotor positions; check endplay/runout per OEM | Open the bed knife in small, measured steps; correct the tight end/spot first; fix endplay/runout before chasing clearance |
| Excess heat / melting or smearing (plastics) | Gap too wide causing bending/smearing; dull/rolled edges increasing friction; contaminated seats creating non-uniform gap | Compare particle shape (smeared vs. clean cut); inspect edge condition; verify seats are clean metal-to-metal | Reduce gap within OEM tolerance; rotate/replace knives; clean seats and re-torque |
| Inconsistent particle size / too many “long strips” | Gap too wide; bed knife not parallel; screen/bed knife relationship off | Measure left/center/right and record; check bed knife adjustment moves evenly; verify screen is installed and seated correctly | Bring bed knife parallel using shims/jack screws; confirm screen fit and condition; re-verify after torque |
| Knife chipping / sudden edge damage | Gap too tight; foreign metal in feed; knife seats/shims damaged causing point contact | Look for impact marks and localized tight points; inspect shims and seat faces; review contamination control upstream | Increase clearance to OEM minimum; replace damaged shims/knives; improve feed inspection and metal separation |
| Loud ticking/metallic contact during rotation | Direct contact at one rotor position; burr/high spot on seat; distorted knife | Find the tight rotor position; check for burrs/dents on bed seat and rotor pocket; check knife straightness | Remove burrs/high spots; reseat or replace distorted knife; re-torque in steps and recheck |
| Clearance “drifts” after torque or after a hot run | Fastener settling/relaxation; inconsistent knife thickness; hardware not holding clamp load; thermal growth closing gap | Recheck after final torque and after run-in; inspect fasteners/washers; verify knife thickness consistency | Torque in stages per OEM; replace questionable hardware; use precision-ground knives and consistent shim packs; hot-recheck and record |
| One end always tight / cannot achieve parallel gap | Bed knife seat not flat; adjustment mechanism binding; rotor alignment/runout issue | Straightedge check on seat; confirm adjustment has free travel; indicator check for runout | Correct mounting surface or mechanism; address rotor alignment/runout before setting final clearance |
Tip: Pair this matrix with a simple clearance log (measured points + torque + temperature state) so you can spot trends before cut quality degrades.
Schlussfolgerung
Blade clearance isn’t a “set it and forget it” number. The reliable method is:
- Safety first (LOTO, guarding, and verified zero energy)
- Uniformity within tolerance (across the knife length and across rotor positions)
- Verification after torque and after a hot run (because settling and thermal growth are real)
Next actions:
- Document your settings and measurements.
- Monitor trends in clearance changes, energy draw, vibration, and output size.
- Adjust targets by material and always anchor final values to OEM guidance.
Tommy Tang — Senior Sales Engineer, Nanjing METAL Industrial. Tommy has 12 years of experience supporting industrial blade selection and application for shredding and size-reduction equipment. Certifications: CSE, CME, Six Sigma Green Belt, PMP.
Technical review note: This guide is written for general industrial maintenance use and references common ISO/EN-style safety principles (machine guarding, safe isolation practices). Always follow your site-specific LOTO procedure and your shredder OEM manual for the final clearance values, torque specs, and approved rotation/verification methods.