

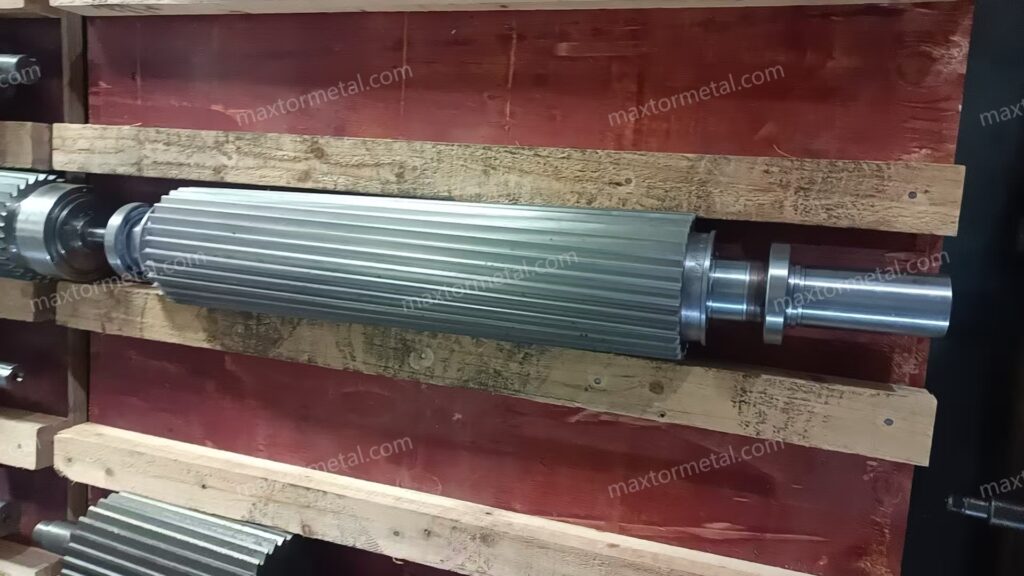
Lo stampaggio a iniezione richiede pellet che si alimentino in modo pulito, si fondano uniformemente e si dosino costantemente iniezione dopo iniezione. Ciò significa un controllo rigoroso della lunghezza del pellet, una presenza minima di polveri e code, e una bassa variabilità nel peso e nella reologia del pellet. Le linee di estrusione a spaghetti variano perché diverse stazioni — alimentazione del fuso e filiera, vasca dell'acqua, disidratazione e taglierina — aggiungono ciascuna le proprie tolleranze e derive. Stabilizzare l'uniformità del pellet è quindi un lavoro di sistema, non una regolazione di un singolo parametro.
In questo tutorial, regolerete le leve più importanti su un impianto di pellettizzazione a spaghetti ad acqua per PP/PE con circa il 60% di CaCO3 e un contenuto di riciclato più elevato. Utilizzerete equazioni semplici e controlli rapidi per impostare la lunghezza, dimensionare la vasca, condizionare gli spaghetti prima del taglio e impostare il gioco e la pressione delle lame per ottenere facce di taglio pulite con meno polveri e code.
Punti chiave
- Considerate l'uniformità del pellet come una catena: fuso e filiera stabili → raffreddamento e turbolenza adeguati → spaghetti asciutti in superficie → taglierina sincronizzata con lame affilate e impostate correttamente.
- Utilizzate L = V ÷ (S × N) per definire la lunghezza target del pellet, validandola con misurazioni in linea; risolvete al contrario per trovare gli RPM della taglierina a partire dalla velocità di linea e dal numero di lame.
- Dimensionate e regolate il percorso di raffreddamento utilizzando il tempo di residenza; regolate la temperatura della vasca, la turbolenza e la lunghezza per raggiungere una temperatura sicura dello spaghetto prima del taglio.
- Per PP/PE abrasivi con ~60% di CaCO3, iniziate con materiali per lame tenaci e resistenti all'usura e adottate una SOP di riaffilatura rigorosa per mantenere i taglienti affilati e paralleli.
- Monitorate l'andamento di polveri, incidenza delle code, intervallo di lunghezza del pellet e CV del peso di 100 pellet; collegate le variazioni a regolazioni specifiche per poter procedere con sicurezza.
Target di specifica e KPI
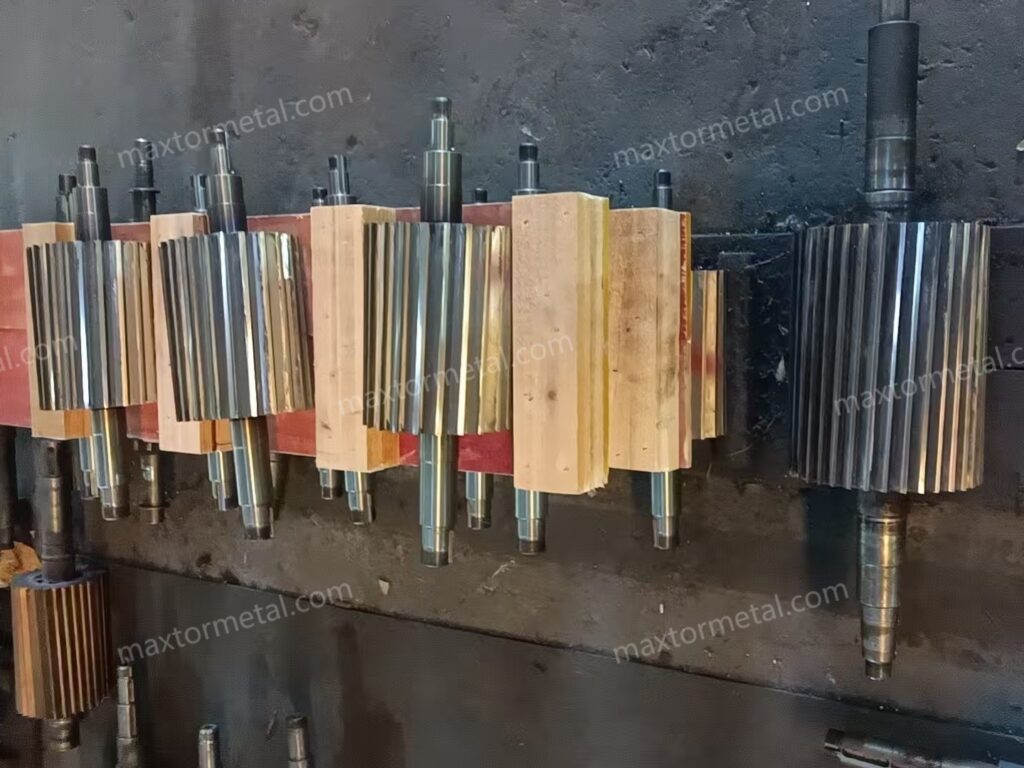
Tolleranze dimensionali e L:D
Puntate a una finestra ristretta di lunghezza del pellet attorno al vostro target (ad esempio, ±0.2 mm come punto di partenza dell'impianto). Mantenete il rapporto lunghezza-diametro (L:D) vicino a 1:1 per favorire una fusione costante e il trasporto della vite nello stampaggio a iniezione. Protocollo di campionamento:
- Primo articolo: misurare 50 pellet su tre spaghetti; registrare media, min-max e intervallo.
- Stabilizzazione: ripetere ogni 15 minuti per la prima ora dopo le modifiche.
- Routine: controlli a campione orari o per lotto, a seconda di quale sia il criterio più restrittivo.
Spiegate qualsiasi deriva controllando la sincronizzazione tra velocità di linea e RPM della taglierina, la variazione del diametro dello spaghetto della filiera o la sufficienza del raffreddamento prima del taglio. Per informazioni metodologiche che collegano la qualità del fuso e della presentazione ai pellet finali, consultate la visione d'insieme del sistema nella discussione di Plastics Technology sugli impatti a monte in From Extruder to Pelletizer — Influences Quality: influenze del sistema sulla qualità.
Soglie di polveri e code
Impostate un obiettivo iniziale pratico di polveri inferiore al 1% in peso e un'incidenza di code inferiore allo 0.5% dei pellet tramite un rapido conteggio visivo. Misurate le polveri con un metodo di setacciatura standardizzato e un campione di 100–200 g, e registrate il set di setacci e le dimensioni delle maglie in modo che i risultati siano ripetibili (ad esempio, utilizzando setacci di prova conformi a ISO 3310 o a uno standard locale equivalente). Le code sono in genere riconducibili a lame usurate, a un gioco errato tra lama e controlama, o al taglio di spaghetti ancora troppo caldi o bagnati. Plastics Technology delinea le cause principali comuni e l'approccio correttivo nella sua panoramica sulla risoluzione dei problemi: sette problemi comuni di pellettizzazione.
Controlli del CV del peso e della reologia
Pesate 100 pellet e calcolate il coefficiente di variazione (CV = deviazione standard ÷ media). Come indicatore di stabilità, un CV a una sola cifra bassa è un obiettivo di partenza ragionevole; bloccate la vostra specifica dopo le prove. Abbinate questo controllo a verifiche saltuarie del melt-flow rate (MFR) o della reologia per rilevare variazioni nella storia del fuso che potrebbero influire sulla stabilità dello spaghetto. Se pubblicate i valori di MFR internamente o per i clienti, collegate il metodo a uno standard consolidato (ad esempio, ISO 1133 o un metodo equivalente concordato nel vostro piano QA). I documenti dei produttori di resine descrivono i metodi di prova (ad es. ISO 1133) anche se non specificano i KPI di uniformità del pellet; ad esempio, vedere il contesto dei dati di lavorazione di Borealis: Riferimenti per la lavorazione e i test del PP.
Alimentazione del fuso e controllo della filiera
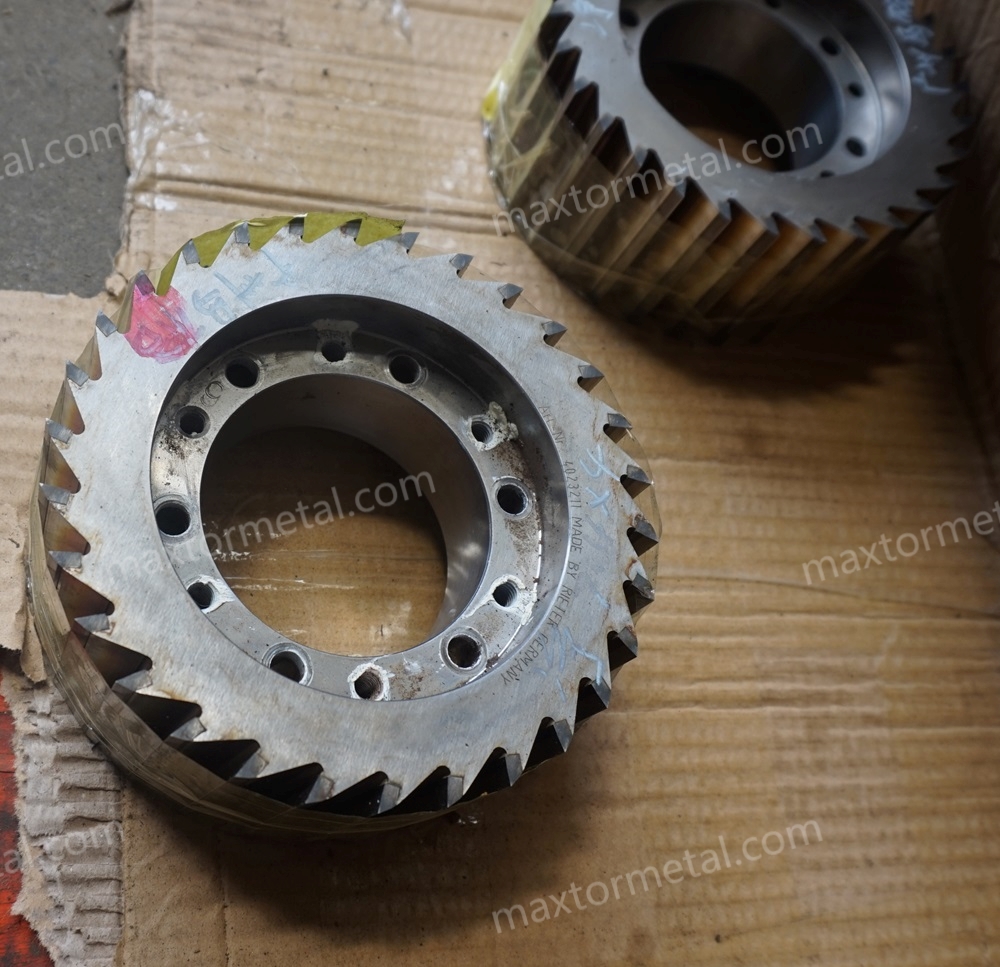
Pompaggio, filtrazione, geometria della filiera
L'uniformità delle dimensioni del pellet inizia con un'alimentazione volumetrica costante. Verificare:
- Stabilità della portata della pompa/estrusore; monitorare l'andamento del carico del motore e della pressione del fuso per verificarne la regolarità.
- Pacchi filtri puliti e adeguati; aumentare la filtrazione se il contenuto riciclato introduce gel o impurità.
- Geometria della filiera che produce diametri di spaghetto costanti; evitare inserti misti che creano uno stiro non uniforme.
Qualsiasi fluttuazione in questa fase si manifesterà in seguito sotto forma di pellet con lunghezza e qualità della faccia di taglio variabili.
Uniformità termica e integrità della filiera
Verificare che le zone della filiera seguano da vicino i setpoint e che la faccia della filiera sia piana e non danneggiata. Punti caldi, angoli freddi o una faccia usurata creano differenze nel diametro dello spaghetto e rammollimenti locali che portano a code o tagli sbavati. Se si notano ondulazioni persistenti dello spaghetto o striature nel diametro, dare la priorità alla pulizia della filiera, alla rettifica della superficie o alla sostituzione delle cartucce prima di cercare soluzioni a valle.
Adattamenti per alto riempimento/riciclato
Per PP/PE con circa 60% di CaCO3 e un contenuto di riciclato più elevato, prevedere una maggiore abrasione e occasionali contaminazioni dure. Gli adattamenti pratici includono:
- Filtrazione più fine per proteggere filiera e coltelli.
- Temperatura del fuso leggermente inferiore e traino più costante per ridurre il restringimento degli spaghetti.
- Controlli visivi frequenti per l'ovalità degli spaghetti; regolare le coppie di serraggio dei bulloni della filiera e il bilanciamento delle zone per uniformare il flusso.
Per un'ampia panoramica di sistema su come le decisioni a monte influenzino la successiva qualità di taglio, vedere la stessa panoramica di Plastics Technology sopra su influenze del sistema sulla qualità.
Sistema idrico e percorso di raffreddamento
Temperatura e turbolenza della vasca
Scegliere un punto di partenza prudente per la temperatura dell'acqua per PP/PE — spesso inferiore a circa 40 °C — quindi validare misurando la temperatura superficiale dello spaghetto e la qualità del taglio. Una turbolenza precoce aiuta a rimuovere lo strato limite e aumenta il trasferimento termico. Se i granuli mostrano fusione o sbavature, aumentare il tempo di residenza, abbassare la temperatura della vasca o aggiungere/agitare la turbolenza. Approfondimenti pratici sulla capacità di raffreddamento sono discussi nei consigli di Plastics Technology su come massimizzare il raffreddamento: migliorare la capacità di raffreddamento.
Tempo di raffreddamento e lunghezza della vasca
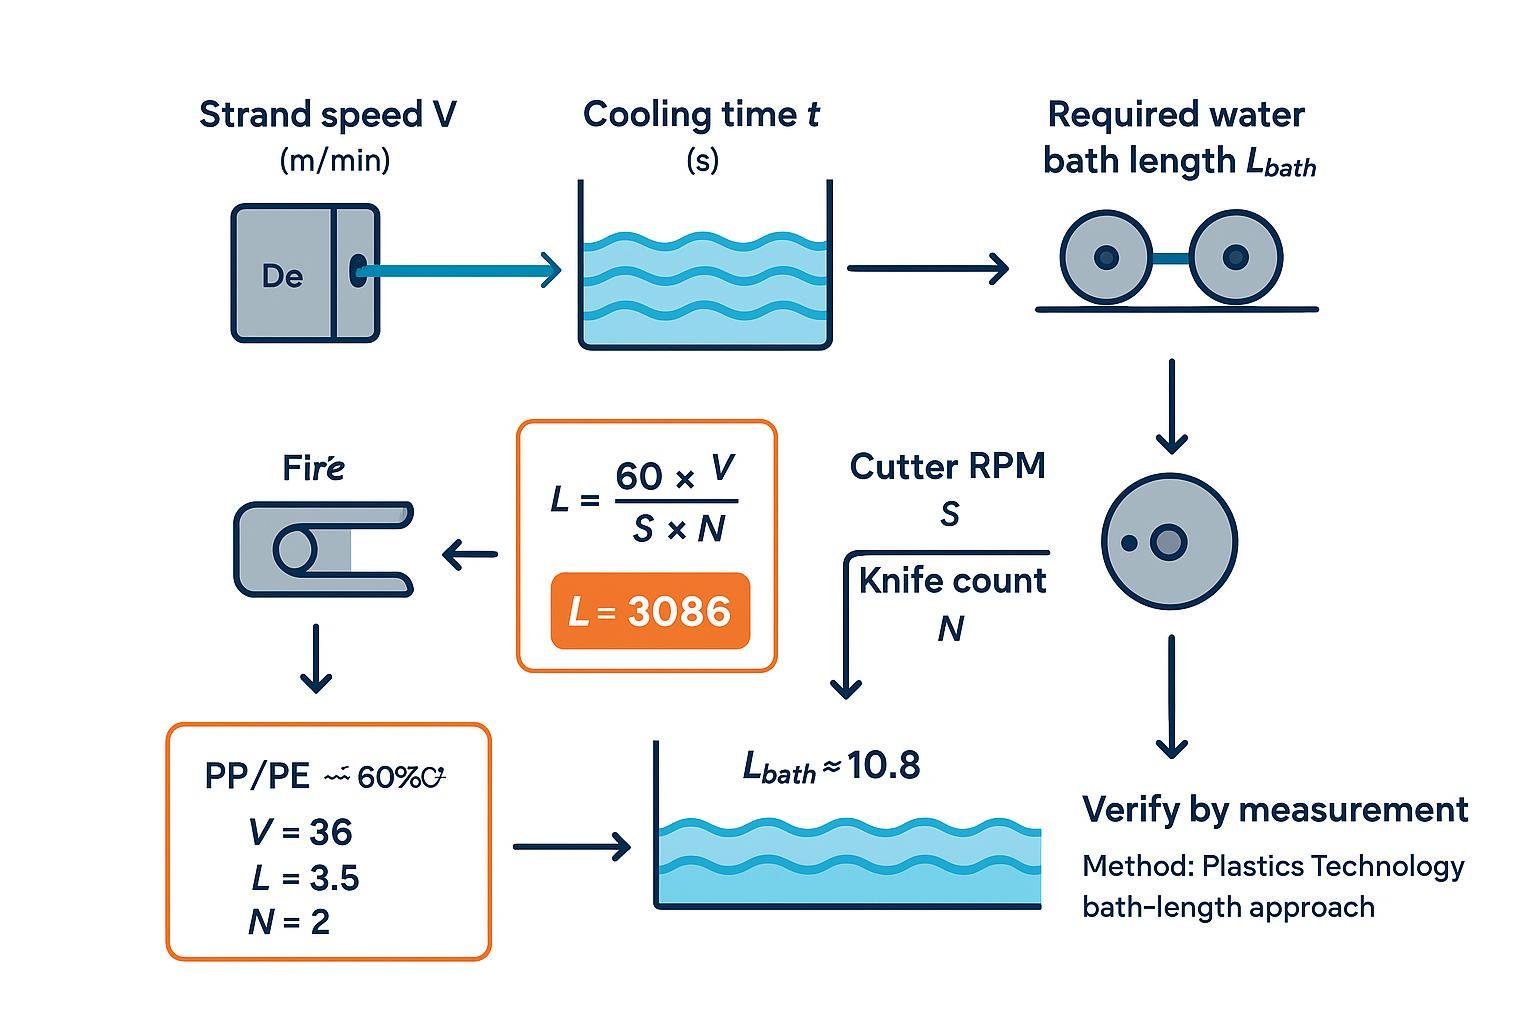
Utilizzare il tempo di residenza per dimensionare e mettere a punto la vasca. La scorciatoia presentata da Plastics Technology ricava il tempo di raffreddamento dai diagrammi di trasferimento termico; quindi:
- t = tempo di raffreddamento (s)
- V = velocità dello spaghetto (m/min)
- Lbath = V × t ÷ 60 (m)
Checklist di verifica (affinché il calcolo si traduca in un'effettiva qualità di taglio):
- Measure strand surface temperature at the cutter entry and record the point and instrument used.
- If you see smear/fusion, treat it as a cooling/drying verification failure first (temperature + surface water), then adjust bath temperature/turbulence/effective length.
- When you change bath conditions, re-check pellet faces and tails incidence within 10–15 minutes.
Worked example for our water strand pelletising setup (PP/PE with ~60% CaCO3):
- Assume V = 36 m/min (after puller stabilises)
- From the PT method for a representative PP case, t ≈ 18 s as a starting estimate
- Lbath ≈ 36 × 18 ÷ 60 = 10.8 m
Validate on-line: if cut faces smear or pellets fuse, either lower the bath temperature, increase turbulence, or extend effective path (e.g., double-back) to add residence time. The full method for estimating cooling time and bath length is described in Plastics Technology’s guide: bath length determination.
Dewatering and pre-cut dryness
Right before the cutter, strands should be surface‑dry and at a temperature safely below the softening point. Practical tools include an air knife, a vacuum slot, or a compact suction hood. In special high-throughput or sensitive recipes, a small centrifugal pre‑dryer upstream of the cutter can help, though that’s more common after cutting. There’s no authoritative moisture number to hit; your acceptance criterion is visual and tactile: no visible film or droplets, strands don’t slip on feed rolls, and cut faces look crisp.
Configurazione della taglierina e meccanica delle lame
Pellet length vs line speed & RPM
Pellet length equals the distance a strand travels between successive cuts. If the cutter runs at S RPM with N knives on the rotor, cuts per minute are S × N. With line speed V (m/min), the pellet length L (mm) is the strand travel per cut:
- L (mm) = 60 × V ÷ (S × N)
Quick unit checks before you trust the number:
- Keep V in m/min (not m/s) and S in RPM.
- Confirm N is the number of active knives (not installed spares).
- After any change to V, S, or N, re-measure pellet length (don’t rely on the setpoint).
Two quick reverse-solves for PP/PE + ~60% CaCO3 at target L = 3.5 mm:
- Given V = 36 m/min and N = 2 knives:
- S ≈ 60 × 36 ÷ (3.5 × 2) ≈ 3086 RPM
- If you switch to N = 3 knives at the same speed and length:
- S ≈ 60 × 36 ÷ (3.5 × 3) ≈ 2057 RPM
Use these as setpoints, then measure 50 pellets and trim S until the mean length sits on target with a tight range. For broader system context on selecting and operating pelletising systems, see this overview: selecting the right pelletising system.
Knife clearance and pressure
Set the rotor-to-bed relationship method‑first, as absolute clearances and forces are model‑dependent. A practical SOP:
- Mount sharp knives; clean and inspect the bed knife face.
- Zero the adjustment using your machine’s fine adjusters; verify parallelism across the full width with dial indicators or feeler gauges.
- Nudge towards minimal clearance per OEM guidance. Where permitted, use a controlled “witness mark” technique to confirm a continuous, faint contact trace, then back off slightly. If the OEM forbids contact, rely on indicators and cut‑face inspection.
- Start with light contact pressure; run a short cut and inspect pellets under good light. Clean, square faces with no smearing or feathering indicate you’re close. Tails or fines call for re‑sharpening or slight clearance/pressure tweaks.
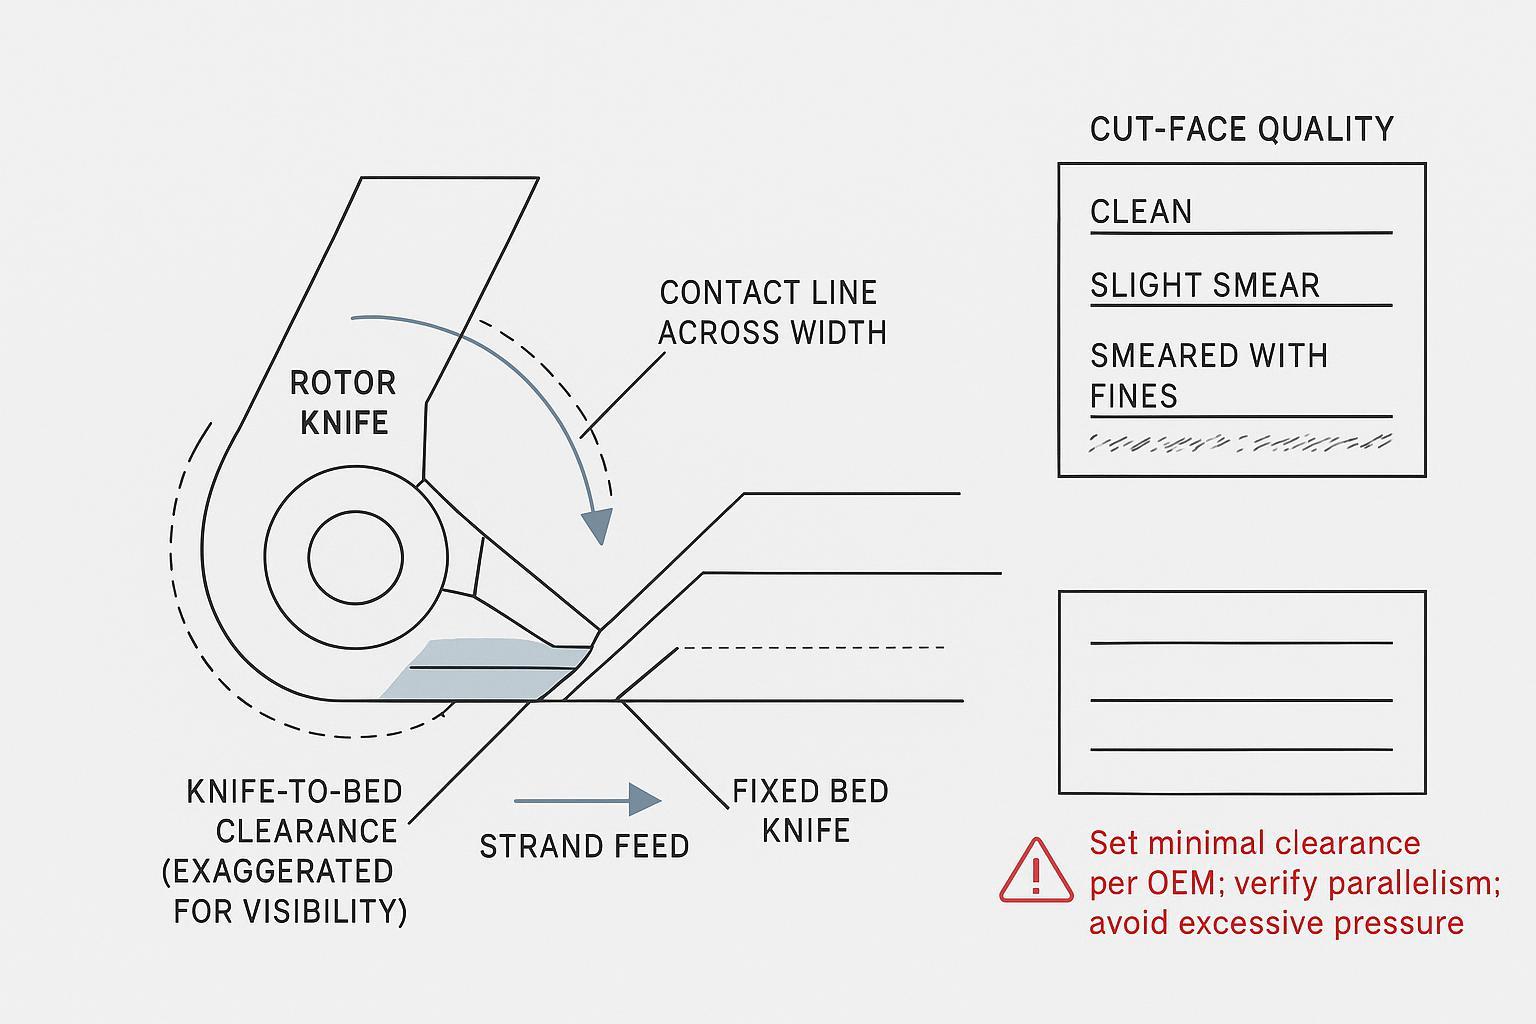
If you need a conceptual refresher on knife adjustment mechanisms seen on industrial strand pelletisers, OEM literature confirms the availability of fine adjusters and gap‑setting features: for instance, see a general product description referencing adjustment mechanisms: gap setting mechanisms in strand pelletisers.
Knife materials, wear, regrind SOP
Abrasive fillers like CaCO3 accelerate wear and can round the edge quickly. Choose materials and heat treatments with enough wear resistance for your duty, then protect geometry with a disciplined regrind plan.
Material comparison for PP/PE with ~60% CaCO3 (starting guidance):
- D2/SKD11 tool steel: typically hardened into the high‑50s to low‑60s HRC; good cost‑to‑resistance balance; tough enough for occasional contamination.
- M2 high‑speed steel: harder (low‑ to mid‑60s HRC) with better hot‑edge retention; can be more chip‑prone under impact.
- Carbide or carbide‑tipped: highest abrasion resistance (effective >65 HRC equivalent); more brittle; best when contamination risk is low and uptime demands are high.
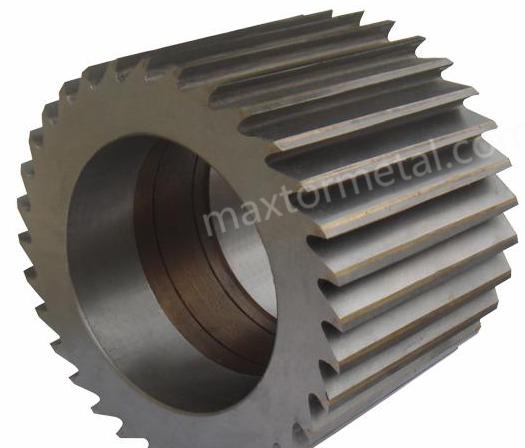
For background on materials and selection logic, see an industry overview: guide to pelletiser knives and materials. For a neutral supplier example with documentation support on materials, hardness and tolerances, you can review MAXTOR METAL’s resources such as the plastic pelletiser knife product page and their guida alla tolleranza delle lame industriali. Where you need a deeper dive into materials trade‑offs, see an internal explainer on knife selection: pelletising knife selection guide.
Regrind SOP (outline)
- Inspection on removal: note edge radius, chips, burrs; record runout and flatness if specified by your OEM.
- Regrind to restore edge geometry within the OEM’s maximum stock‑removal allowance; keep faces flat and parallel; deburr carefully.
- Post‑grind checks: verify edge quality, flatness, and any runout limits; document results with hardness spot checks if required.
- Logging: track grind count per knife, installed date/time, and any adjustments needed to hit target pellet length and face quality after installation.
Documentation support—material certificates, hardness ranges, and tolerance reports—simplifies audits and reduces ambiguity at setup. Suppliers such as MAXTOR METAL provide OEM/ODM‑fit knives with traceable material and inspection data; use such packs to align maintenance and QA without guesswork.
QA, validazione, risoluzione dei problemi
Record template (copy/paste)
- Job ID / Line / Pelletiser model:
- Material / recipe notes (e.g., PP/PE + CaCO3 level, recycled content):
- Date / shift / operator initials:
Pellet length and synchronisation
- Line speed V (m/min):
- Cutter RPM S (RPM):
- Knife count N (active knives):
- Target pellet length L (mm):
- Measured pellet length (n=50): mean / min–max / range:
- Notes after adjustment (what changed, when, and why):
Fines and tails
- Fines sample mass (g):
- Sieve set / mesh sizes (ISO 3310 or equivalent):
- Sieve method (time, vibration setting, pre-cleaning notes):
- Fines mass (g) and fines % by weight:
- Tails visual check: sample size (n=200) / tails count / remarks:
Cooling and pre-cut conditioning
- Bath water temperature (°C):
- Effective bath length (m) / path (straight or double-back):
- Turbulence/agitation settings (what’s on, where):
- Dewatering method (air knife / vacuum slot / hood) and settings:
- Strand temperature at cutter entry: value / instrument / measurement point:
- Cut-face observation (crisp / smear / feathering) and action taken:
Knife condition and verification
- Knife material and batch/certificate reference (if available):
- Knife condition (new / reground) and grind count (if tracked):
- Clearance/parallelism verification tool (dial indicator / feeler gauge) and check points (left/centre/right):
- OEM setting method used (note any ‘witness mark’ policy allowed or forbidden):
Sampling and quick checks
- Pellet length: 50‑piece sample; report mean and range; adjust cutter RPM to centre the mean.
- Fines: sieve a 100–200 g sample; aim for low single‑digit percentages; if high, eliminate tails first, then address cooling and knife condition.
- Tails: visual tally on 200 pellets; if rising, inspect knife sharpness/clearance and strand conditioning.
- Weight CV: 100 pellets; compute CV; if drifting, verify die and puller stability.
- Rheology: occasional MFR checks to catch melt‑history shifts.
Link KPIs to moulding defects
- Tails: cause gate hang‑up, stringing, flow marks; reduce with sharp knives, correct clearance/pressure, and cooler, surface‑dry strands.
- Fines/dust: clog screw screens and nozzles; often secondary to tails; fix root cause and improve cooling/turbulence.
- Wide length spread: leads to variable shot packing; stabilise by synchronising V and S, locking strand diameter, and confirming bath residence time.
Fix tails, fusion, and dust
Prioritised corrective actions (work top‑down):
- Safety and confirmation: stop or slow to a safe speed; verify strand temperature and dryness; inspect knives.
- Knives and clearance: replace or regrind dull knives; re‑set minimal clearance with parallelism; adjust contact pressure incrementally.
- Cooling path: lower bath temperature, boost turbulence, or extend residence time; ensure early agitation.
- Synchronisation: re‑calculate RPM from L = 60 × V ÷ (S × N) and re‑centre the mean pellet length by measurement.
- Die and delivery: clean die face, confirm zone balance, check screen pack and melt stability.
For a wide‑angle troubleshooting view, Plastics Technology compiles common faults and remedies in its guidance on pelletising problems: troubleshooting overview.
Start with the stations that move the needle fastest: sharp knives set to minimal, parallel clearance; a cooling path that truly reaches safe strand temperature; and a synchronised cutter whose RPM matches your line speed and knife count. Verify each adjustment with short, disciplined checks—pellet length range, fines and tails, 100‑pellet weight CV—and keep notes so you can repeat success. For high‑fill and recycled PP/PE, lean towards tougher knife materials, plan more frequent edge inspections, and be ready to extend residence time or reduce bath temperature to protect cut quality. Then close the loop: measure, adjust one lever at a time, and confirm the result before you ramp. That’s how you lock uniform pellets that make injection moulding run smoothly.
Autore e informativa
Author: Tommy Tang — Senior Sales Engineer, Nanjing METAL Industrial
Esperienza: 12 years supporting industrial cutting applications (including pelletising and precision-ground blades)
Certificazioni: CSE, CME, Six Sigma Green Belt, PMP
Nota informativa: Supplier and product references (including MAXTOR METAL) are provided as practical examples of documentation and material options. Always validate knife setting procedures and acceptance criteria against your pelletiser OEM manual and your site QA plan.
Last updated: 2026-03-24
Change log: Added author credentials, disclosure, and standards/method anchors for measurement repeatability.

 English
  Spanish
  Italian
  French
  Portuguese
  Russian
  German
  Arabic
  Hindi
Hindi  Vietnamese
  Indonesian
  Japanese
  Korean