

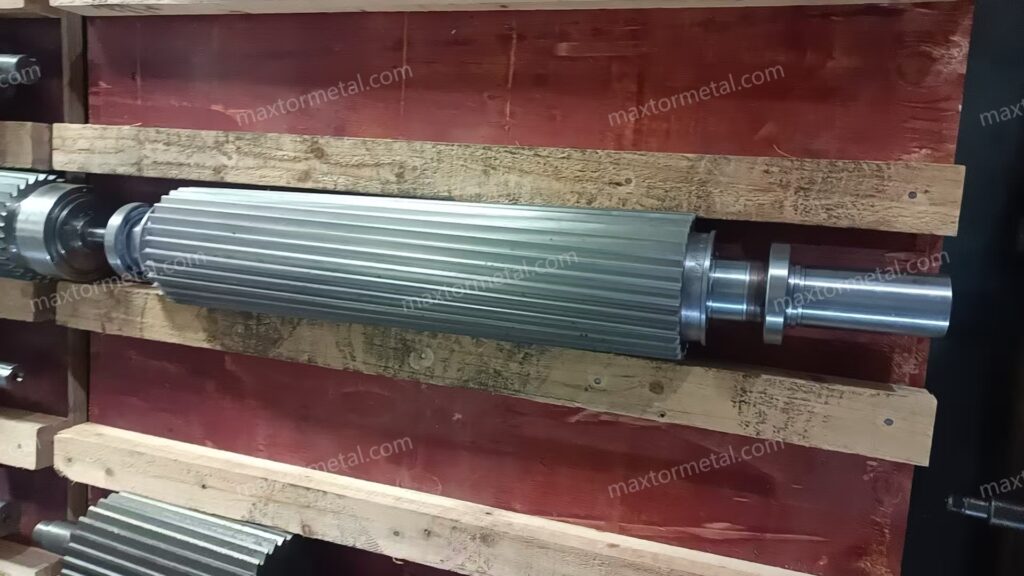
El moldeo por inyección requiere gránulos que se alimenten de forma limpia, se fundan uniformemente y se dosifiquen de manera constante inyección tras inyección. Esto significa un control estricto de la longitud del gránulo, un mínimo de finos y colas, y una baja variabilidad en el peso y la reología del gránulo. Las líneas de extrusión de filamentos varían porque varias estaciones (el suministro de fundido y el cabezal, el baño de agua, el deshidratado y el cortador) aportan cada una sus propias tolerancias y desviaciones. Por lo tanto, estabilizar la uniformidad de los gránulos es un trabajo del sistema, no un ajuste de un solo parámetro.
En este tutorial, ajustará los factores más importantes en una configuración de peletización de filamentos por agua para PP/PE con aproximadamente un 60% de CaCO3 y un mayor contenido de material reciclado. Utilizará ecuaciones sencillas y comprobaciones rápidas para definir la longitud, dimensionar el baño, acondicionar los filamentos antes del corte y ajustar la holgura y la presión de las cuchillas para obtener caras limpias con menos finos y colas.
Conclusiones clave
- Trate la uniformidad de los gránulos como una cadena: fundido y cabezal estables → enfriamiento y turbulencia adecuados → filamentos con superficie seca → cortador sincronizado con cuchillas afiladas y correctamente ajustadas.
- Utilice L = V ÷ (S × N) para definir la longitud objetivo del gránulo, validándola con mediciones en línea; resuelva a la inversa para hallar las RPM del cortador a partir de la velocidad de la línea y el número de cuchillas.
- Dimensione y ajuste la trayectoria de enfriamiento utilizando el tiempo de residencia; ajuste la temperatura del baño, la turbulencia y la longitud para alcanzar una temperatura segura del filamento antes del corte.
- Para PP/PE abrasivo con ~60% de CaCO3, comience con materiales de cuchilla tenaces y resistentes al desgaste, y adopte un SOP de reafilado disciplinado para mantener los filos afilados y paralelos.
- Monitoree la tendencia de los finos, la incidencia de colas, el rango de longitud de los gránulos y el CV del peso de 100 gránulos; vincule los cambios con ajustes específicos para poder iterar con confianza.
Objetivos de especificación y KPIs
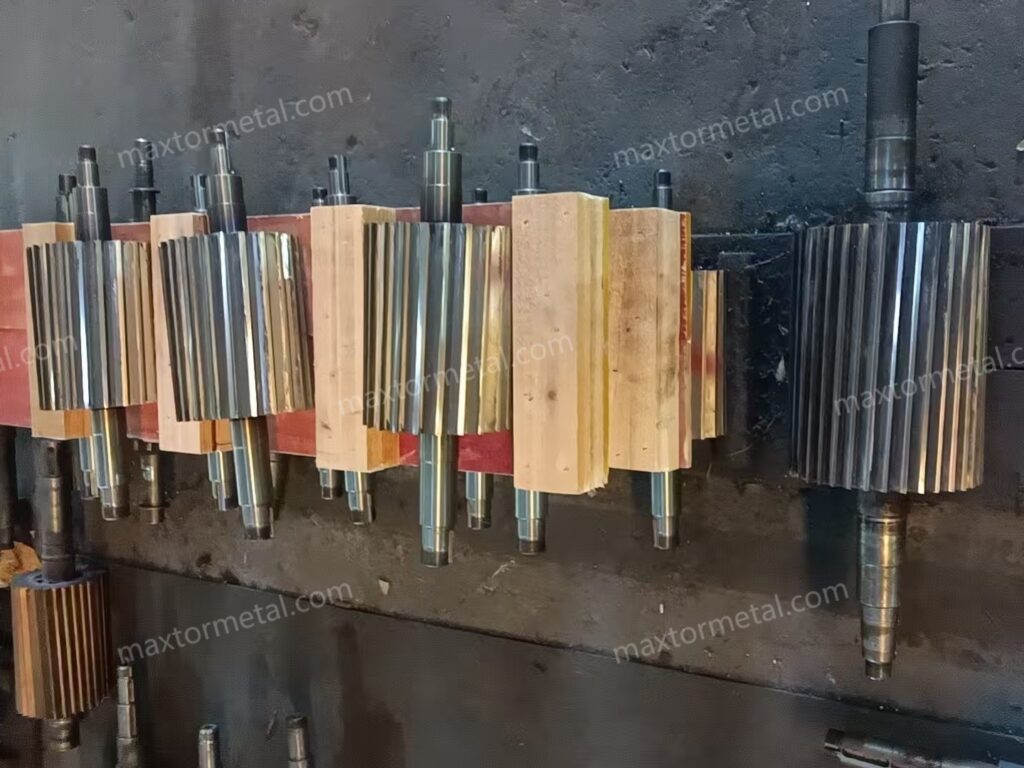
Tolerancias dimensionales y L:D
Busque una ventana estrecha de longitud de gránulo alrededor de su objetivo (por ejemplo, ±0.2 mm como punto de partida en planta). Mantenga la relación longitud-diámetro (L:D) cercana a 1:1 para favorecer una fusión y un transporte por husillo constantes en el moldeo por inyección. Protocolo de muestreo:
- Primera pieza: mida 50 gránulos en tres filamentos; registre la media, el mínimo-máximo y el rango.
- Estabilización: repita cada 15 minutos durante la primera hora después de realizar cambios.
- Rutina: controles aleatorios cada hora o por lote, lo que sea más estricto.
Explique cualquier desviación comprobando la sincronización de la velocidad de la línea frente a las RPM del cortador, la variación del diámetro del filamento en el cabezal o la suficiencia del enfriamiento antes del corte. Para conocer los fundamentos del método que vinculan la calidad del fundido y de la presentación con los gránulos finales, consulte la perspectiva del sistema en el análisis de impactos previos de Plastics Technology en From Extruder to Pelletizer — Influences Quality: influencias del sistema en la calidad.
Umbrales de finos y colas
Establezca un objetivo inicial práctico de finos por debajo del 1% en peso y una incidencia de colas por debajo del 0.5% de los gránulos mediante un recuento visual rápido. Mida los finos con un método de tamizado estandarizado y una muestra de 100–200 g, y registre su juego de tamices y tamaños de malla para que los resultados sean repetibles (por ejemplo, utilizando tamices de ensayo que cumplan con la norma ISO 3310 o un estándar local equivalente). Las colas suelen deberse a cuchillas desafiladas, una holgura incorrecta entre la cuchilla y la contracuchilla, o al corte de filamentos que aún están demasiado calientes o húmedos. Plastics Technology describe las causas raíz comunes y el enfoque correctivo en su descripción general de resolución de problemas: siete problemas comunes de peletización.
Comprobaciones de CV de peso y reología
Pese 100 gránulos y calcule el coeficiente de variación (CV = desviación estándar ÷ media). Como indicador de estabilidad, un CV en el rango bajo de un solo dígito es un objetivo inicial sensato; fije su propia especificación después de las pruebas. Combine esto con comprobaciones aleatorias ocasionales del índice de fluidez (MFR) o de la reología para detectar cambios en el historial del fundido que puedan afectar la estabilidad del filamento. Si publica los valores de MFR internamente o para los clientes, vincule el método a una norma establecida (por ejemplo, ISO 1133 o un método equivalente acordado en su plan de control de calidad). Los documentos de los productores de resina describen los métodos de ensayo (por ejemplo, ISO 1133) aunque no especifiquen los KPIs de uniformidad de los gránulos; por ejemplo, consulte el contexto de datos de procesamiento de Borealis: Referencias de procesamiento y ensayo de PP.
Suministro de fundido y control del cabezal
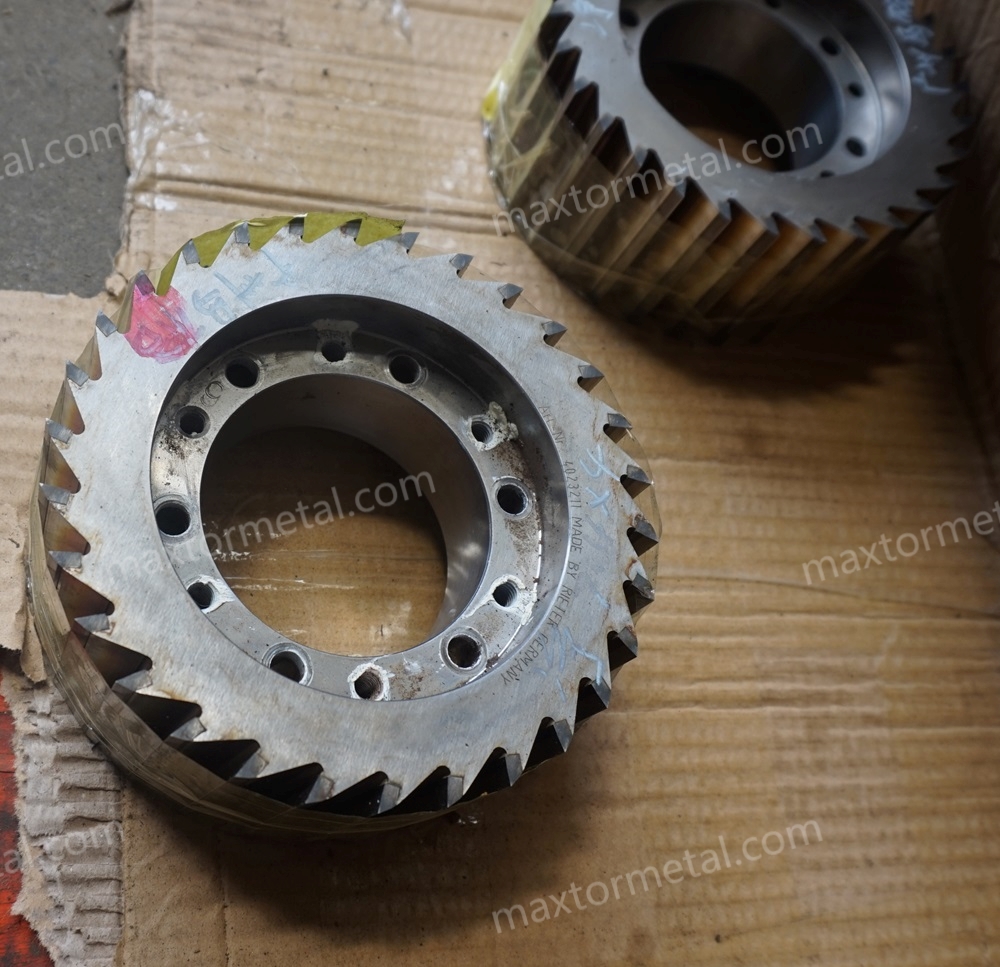
Bombeo, filtración, geometría del cabezal
Un tamaño de gránulo uniforme comienza con un suministro volumétrico constante. Verifique:
- La estabilidad del rendimiento de la bomba/extrusora; monitoree la tendencia de la carga del motor y la presión del fundido para garantizar la fluidez.
- Paquetes de mallas limpios y adecuados; aumente la filtración si el contenido reciclado introduce geles o impurezas.
- Geometría del cabezal que produzca diámetros de filamento constantes; evite insertos mixtos que generen un estiramiento desigual.
Cualquier fluctuación aquí se manifestará más adelante como gránulos con longitud variable y calidad de cara de corte deficiente.
Uniformidad térmica e integridad del cabezal
Compruebe que las zonas del cabezal sigan de cerca los puntos de consigna y que la cara del cabezal esté plana y sin imperfecciones. Los puntos calientes, las esquinas frías o una cara desgastada crean diferencias en el diámetro del filamento y ablandamiento local que provocan colas o cortes embarrados. Si observa una ondulación persistente en los filamentos o variaciones de diámetro, priorice la limpieza del cabezal, el rectificado de la superficie o el reemplazo de cartuchos antes de buscar soluciones en las etapas posteriores.
Adaptaciones para alto contenido de carga/reciclado
Para PP/PE con aproximadamente 60% de CaCO3 y un mayor contenido de reciclado, espere una mayor abrasión y contaminación dura ocasional. Las adaptaciones prácticas incluyen:
- Filtración más cerrada para proteger el dado y las cuchillas.
- Temperatura de fusión ligeramente más baja y un estiramiento más constante para reducir la estricción (necking) del filamento.
- Inspecciones visuales frecuentes para detectar la ovalidad del filamento; ajuste el par de apriete de los pernos del dado y el equilibrio de las zonas para uniformar el flujo.
Para obtener una perspectiva amplia del sistema sobre cómo las decisiones del proceso previo (upstream) afectan la calidad del corte posterior, consulte la misma descripción general de Plastics Technology anterior sobre influencias del sistema en la calidad.
Sistema de agua y trayectoria de enfriamiento
Temperatura y turbulencia del baño
Elija un punto de partida conservador para la temperatura del agua para PP/PE (a menudo por debajo de aproximadamente 40 °C) y luego valídelo midiendo la temperatura de la superficie del filamento y la calidad del corte. La turbulencia inicial ayuda a eliminar la capa límite y aumenta la transferencia de calor. Si los pellets muestran fusión o manchas de corte (smear), aumente el tiempo de residencia, reduzca la temperatura del baño o añada/agite la turbulencia. mejorar la capacidad de enfriamiento.
Tiempo de enfriamiento y longitud del baño
Utilice el tiempo de residencia para dimensionar y ajustar su baño. El método abreviado presentado por Plastics Technology calcula el tiempo de enfriamiento a partir de gráficos de transferencia de calor; luego:
- t = tiempo de enfriamiento (s)
- V = velocidad del filamento (m/min)
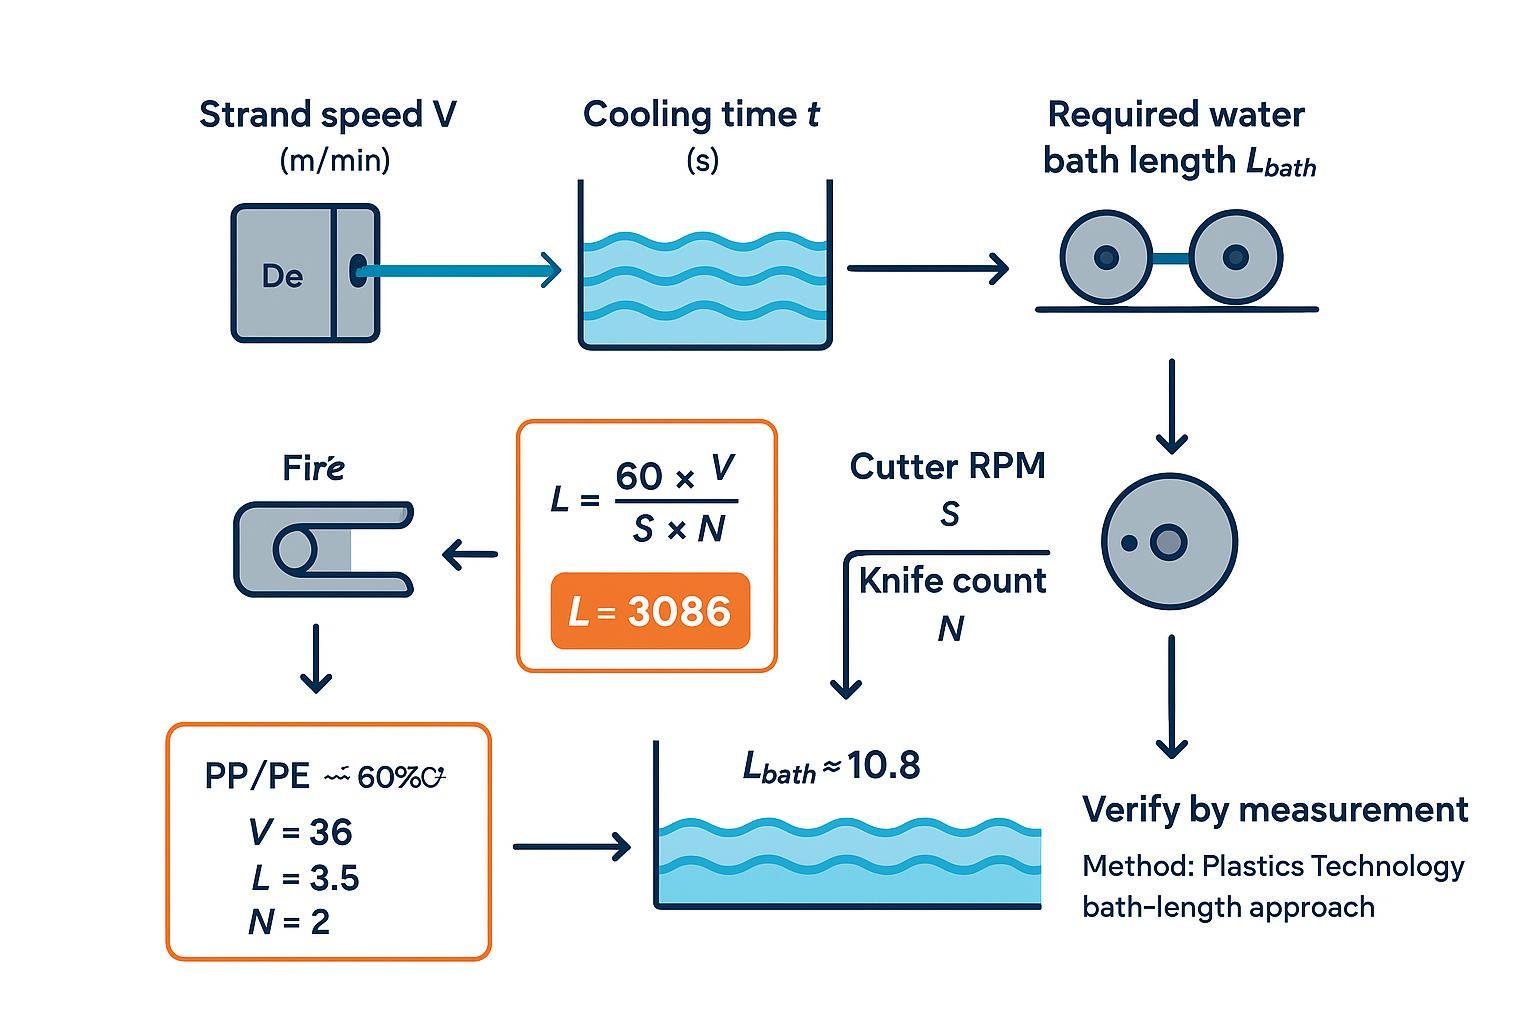
- Lbath = V × t ÷ 60 (m)
Lista de verificación (para que el cálculo se traduzca en una calidad de corte real):
- Mida la temperatura de la superficie del filamento en la entrada de la cortadora y registre el punto y el instrumento utilizado.
- If you see smear/fusion, treat it as a cooling/drying verification failure first (temperature + surface water), then adjust bath temperature/turbulence/effective length.
- When you change bath conditions, re-check pellet faces and tails incidence within 10–15 minutes.
Worked example for our water strand pelletising setup (PP/PE with ~60% CaCO3):
- Assume V = 36 m/min (after puller stabilises)
- From the PT method for a representative PP case, t ≈ 18 s as a starting estimate
- Lbath ≈ 36 × 18 ÷ 60 = 10.8 m
Validate on-line: if cut faces smear or pellets fuse, either lower the bath temperature, increase turbulence, or extend effective path (e.g., double-back) to add residence time. The full method for estimating cooling time and bath length is described in Plastics Technology’s guide: bath length determination.
Dewatering and pre-cut dryness
Right before the cutter, strands should be surface‑dry and at a temperature safely below the softening point. Practical tools include an air knife, a vacuum slot, or a compact suction hood. In special high-throughput or sensitive recipes, a small centrifugal pre‑dryer upstream of the cutter can help, though that’s more common after cutting. There’s no authoritative moisture number to hit; your acceptance criterion is visual and tactile: no visible film or droplets, strands don’t slip on feed rolls, and cut faces look crisp.
Configuración del cortador y mecánica de las cuchillas
Pellet length vs line speed & RPM
Pellet length equals the distance a strand travels between successive cuts. If the cutter runs at S RPM with N knives on the rotor, cuts per minute are S × N. With line speed V (m/min), the pellet length L (mm) is the strand travel per cut:
- L (mm) = 60 × V ÷ (S × N)
Quick unit checks before you trust the number:
- Keep V in m/min (not m/s) and S in RPM.
- Confirm N is the number of active knives (not installed spares).
- After any change to V, S, or N, re-measure pellet length (don’t rely on the setpoint).
Two quick reverse-solves for PP/PE + ~60% CaCO3 at target L = 3.5 mm:
- Given V = 36 m/min and N = 2 knives:
- S ≈ 60 × 36 ÷ (3.5 × 2) ≈ 3086 RPM
- If you switch to N = 3 knives at the same speed and length:
- S ≈ 60 × 36 ÷ (3.5 × 3) ≈ 2057 RPM
Use these as setpoints, then measure 50 pellets and trim S until the mean length sits on target with a tight range. For broader system context on selecting and operating pelletising systems, see this overview: selecting the right pelletising system.
Knife clearance and pressure
Set the rotor-to-bed relationship method‑first, as absolute clearances and forces are model‑dependent. A practical SOP:
- Mount sharp knives; clean and inspect the bed knife face.
- Zero the adjustment using your machine’s fine adjusters; verify parallelism across the full width with dial indicators or feeler gauges.
- Nudge towards minimal clearance per OEM guidance. Where permitted, use a controlled “witness mark” technique to confirm a continuous, faint contact trace, then back off slightly. If the OEM forbids contact, rely on indicators and cut‑face inspection.
- Start with light contact pressure; run a short cut and inspect pellets under good light. Clean, square faces with no smearing or feathering indicate you’re close. Tails or fines call for re‑sharpening or slight clearance/pressure tweaks.
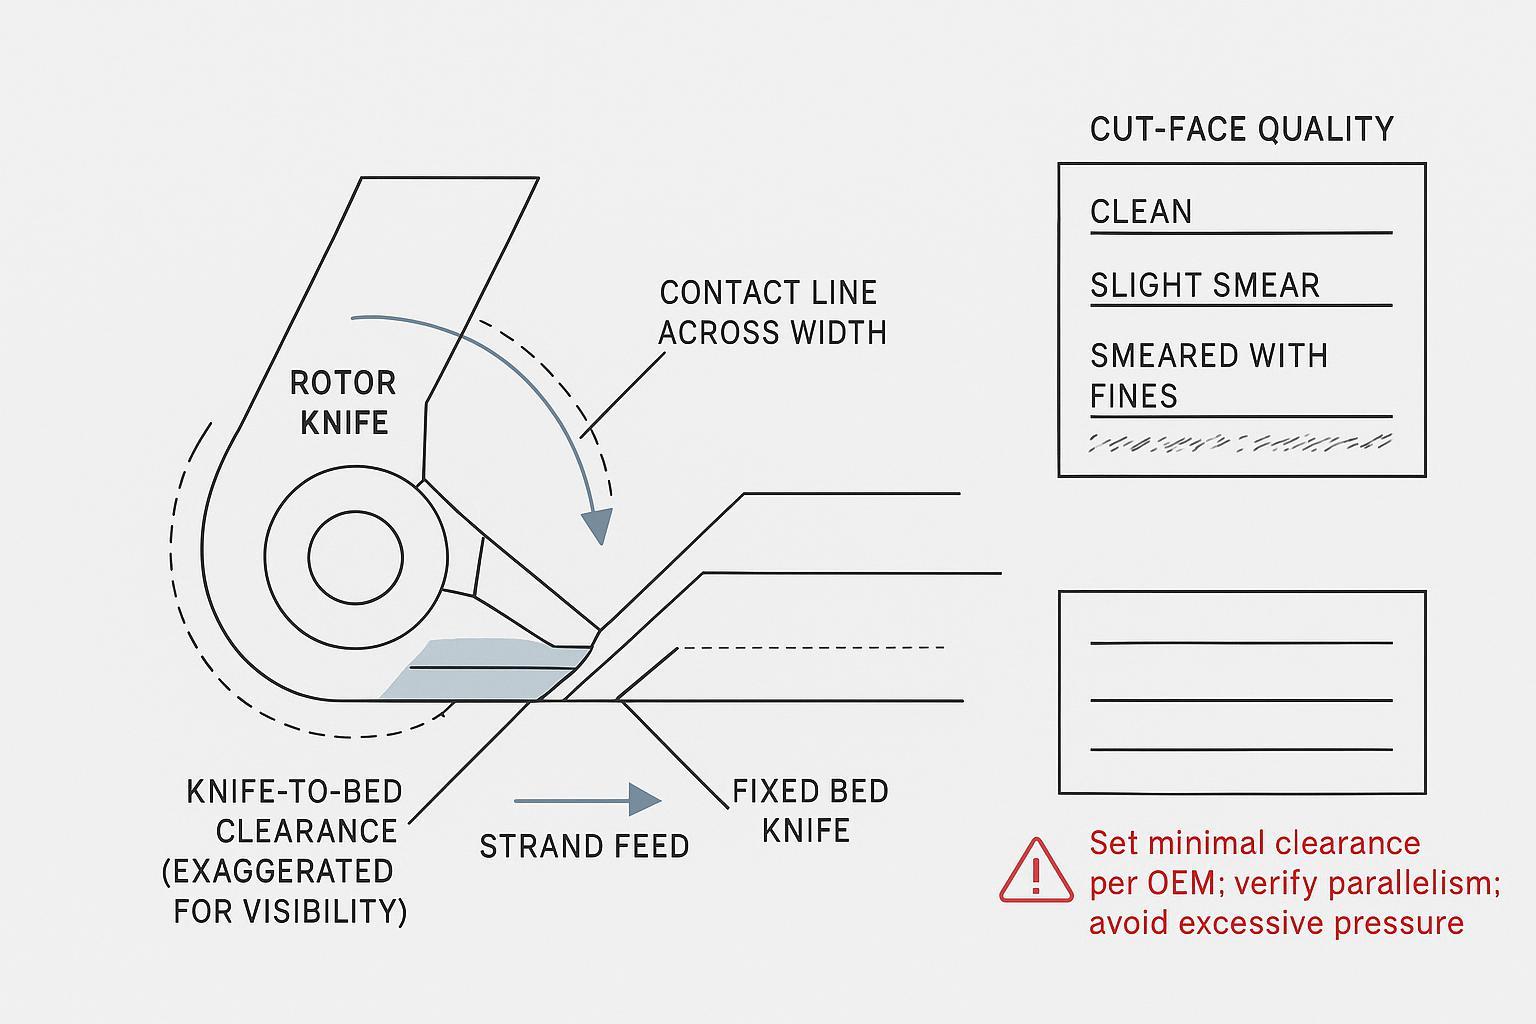
If you need a conceptual refresher on knife adjustment mechanisms seen on industrial strand pelletisers, OEM literature confirms the availability of fine adjusters and gap‑setting features: for instance, see a general product description referencing adjustment mechanisms: gap setting mechanisms in strand pelletisers.
Knife materials, wear, regrind SOP
Abrasive fillers like CaCO3 accelerate wear and can round the edge quickly. Choose materials and heat treatments with enough wear resistance for your duty, then protect geometry with a disciplined regrind plan.
Material comparison for PP/PE with ~60% CaCO3 (starting guidance):
- D2/SKD11 tool steel: typically hardened into the high‑50s to low‑60s HRC; good cost‑to‑resistance balance; tough enough for occasional contamination.
- M2 high‑speed steel: harder (low‑ to mid‑60s HRC) with better hot‑edge retention; can be more chip‑prone under impact.
- Carbide or carbide‑tipped: highest abrasion resistance (effective >65 HRC equivalent); more brittle; best when contamination risk is low and uptime demands are high.
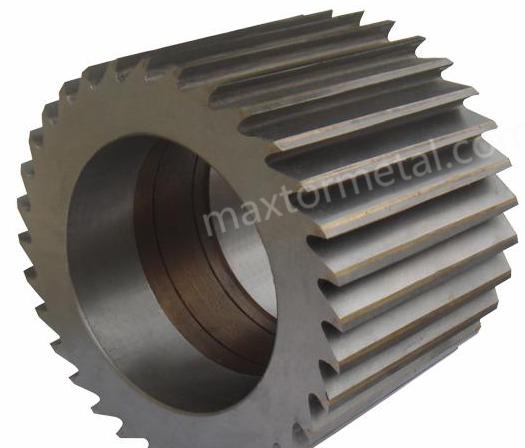
For background on materials and selection logic, see an industry overview: guide to pelletiser knives and materials. For a neutral supplier example with documentation support on materials, hardness and tolerances, you can review MAXTOR METAL’s resources such as the plastic pelletiser knife product page y sus Guía de tolerancia de cuchillas industriales. Where you need a deeper dive into materials trade‑offs, see an internal explainer on knife selection: pelletising knife selection guide.
Regrind SOP (outline)
- Inspection on removal: note edge radius, chips, burrs; record runout and flatness if specified by your OEM.
- Regrind to restore edge geometry within the OEM’s maximum stock‑removal allowance; keep faces flat and parallel; deburr carefully.
- Post‑grind checks: verify edge quality, flatness, and any runout limits; document results with hardness spot checks if required.
- Logging: track grind count per knife, installed date/time, and any adjustments needed to hit target pellet length and face quality after installation.
Documentation support—material certificates, hardness ranges, and tolerance reports—simplifies audits and reduces ambiguity at setup. Suppliers such as MAXTOR METAL provide OEM/ODM‑fit knives with traceable material and inspection data; use such packs to align maintenance and QA without guesswork.
Control de calidad, validación y resolución de problemas
Record template (copy/paste)
- Job ID / Line / Pelletiser model:
- Material / recipe notes (e.g., PP/PE + CaCO3 level, recycled content):
- Date / shift / operator initials:
Pellet length and synchronisation
- Line speed V (m/min):
- Cutter RPM S (RPM):
- Knife count N (active knives):
- Target pellet length L (mm):
- Measured pellet length (n=50): mean / min–max / range:
- Notes after adjustment (what changed, when, and why):
Fines and tails
- Fines sample mass (g):
- Sieve set / mesh sizes (ISO 3310 or equivalent):
- Sieve method (time, vibration setting, pre-cleaning notes):
- Fines mass (g) and fines % by weight:
- Tails visual check: sample size (n=200) / tails count / remarks:
Cooling and pre-cut conditioning
- Bath water temperature (°C):
- Effective bath length (m) / path (straight or double-back):
- Turbulence/agitation settings (what’s on, where):
- Dewatering method (air knife / vacuum slot / hood) and settings:
- Strand temperature at cutter entry: value / instrument / measurement point:
- Cut-face observation (crisp / smear / feathering) and action taken:
Knife condition and verification
- Knife material and batch/certificate reference (if available):
- Knife condition (new / reground) and grind count (if tracked):
- Clearance/parallelism verification tool (dial indicator / feeler gauge) and check points (left/centre/right):
- OEM setting method used (note any ‘witness mark’ policy allowed or forbidden):
Sampling and quick checks
- Pellet length: 50‑piece sample; report mean and range; adjust cutter RPM to centre the mean.
- Fines: sieve a 100–200 g sample; aim for low single‑digit percentages; if high, eliminate tails first, then address cooling and knife condition.
- Tails: visual tally on 200 pellets; if rising, inspect knife sharpness/clearance and strand conditioning.
- Weight CV: 100 pellets; compute CV; if drifting, verify die and puller stability.
- Rheology: occasional MFR checks to catch melt‑history shifts.
Link KPIs to moulding defects
- Tails: cause gate hang‑up, stringing, flow marks; reduce with sharp knives, correct clearance/pressure, and cooler, surface‑dry strands.
- Fines/dust: clog screw screens and nozzles; often secondary to tails; fix root cause and improve cooling/turbulence.
- Wide length spread: leads to variable shot packing; stabilise by synchronising V and S, locking strand diameter, and confirming bath residence time.
Fix tails, fusion, and dust
Prioritised corrective actions (work top‑down):
- Safety and confirmation: stop or slow to a safe speed; verify strand temperature and dryness; inspect knives.
- Knives and clearance: replace or regrind dull knives; re‑set minimal clearance with parallelism; adjust contact pressure incrementally.
- Cooling path: lower bath temperature, boost turbulence, or extend residence time; ensure early agitation.
- Synchronisation: re‑calculate RPM from L = 60 × V ÷ (S × N) and re‑centre the mean pellet length by measurement.
- Die and delivery: clean die face, confirm zone balance, check screen pack and melt stability.
For a wide‑angle troubleshooting view, Plastics Technology compiles common faults and remedies in its guidance on pelletising problems: troubleshooting overview.
Start with the stations that move the needle fastest: sharp knives set to minimal, parallel clearance; a cooling path that truly reaches safe strand temperature; and a synchronised cutter whose RPM matches your line speed and knife count. Verify each adjustment with short, disciplined checks—pellet length range, fines and tails, 100‑pellet weight CV—and keep notes so you can repeat success. For high‑fill and recycled PP/PE, lean towards tougher knife materials, plan more frequent edge inspections, and be ready to extend residence time or reduce bath temperature to protect cut quality. Then close the loop: measure, adjust one lever at a time, and confirm the result before you ramp. That’s how you lock uniform pellets that make injection moulding run smoothly.
Autor y divulgación
Autor: Tommy Tang — Ingeniero de ventas sénior, Nanjing METAL Industrial
Experiencia: 12 years supporting industrial cutting applications (including pelletising and precision-ground blades)
Certificaciones: CSE, CME, Cinturón Verde Six Sigma, PMP
Aviso legal: Supplier and product references (including MAXTOR METAL) are provided as practical examples of documentation and material options. Always validate knife setting procedures and acceptance criteria against your pelletiser OEM manual and your site QA plan.
Última actualización: 2026-03-24
Change log: Added author credentials, disclosure, and standards/method anchors for measurement repeatability.

 English
  Spanish
  Italian
  French
  Portuguese
  Russian
  German
  Arabic
  Hindi
Hindi  Vietnamese
  Indonesian
  Japanese
  Korean